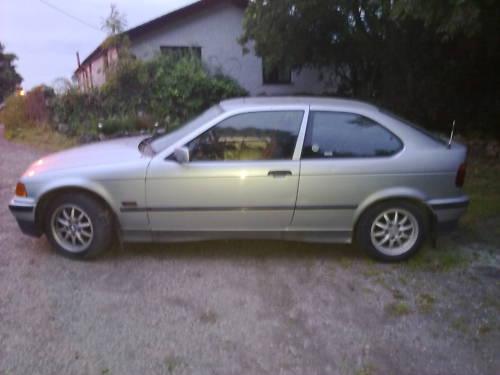
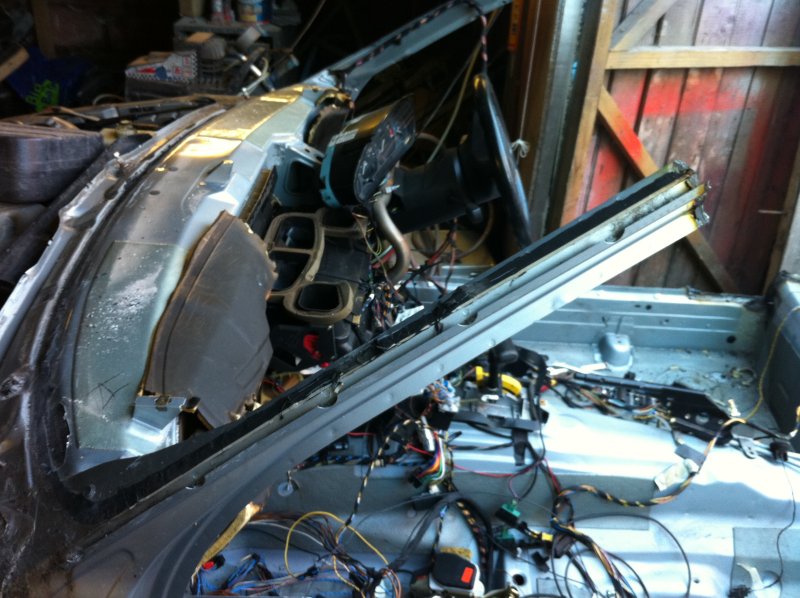
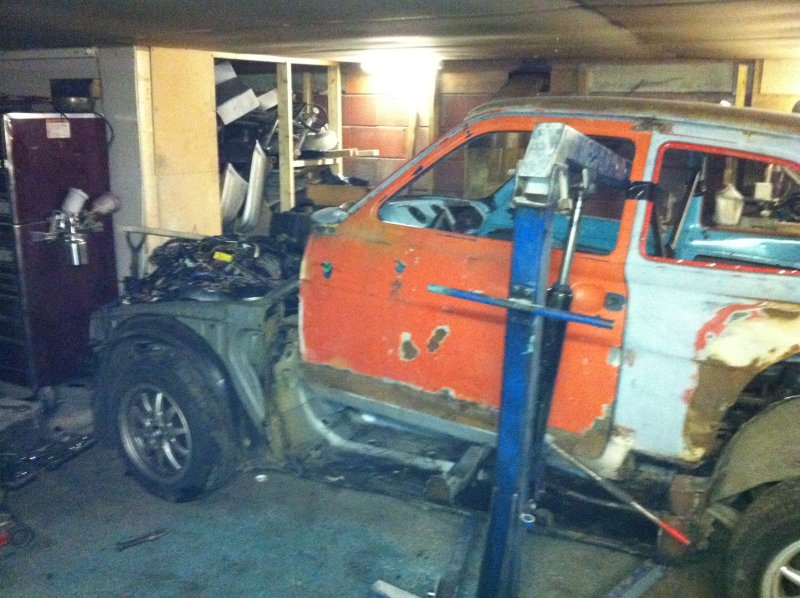
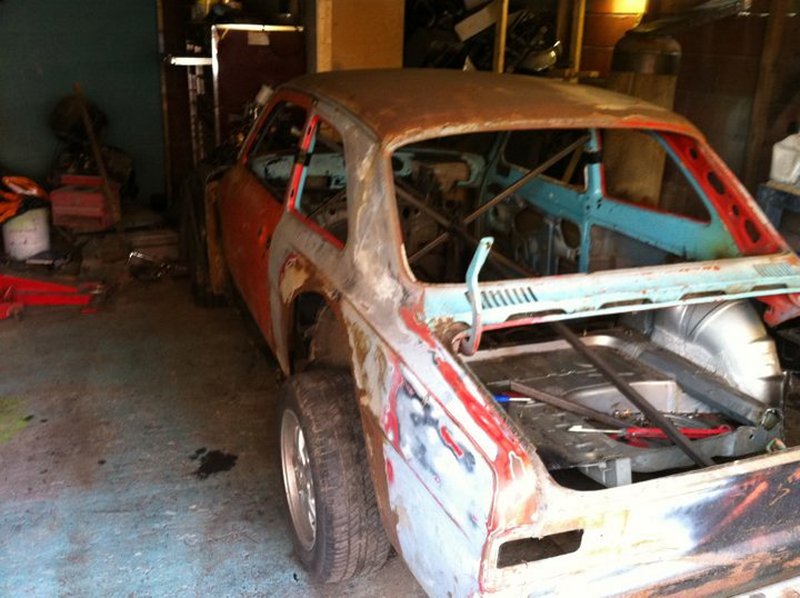
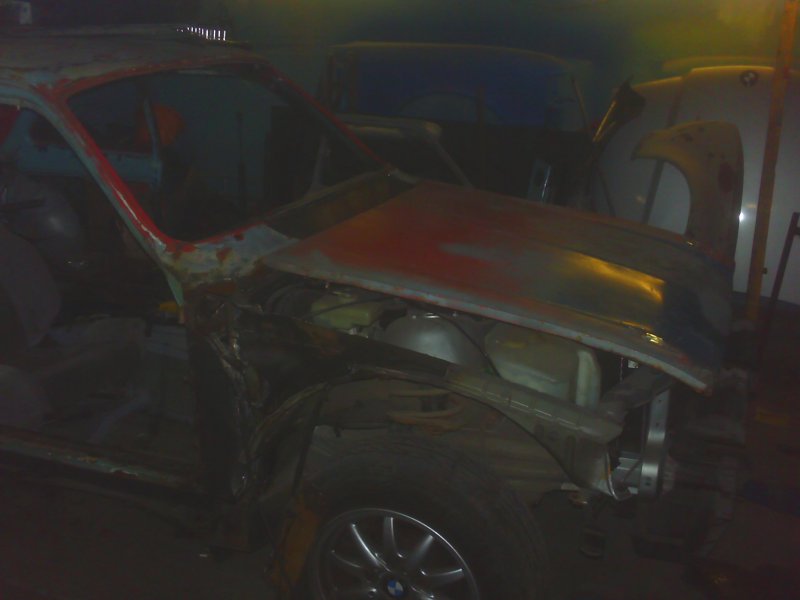
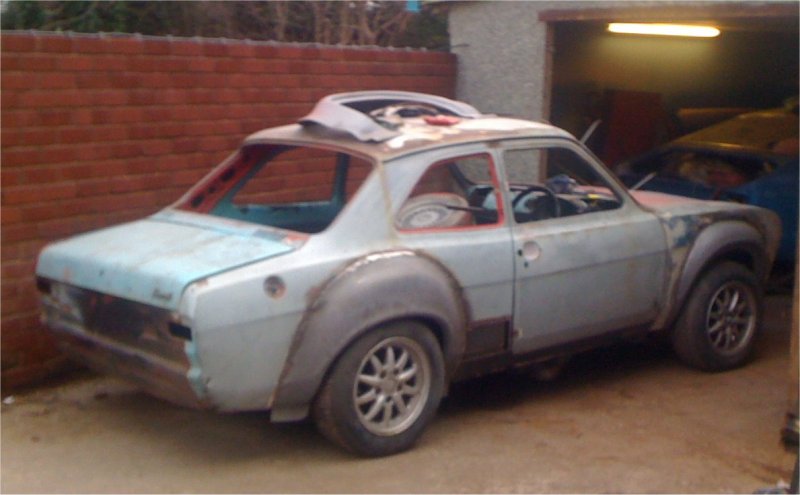
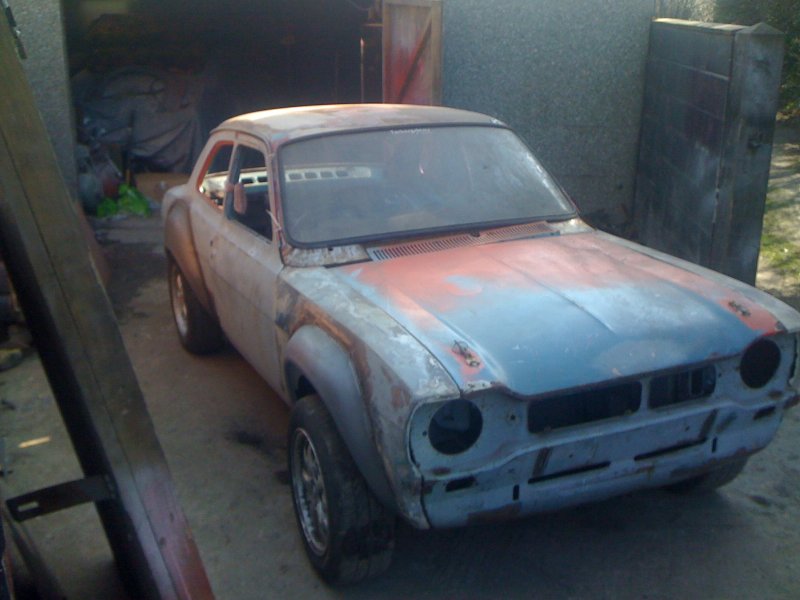
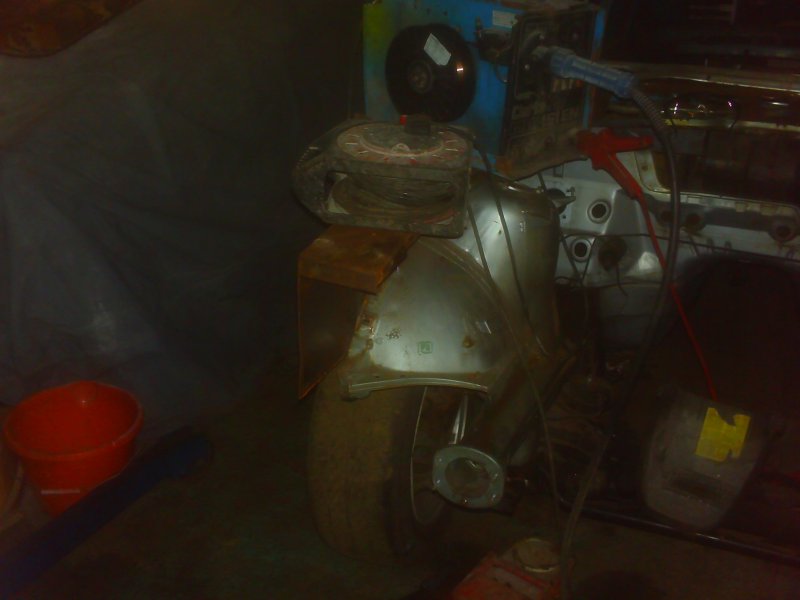
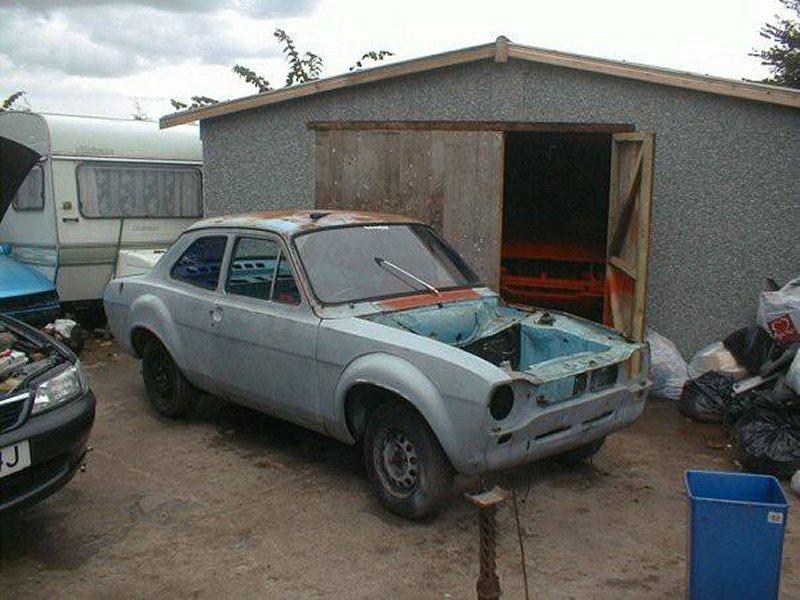
1996 e36 318ti compact auto starting point
Attacking it with a CUT40 Plasma cutter bought specifically for the job
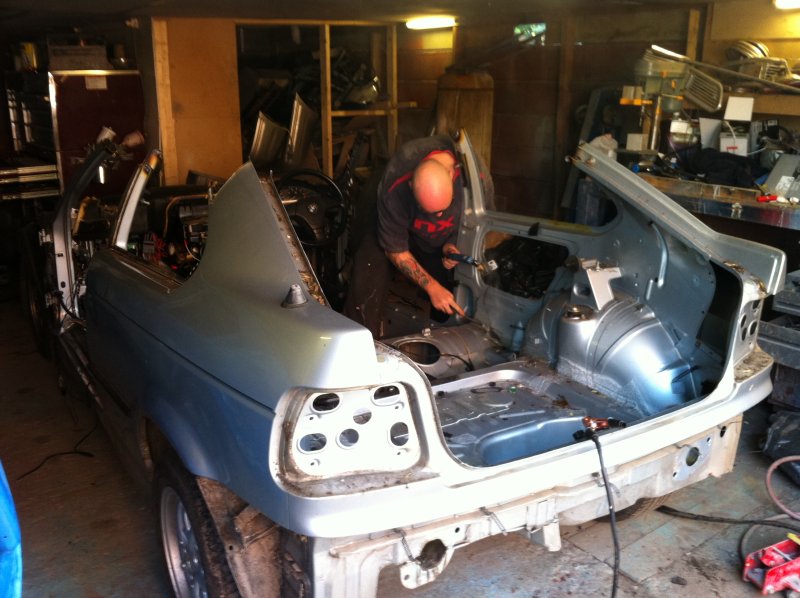
A fair bit of the excess removed
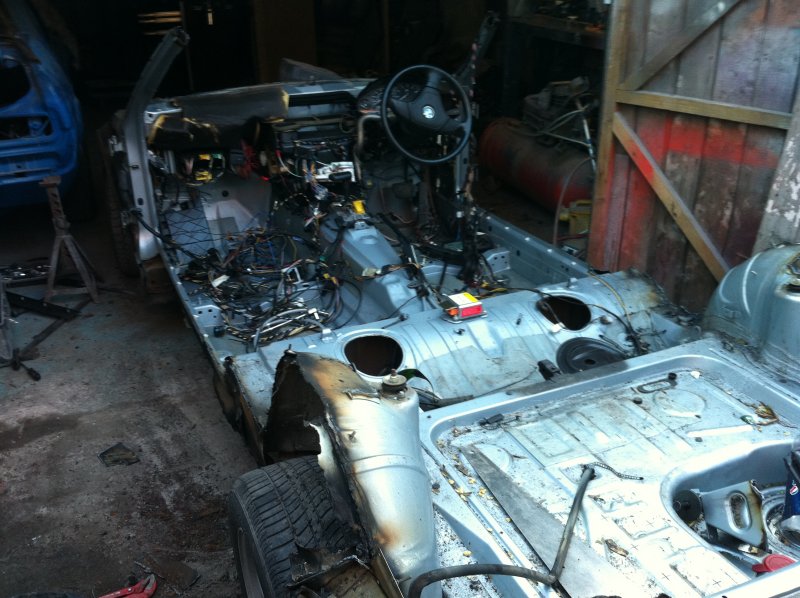
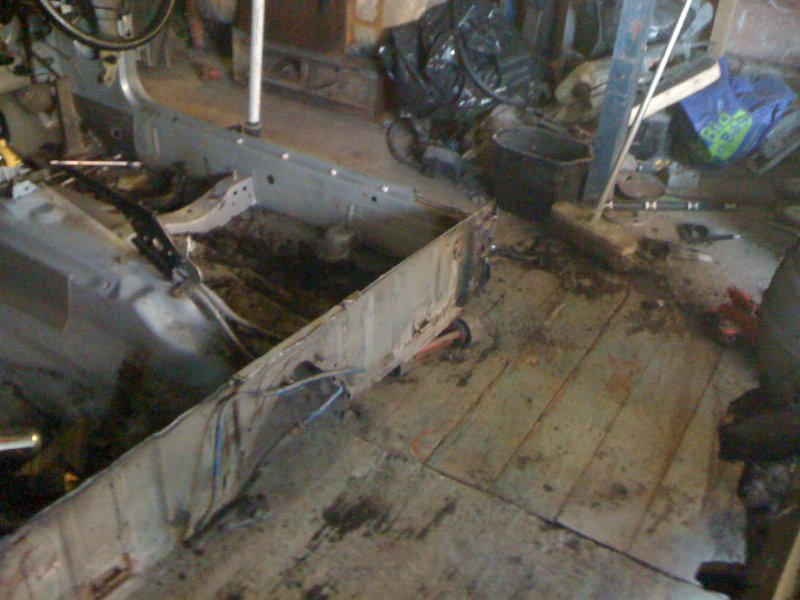
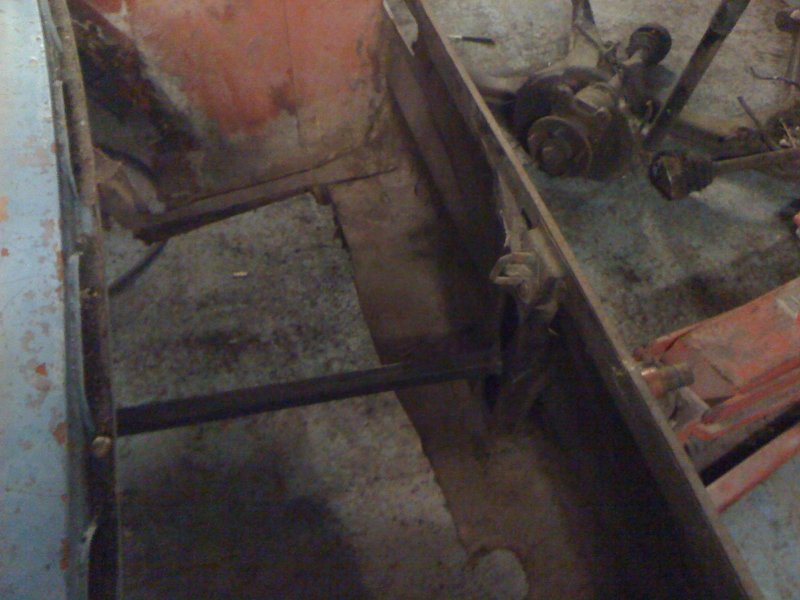
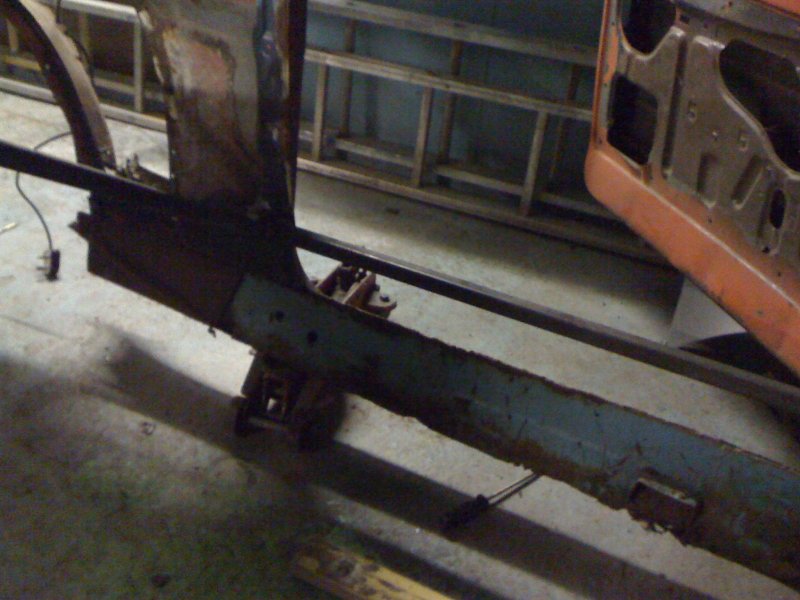
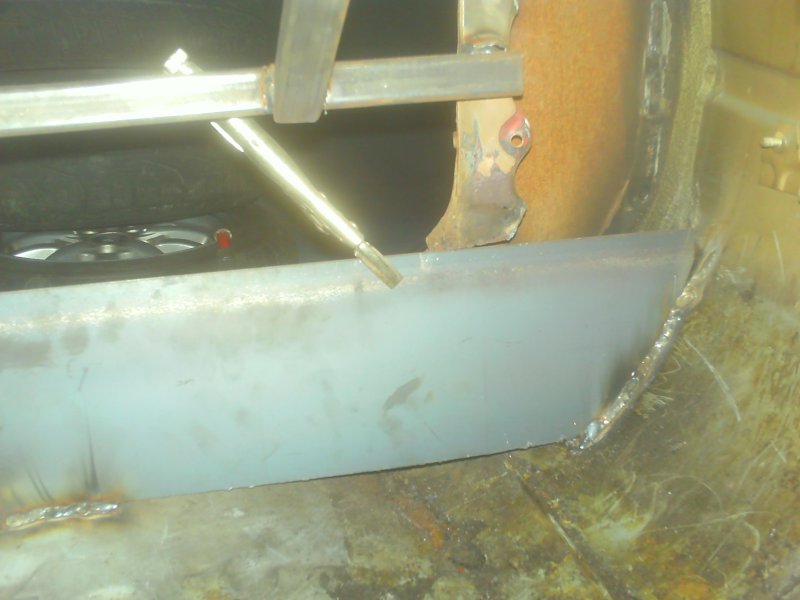
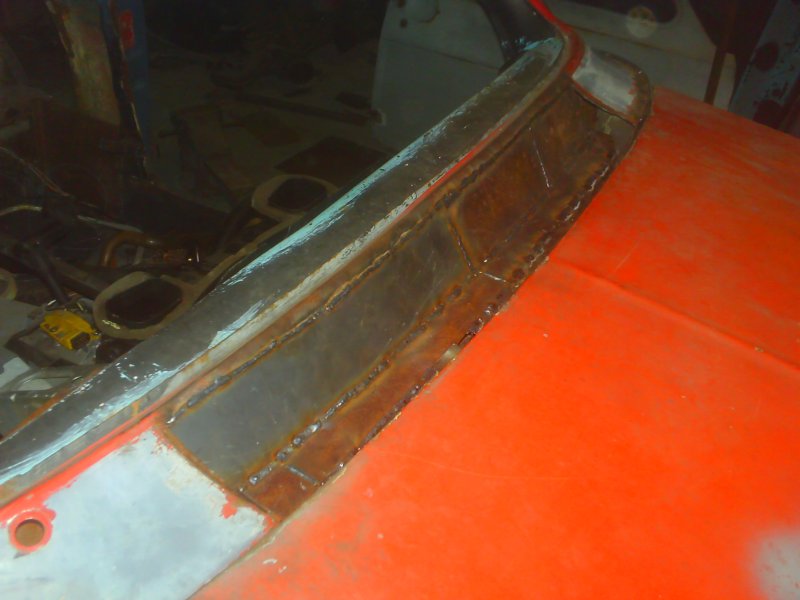
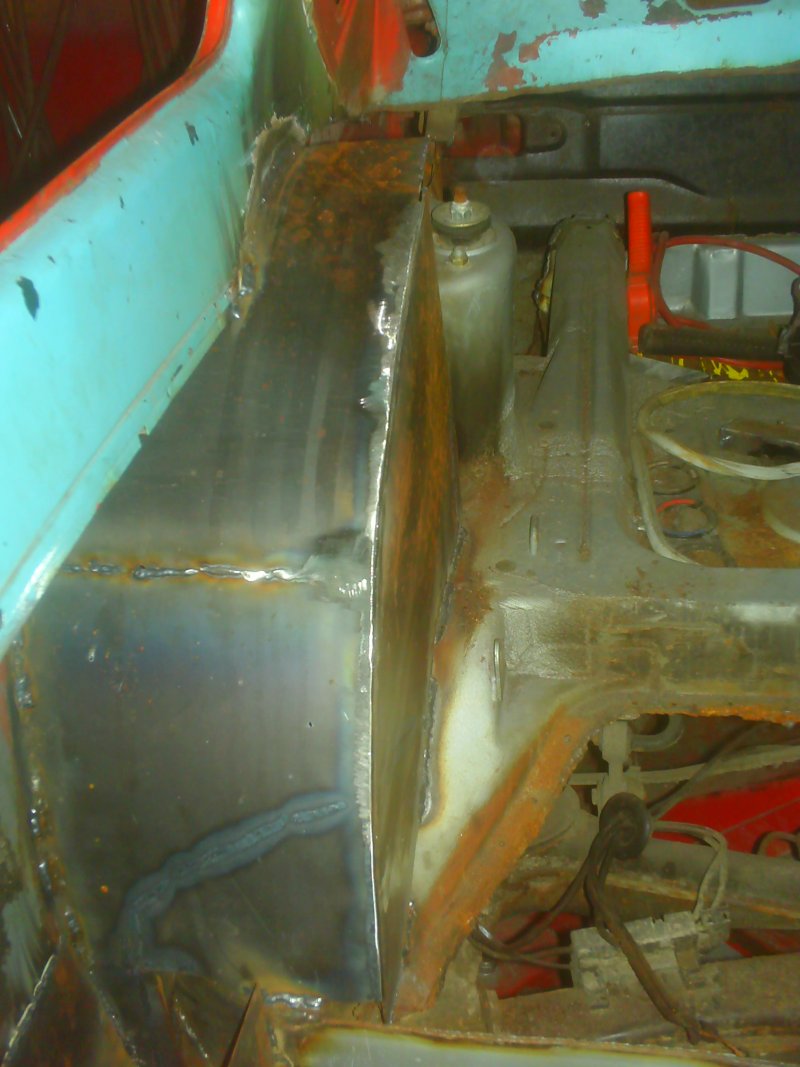
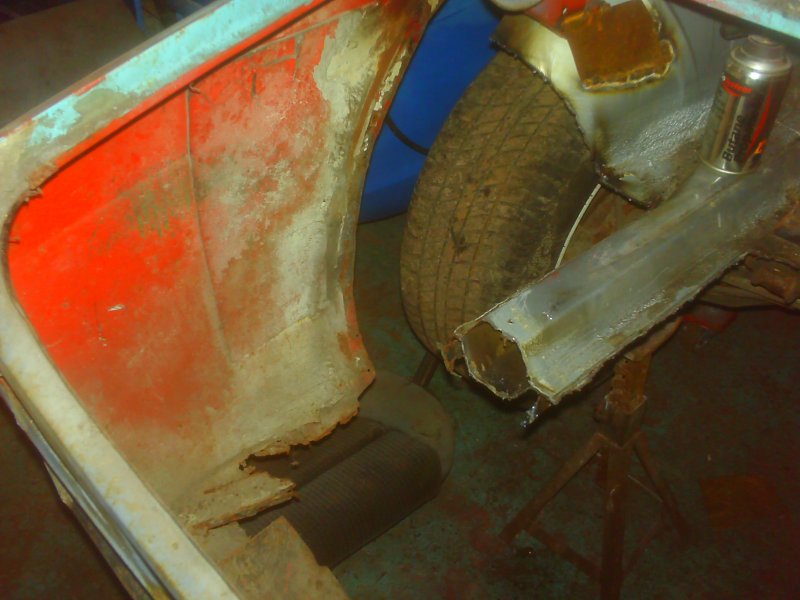
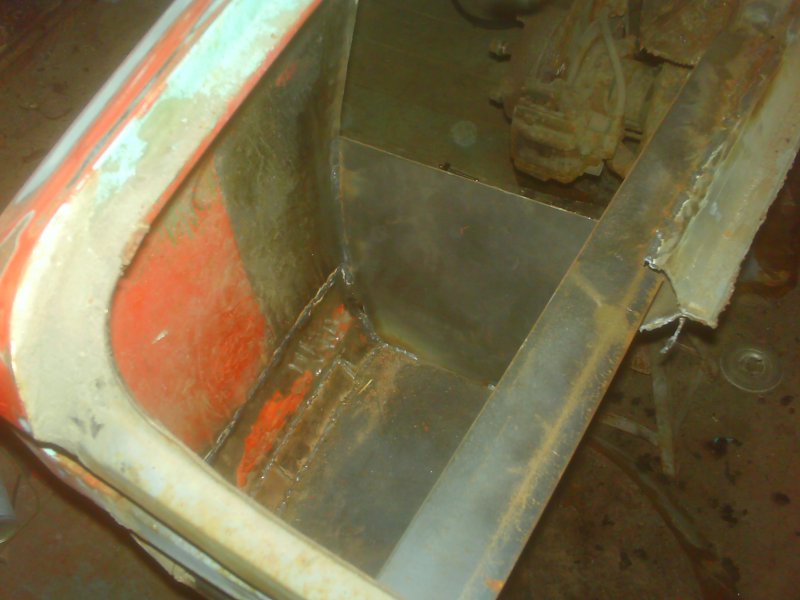
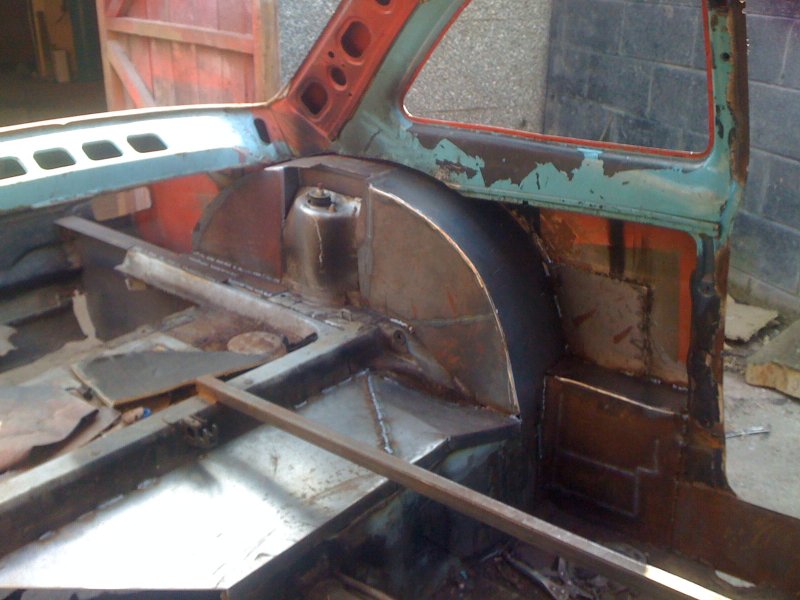
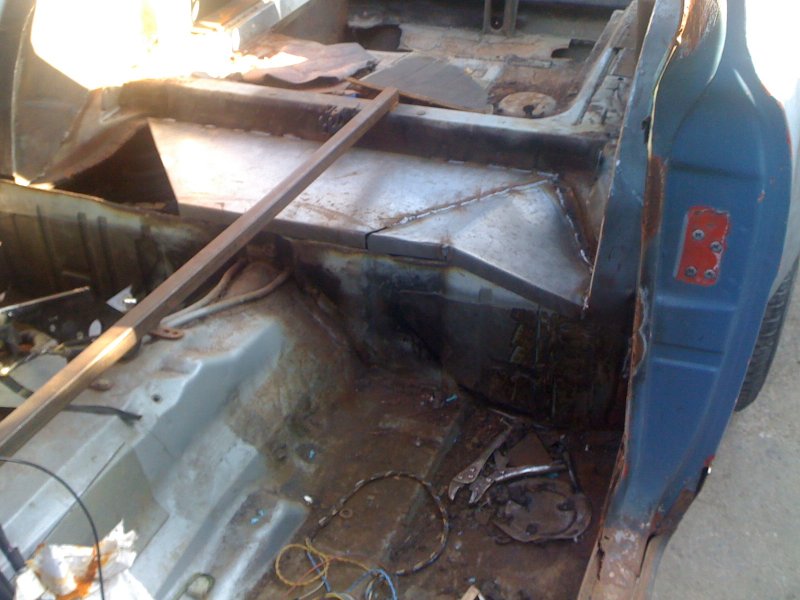
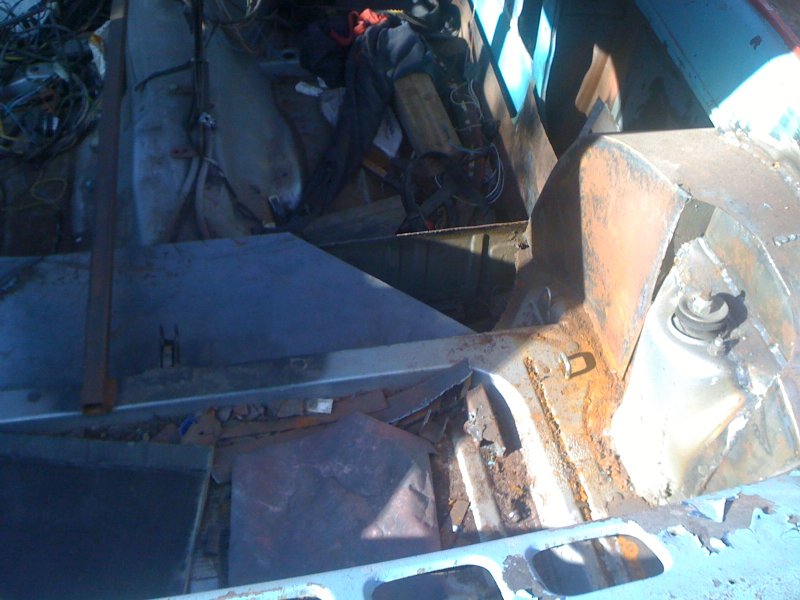
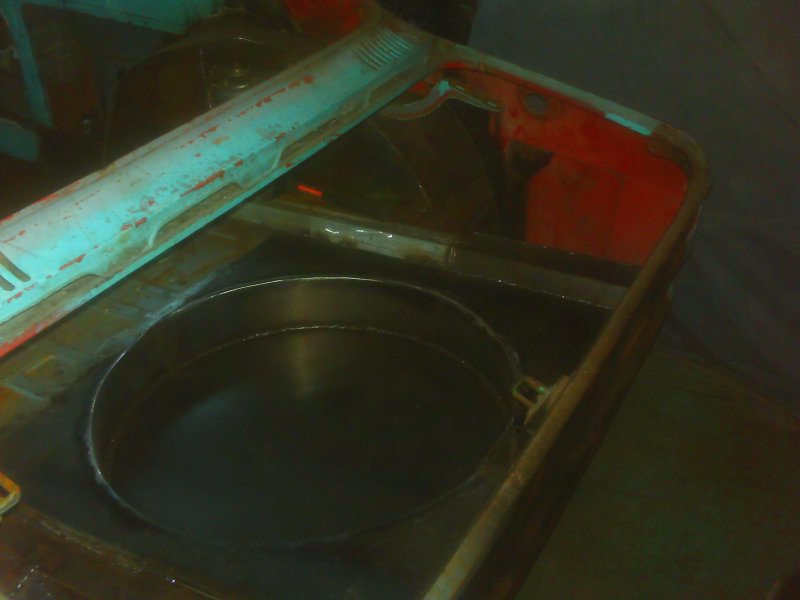
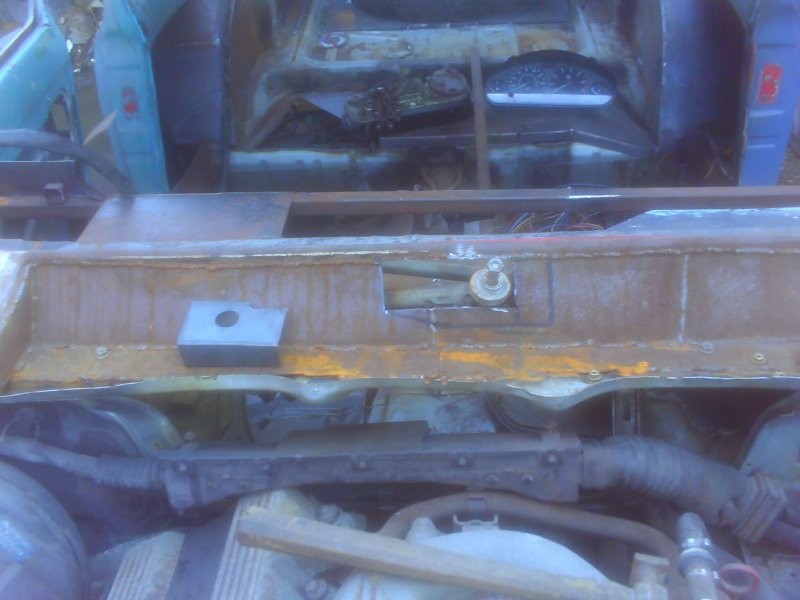
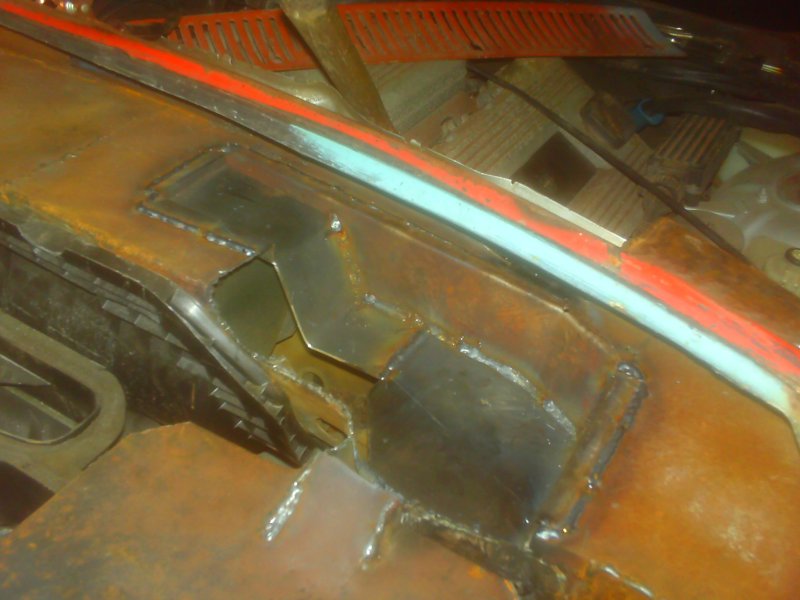
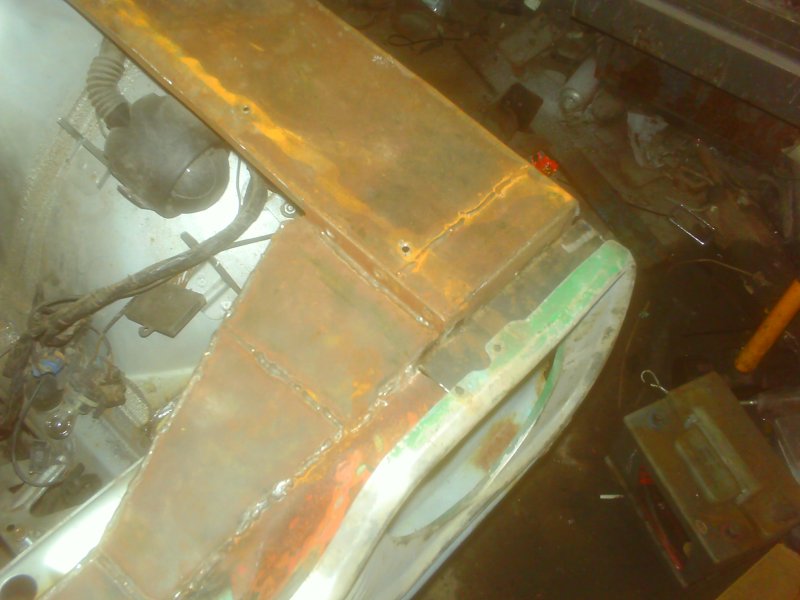
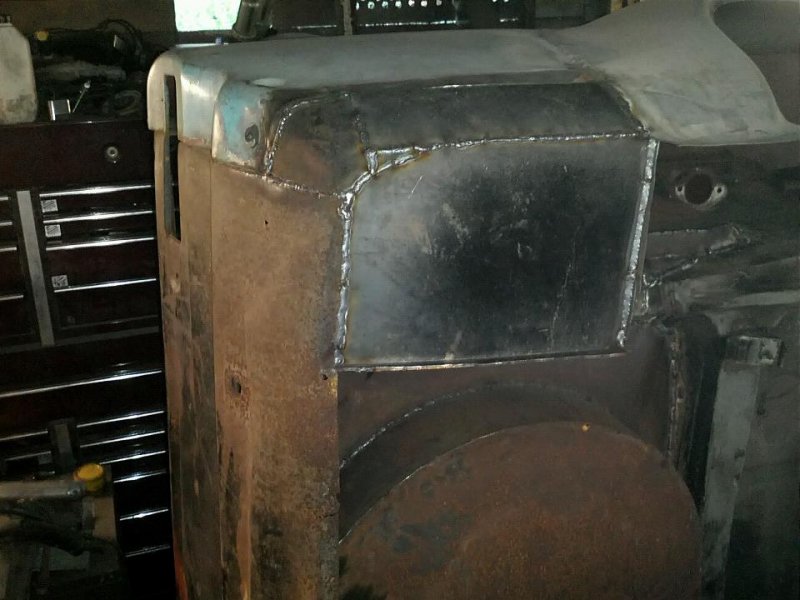
Bmw compact is a shade to long, so needed to remove 300mm out of the middle, I decided to do this by removing a section where the fuel tank sits
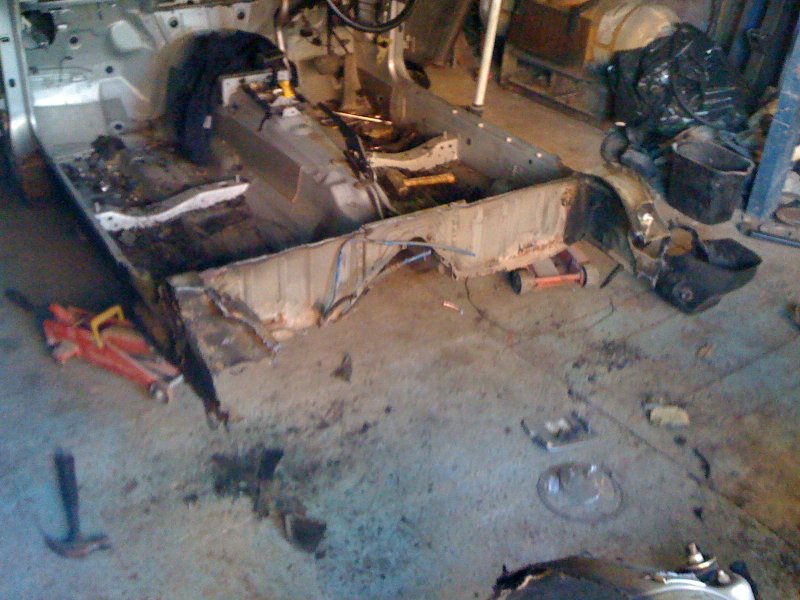
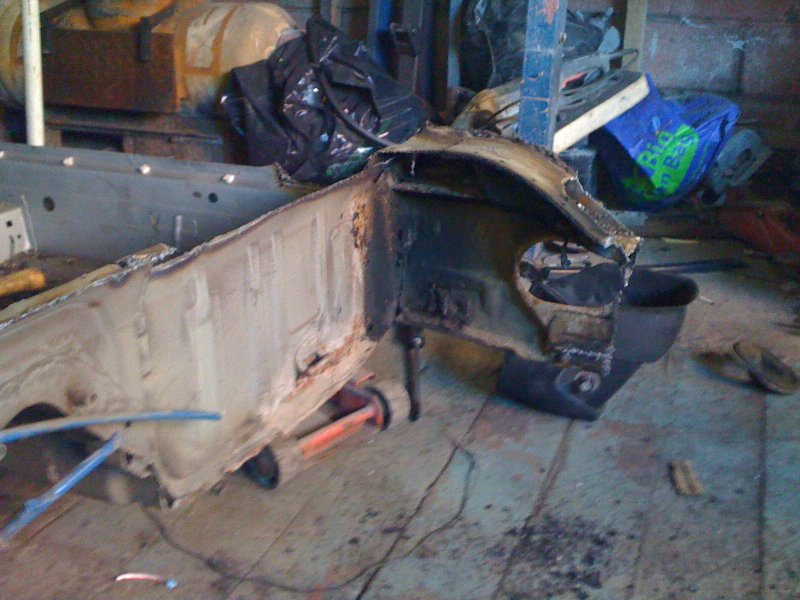
Excess removed
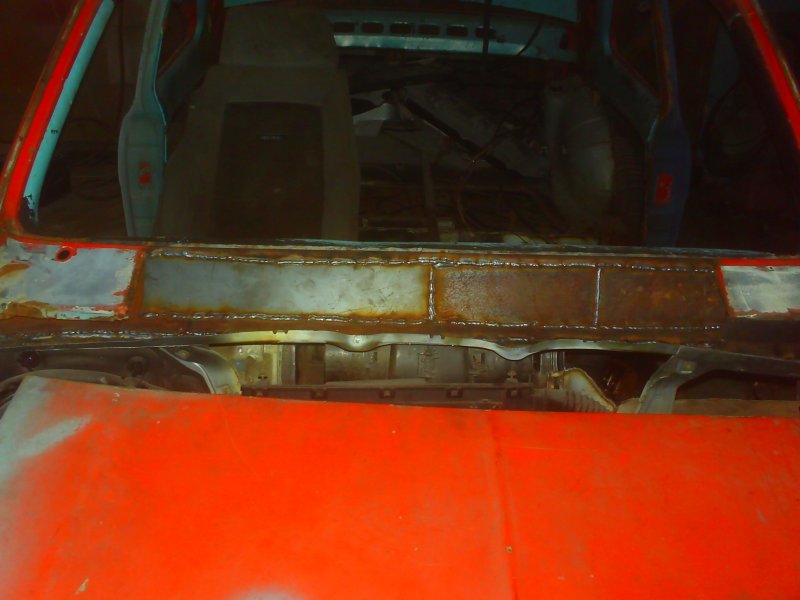
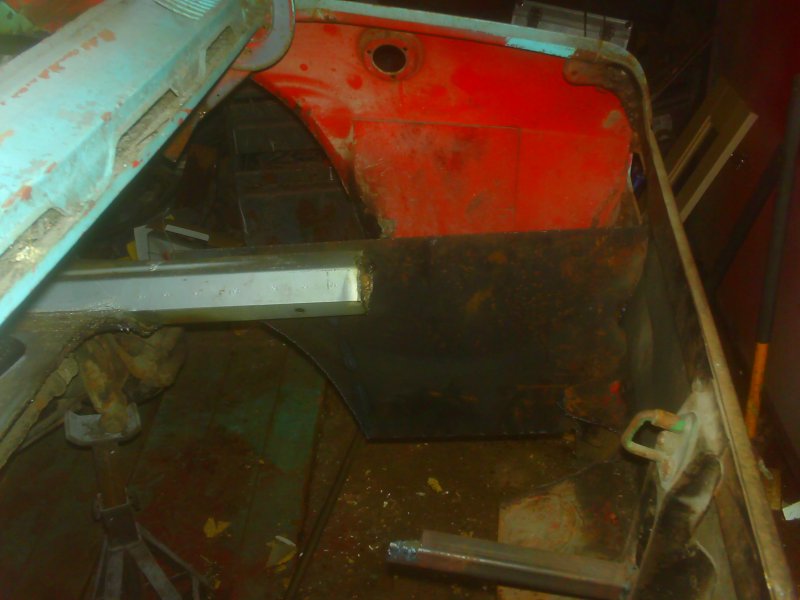
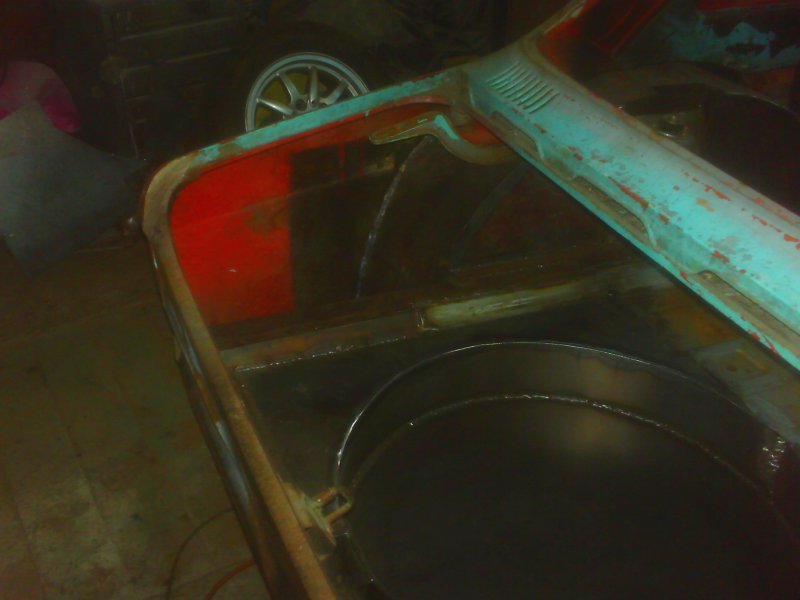
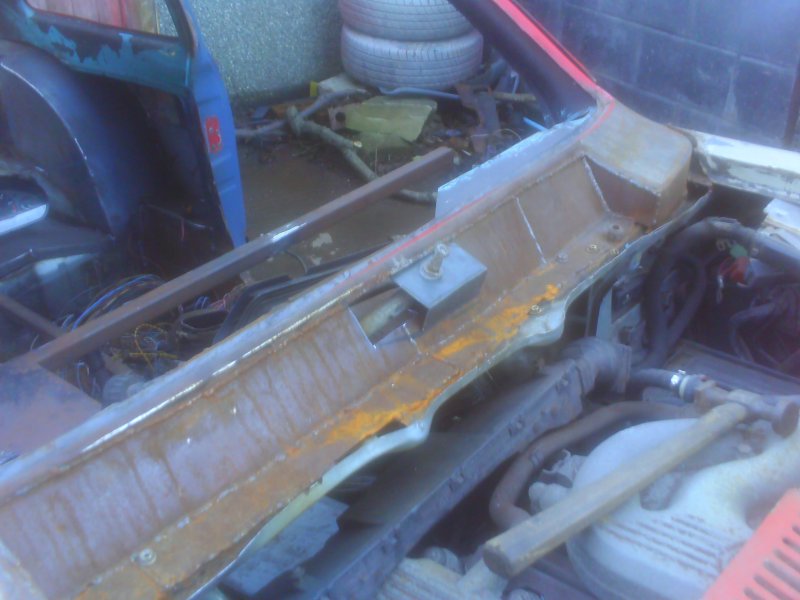
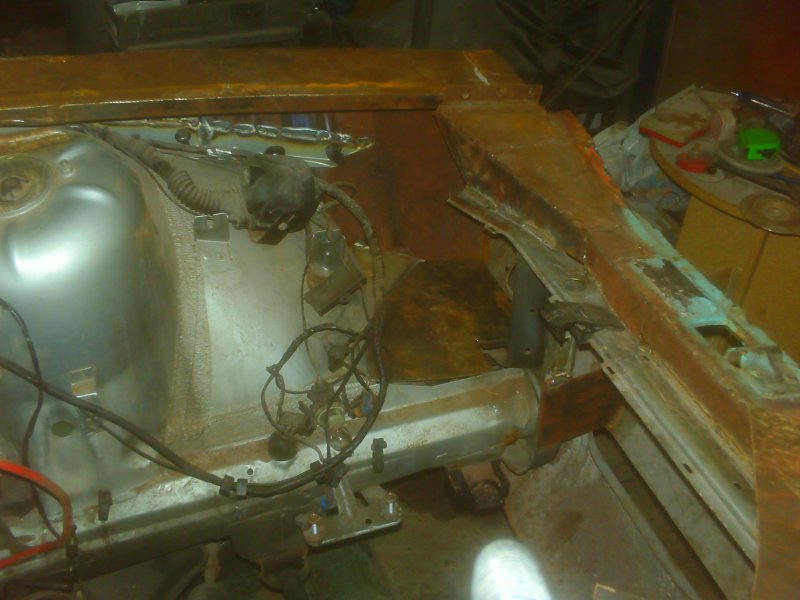
brought back together
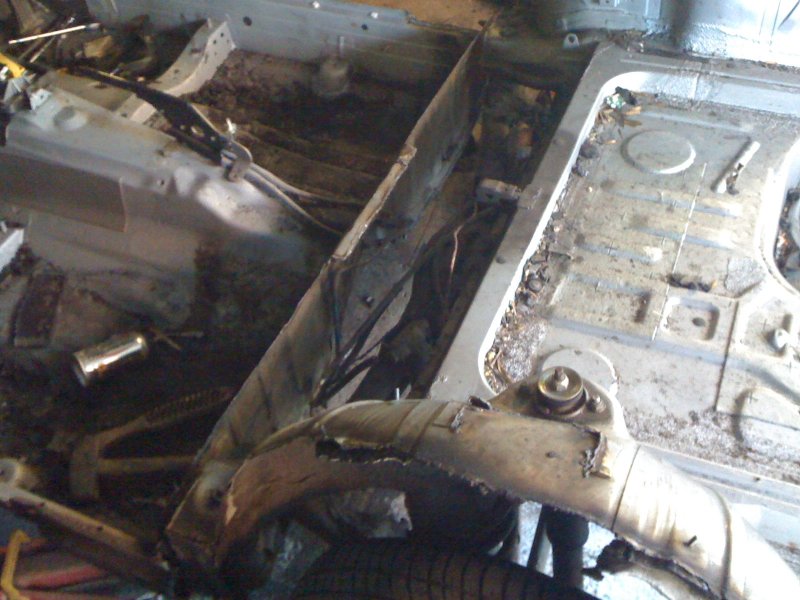
Piece of box section welded in place for the time being to keep it straight
This bit of welding was later removed, it was only on there temporarily to keep it strong till it was ready for final fabrication of this area
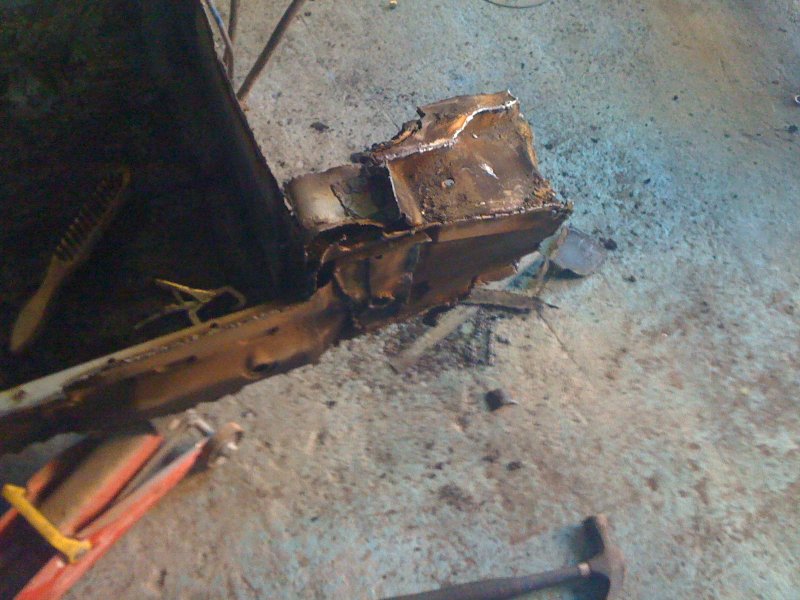
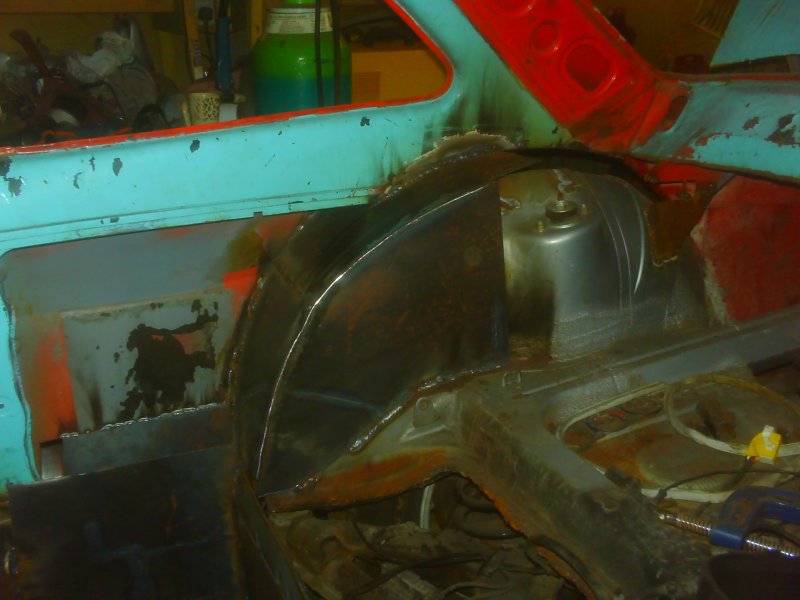
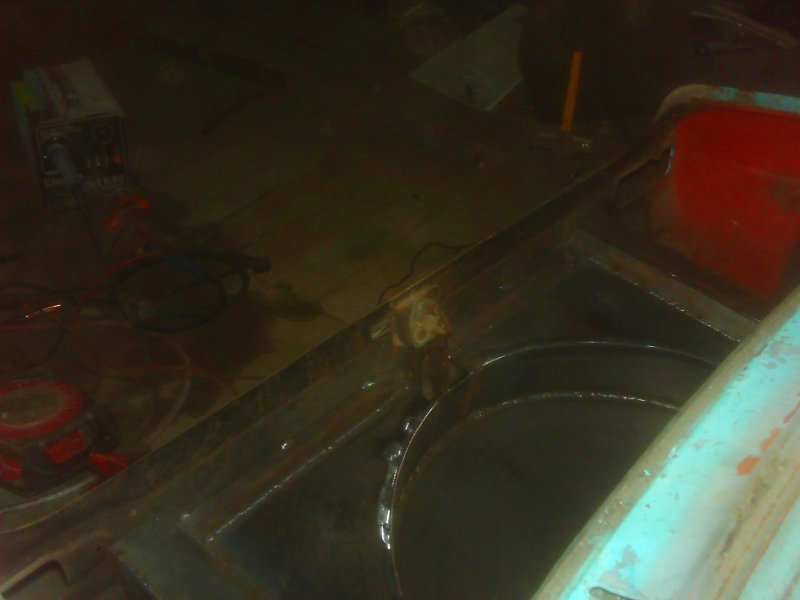
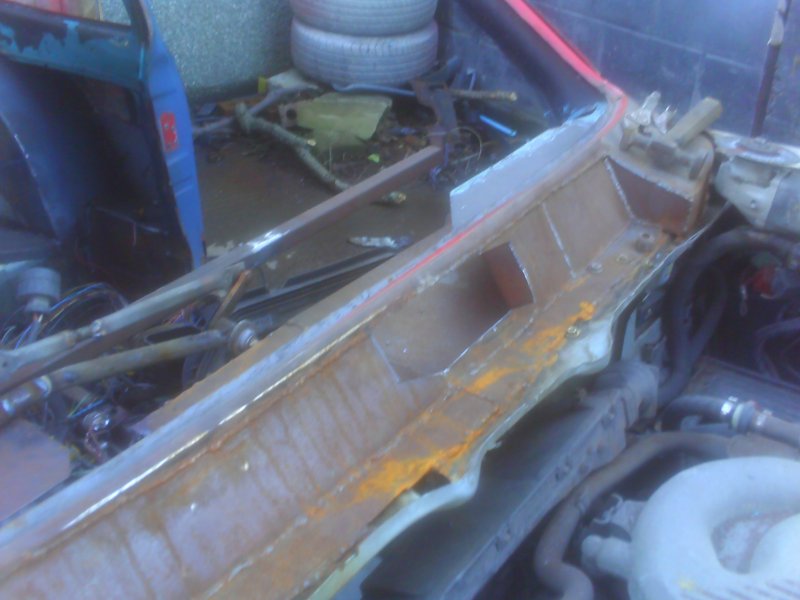
shortening the car here managed to keep the handbrake cables as standard
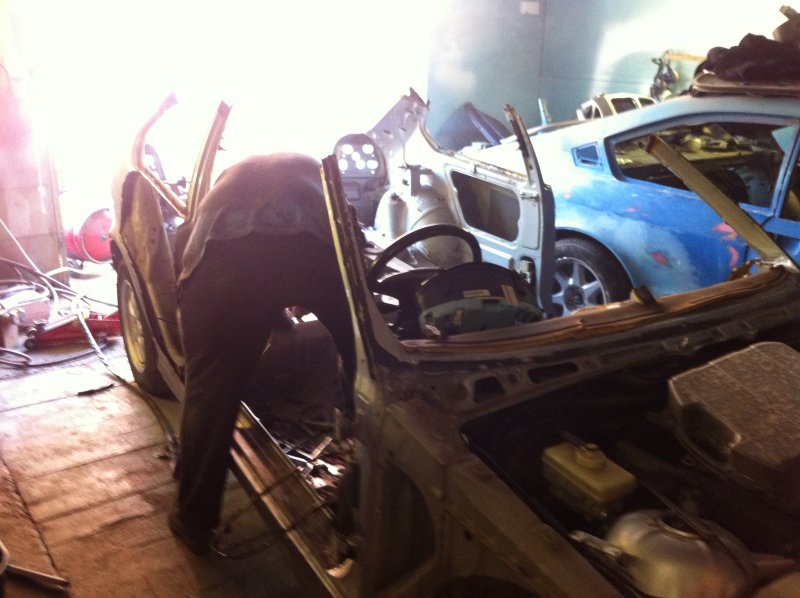
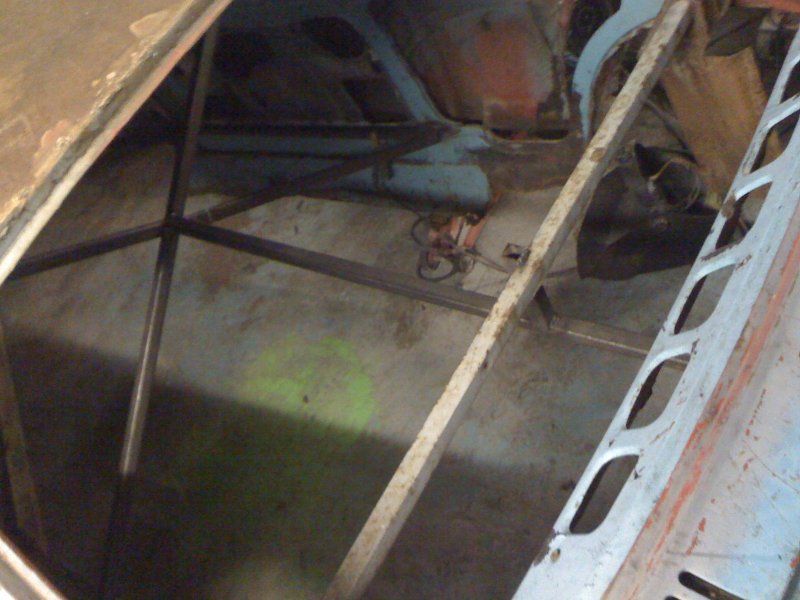
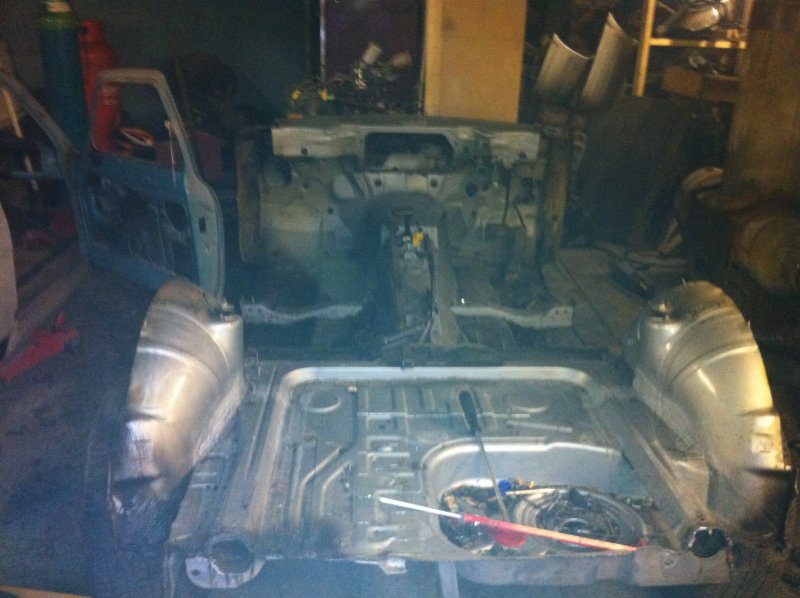
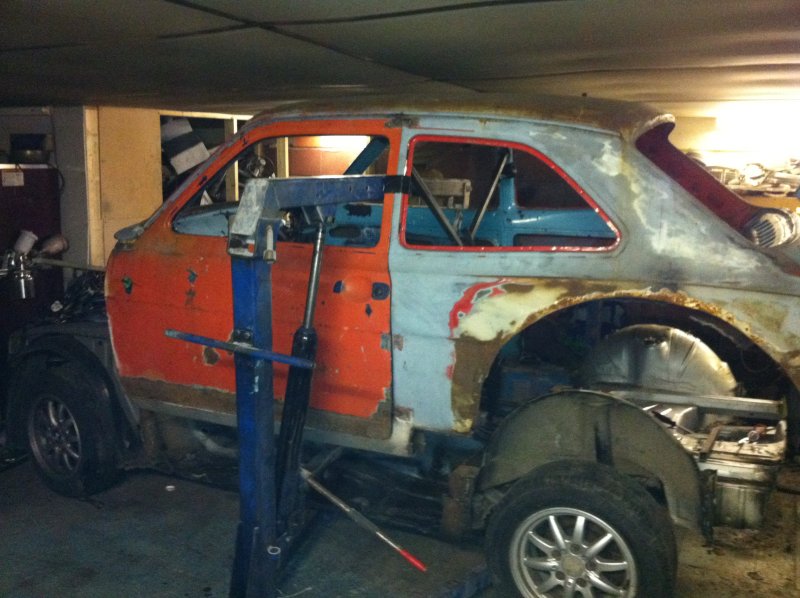
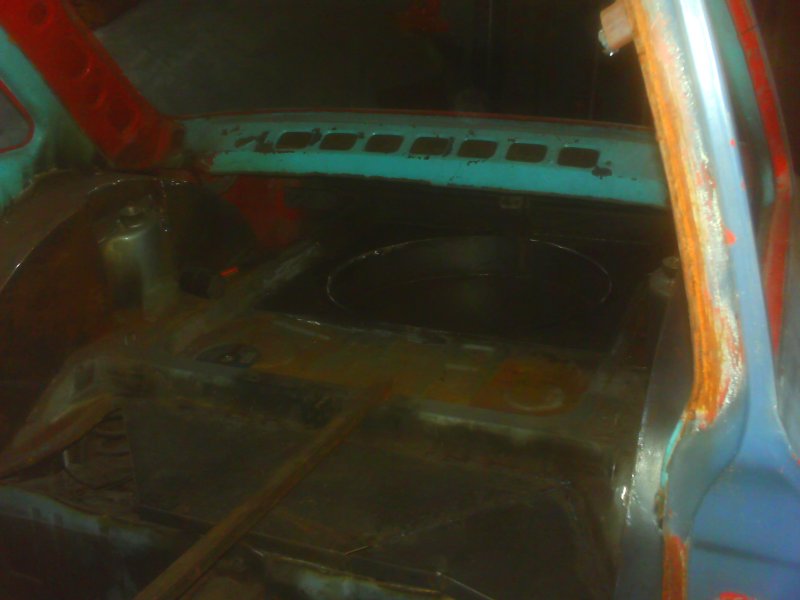
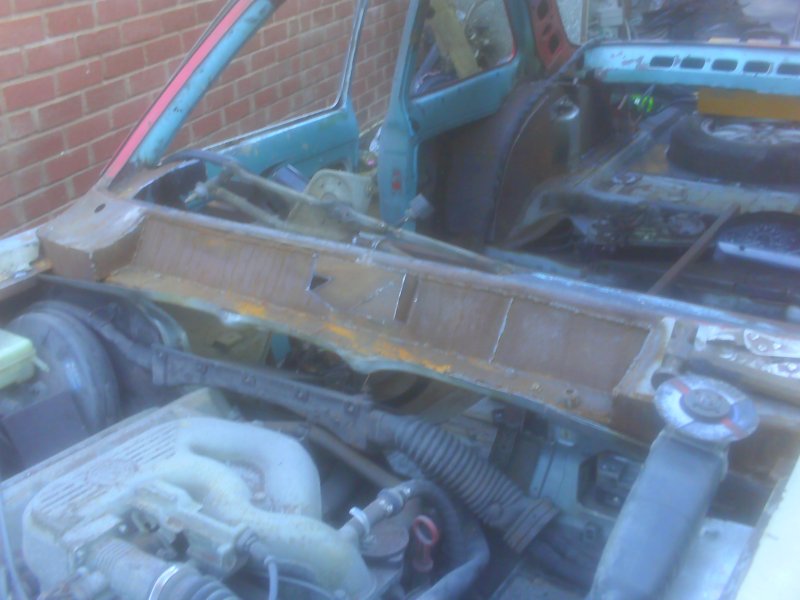
Fuzzy shot, but the shell besides the floor
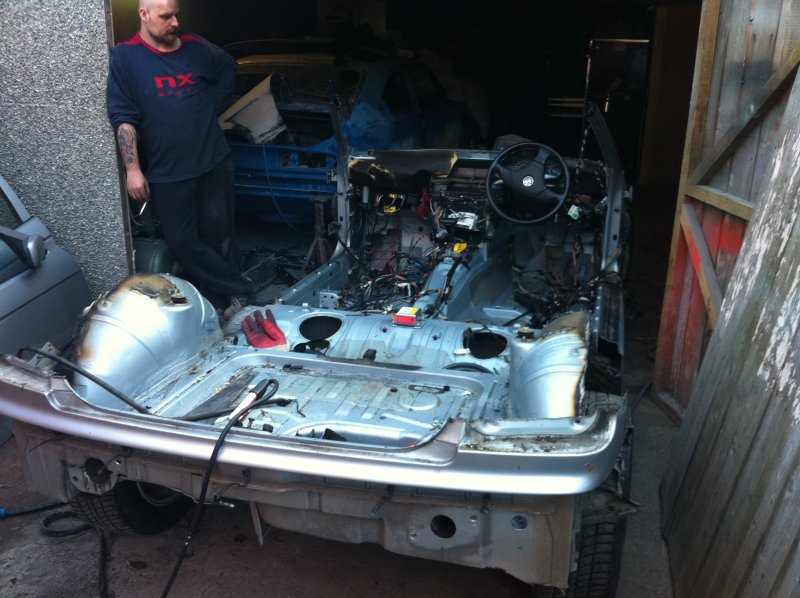
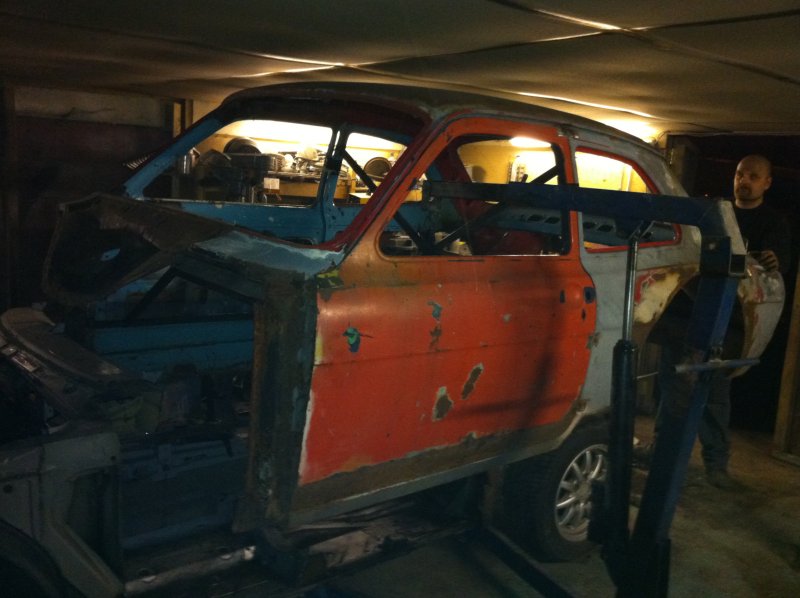
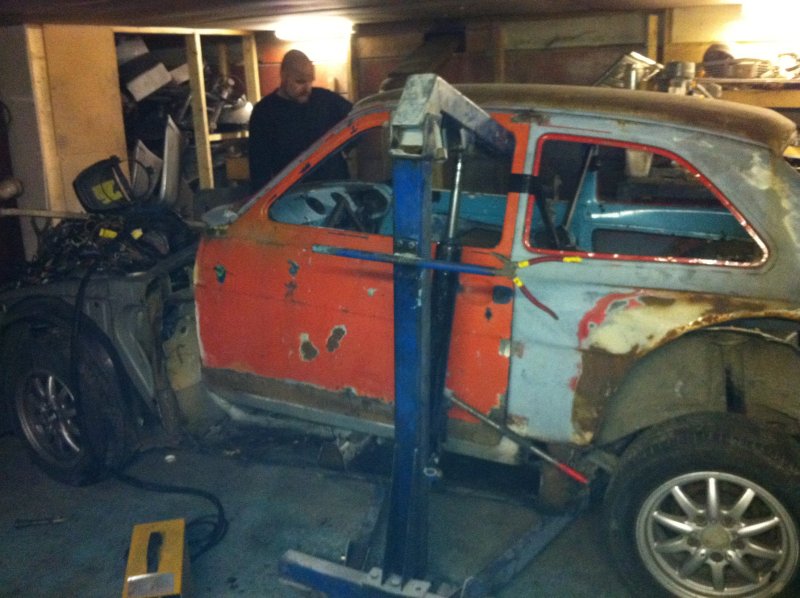
I welded the doors shut to get the shell straight, then braced up the inside to keep it that way
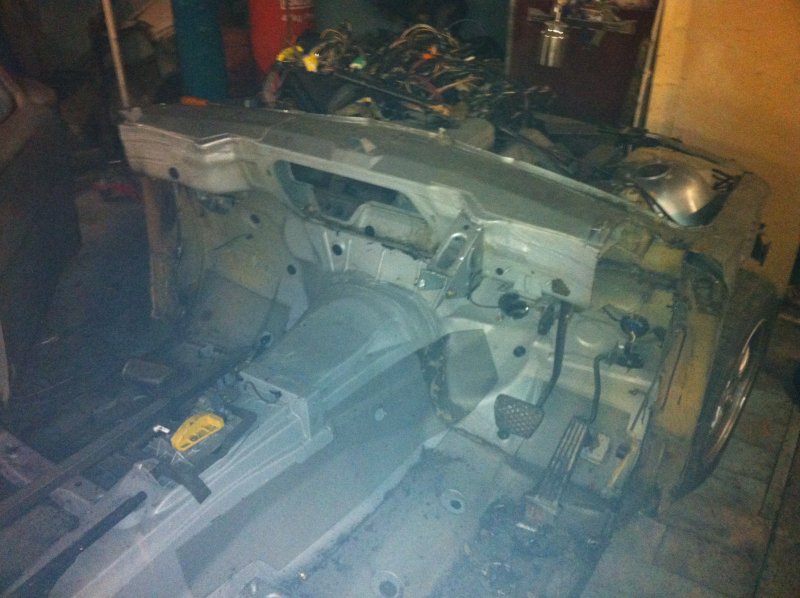
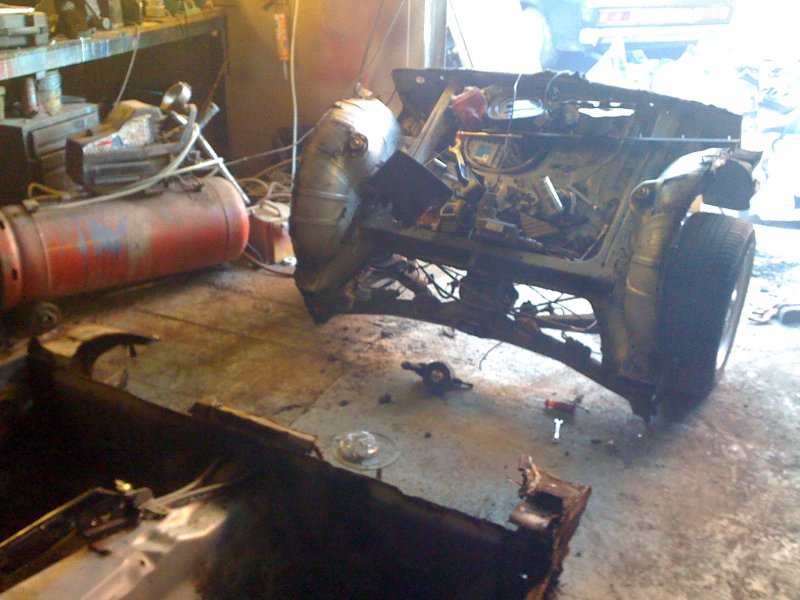
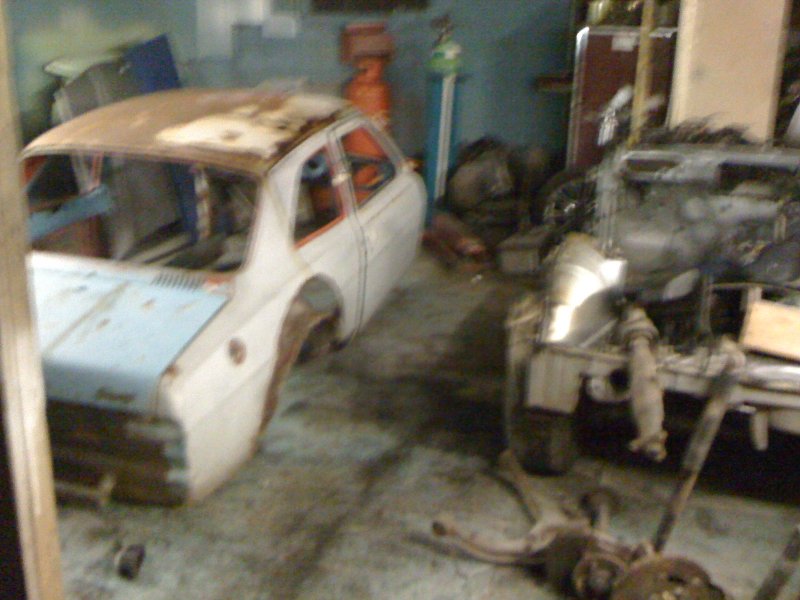
Good ole engine hoist coming into play
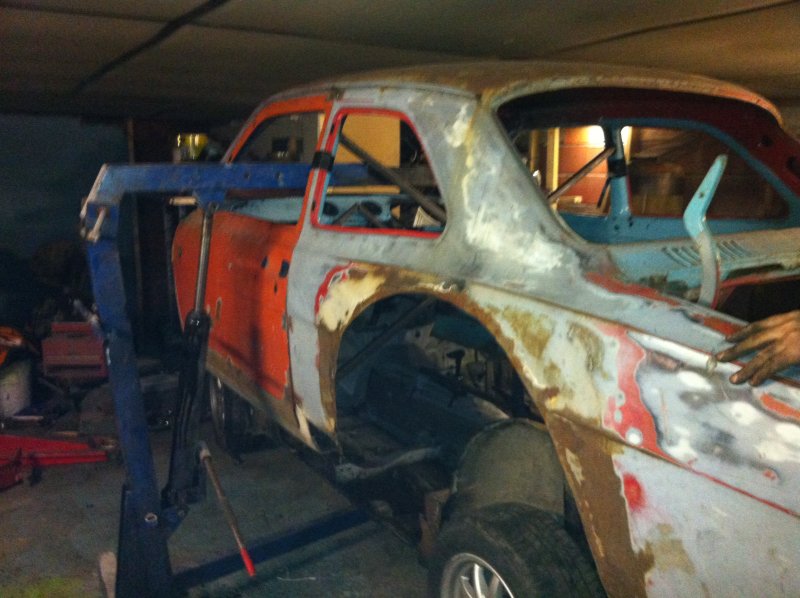
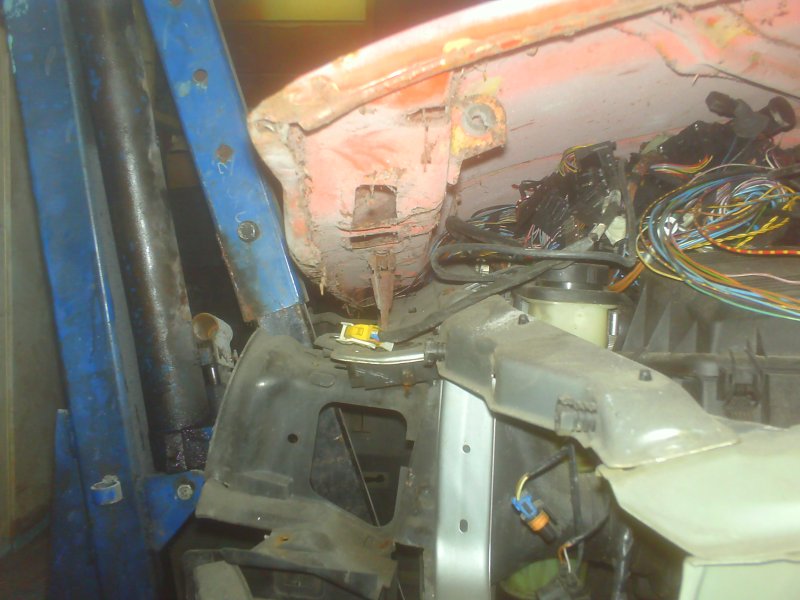
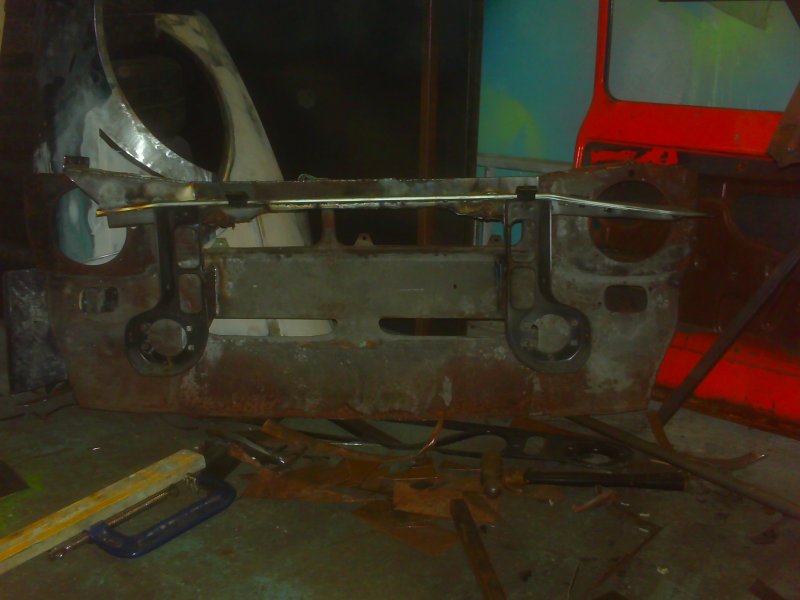
I had to rest the body on some 2x2 box section so that the front scuttle could rest on the e36 front scuttle
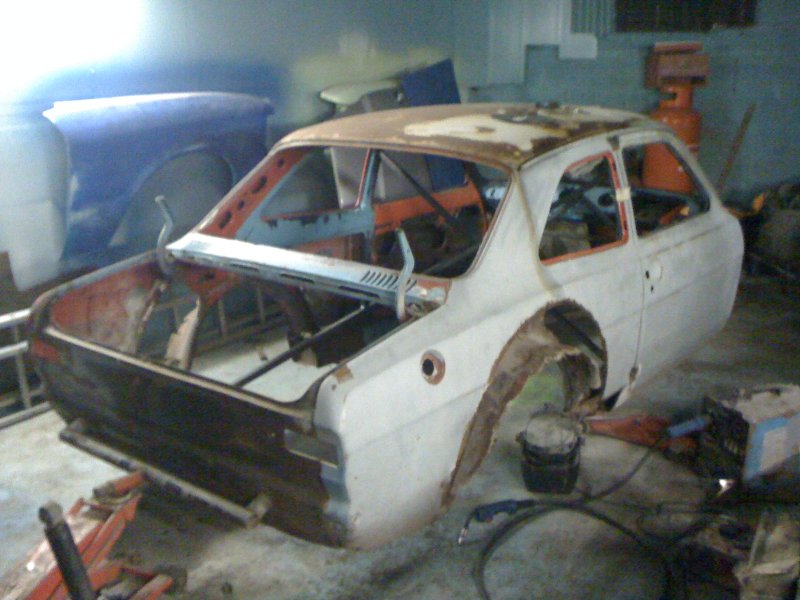
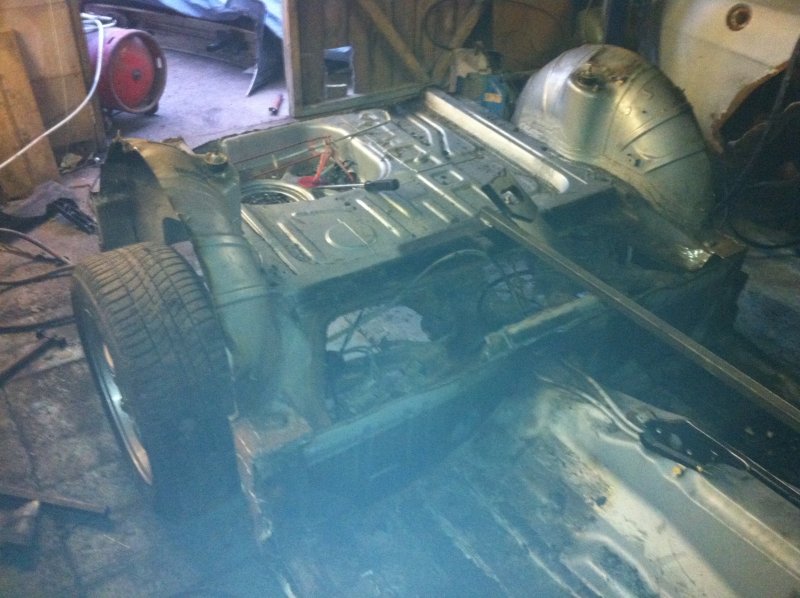
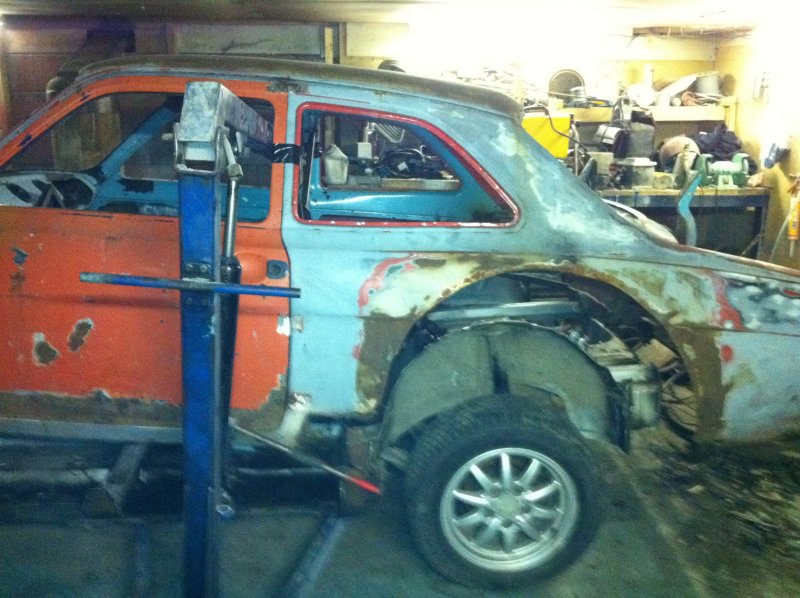
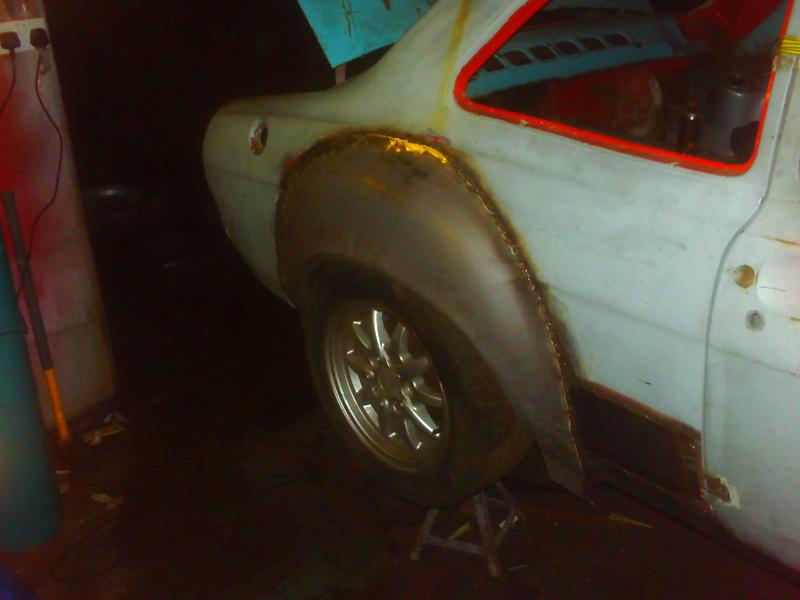
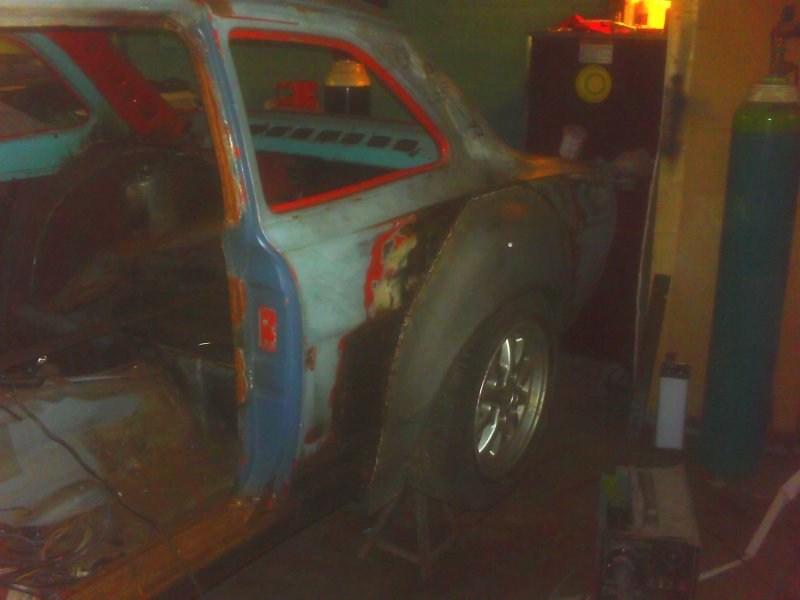
crappy fibreglass arch screwed back on to check for wheel and aperture alignment.
Still sat on the 2x2 box
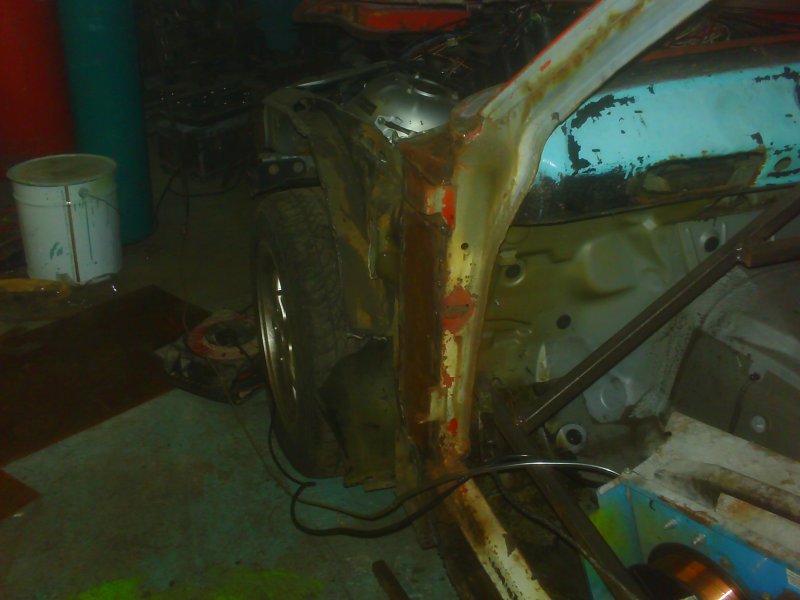
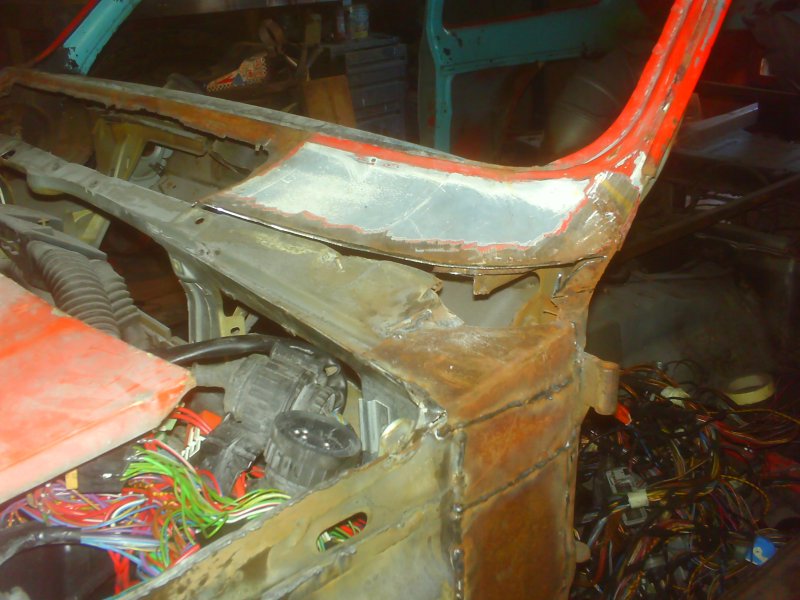
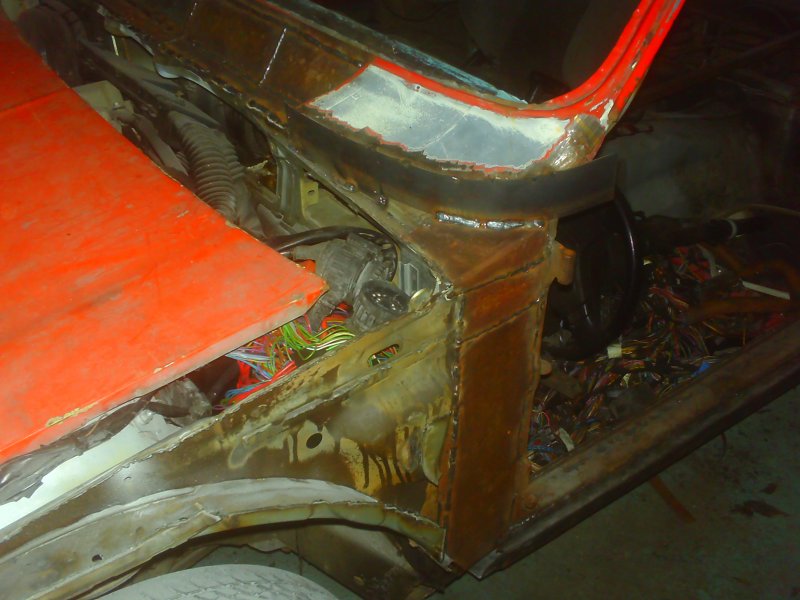
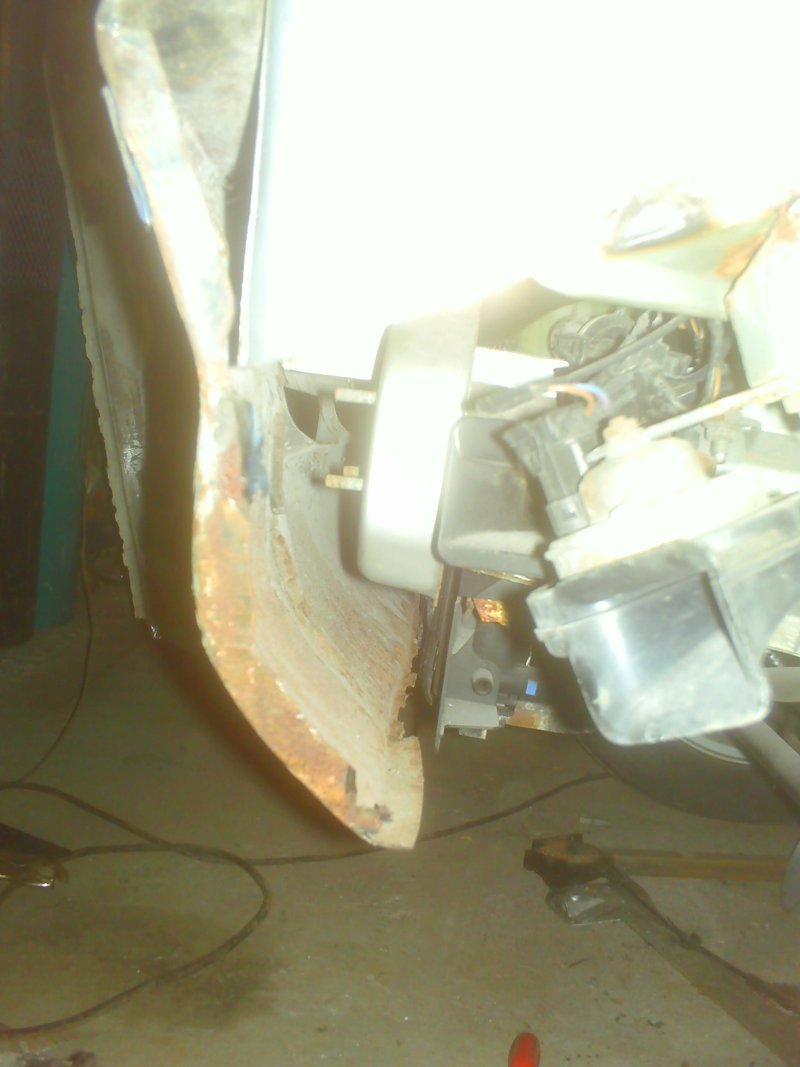
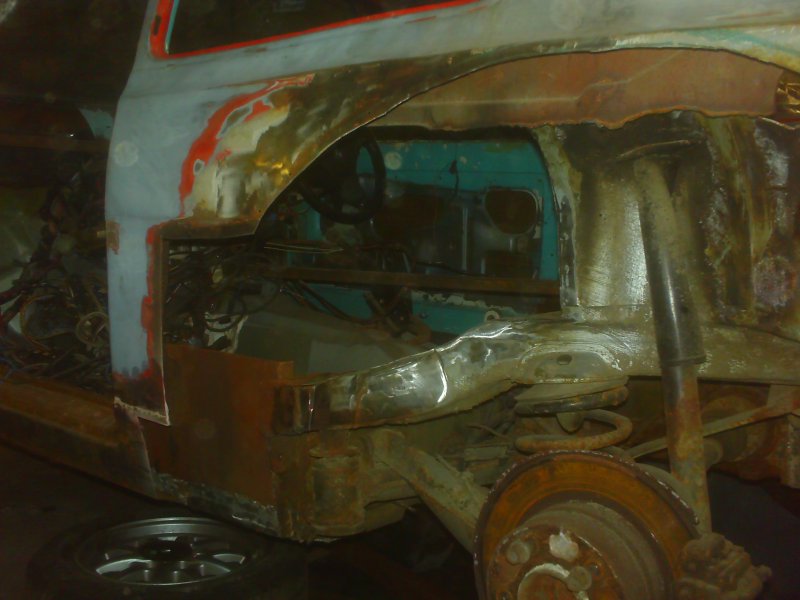
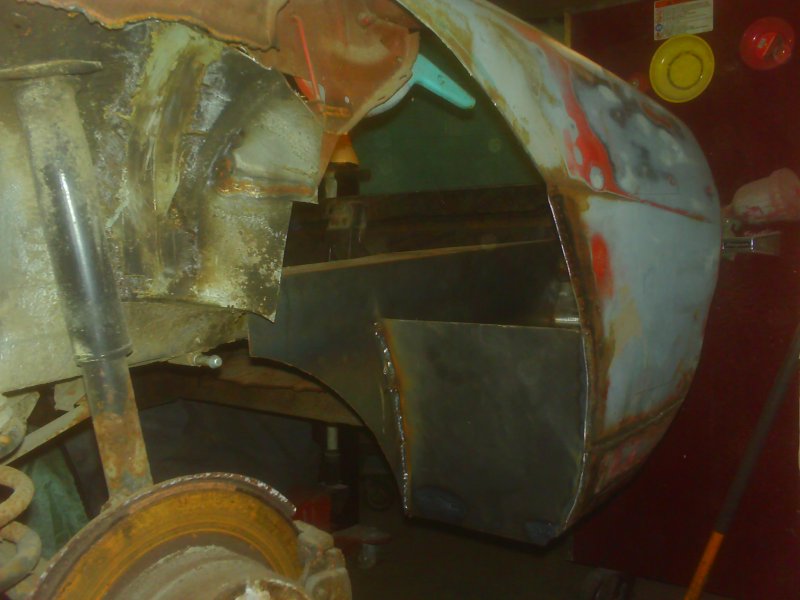
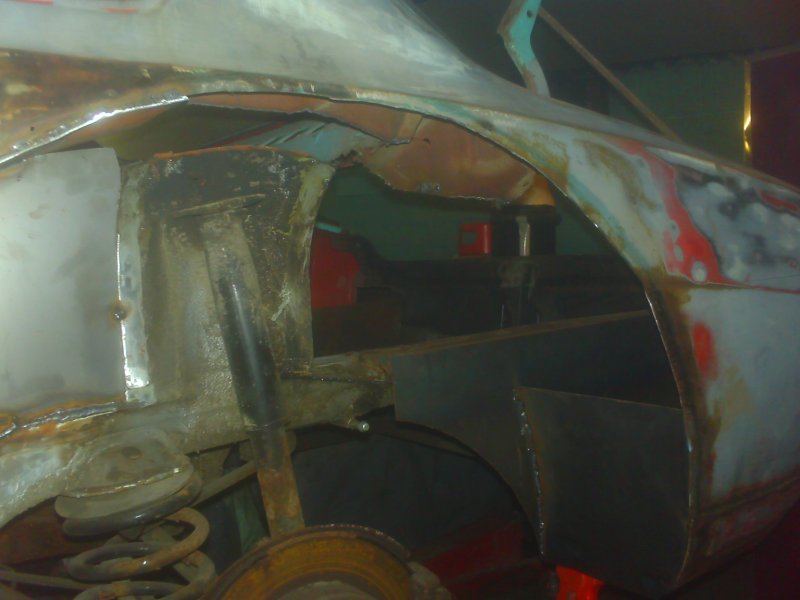
can see in these shots where the Bmw inner wings are x amount wider than the escort A posts, these got trimmed right back.
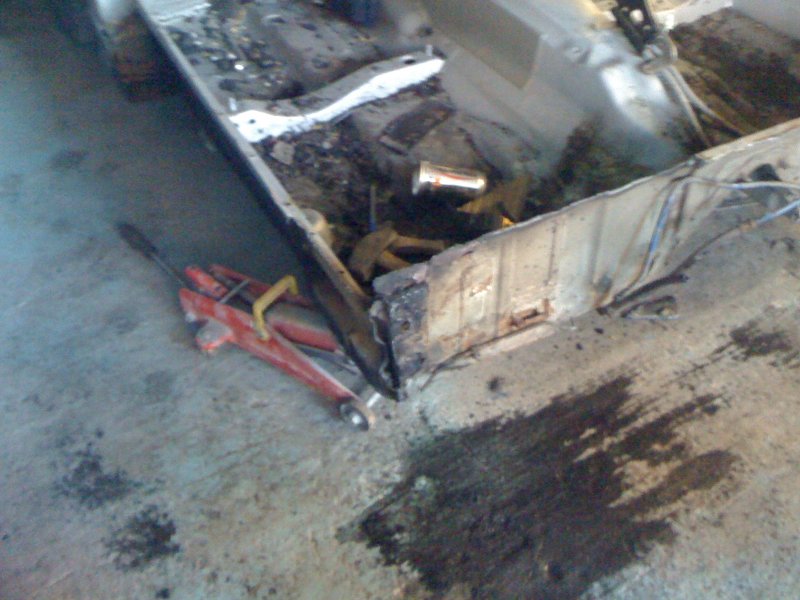
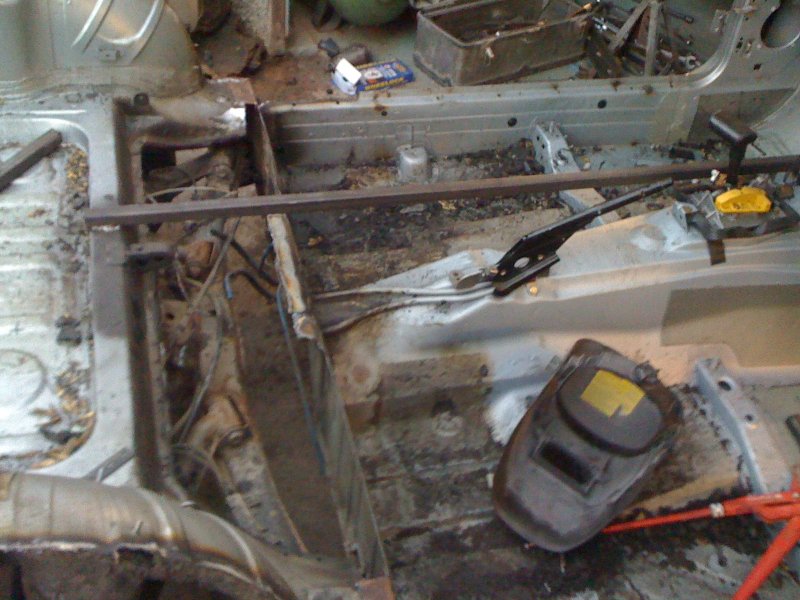
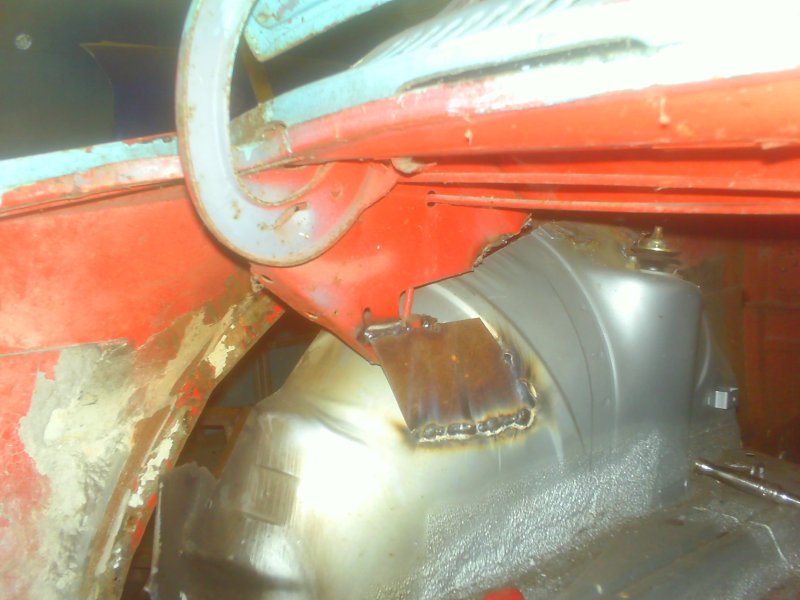
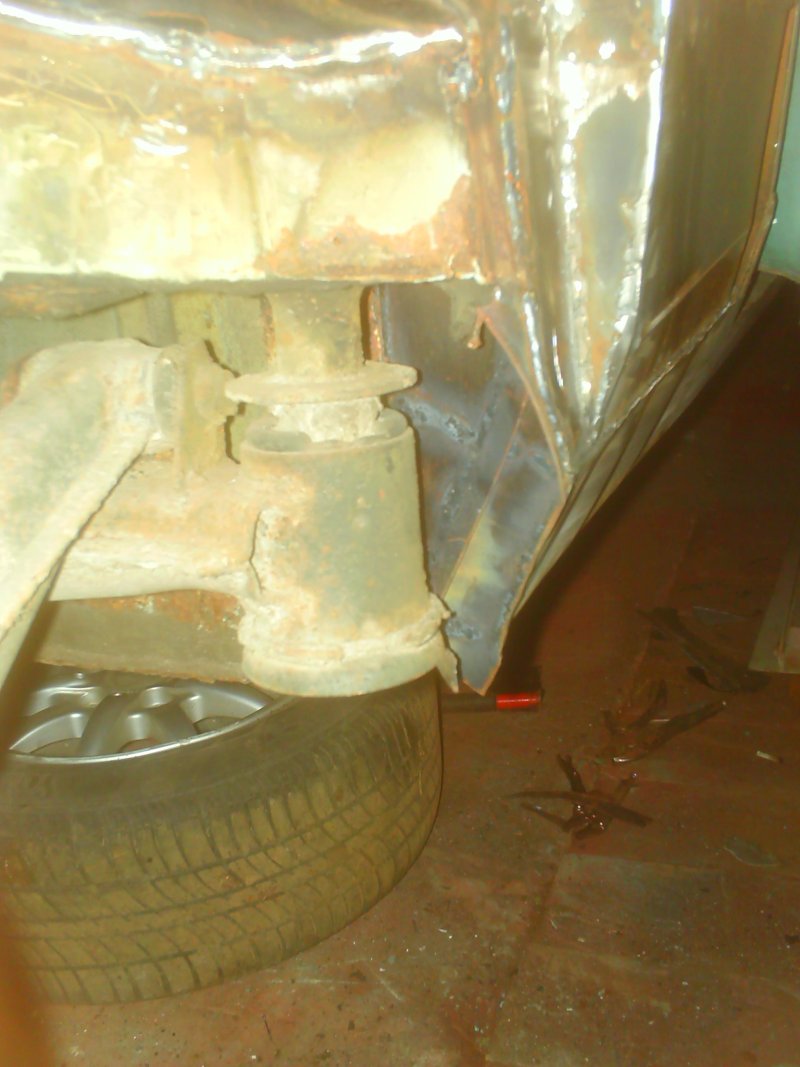
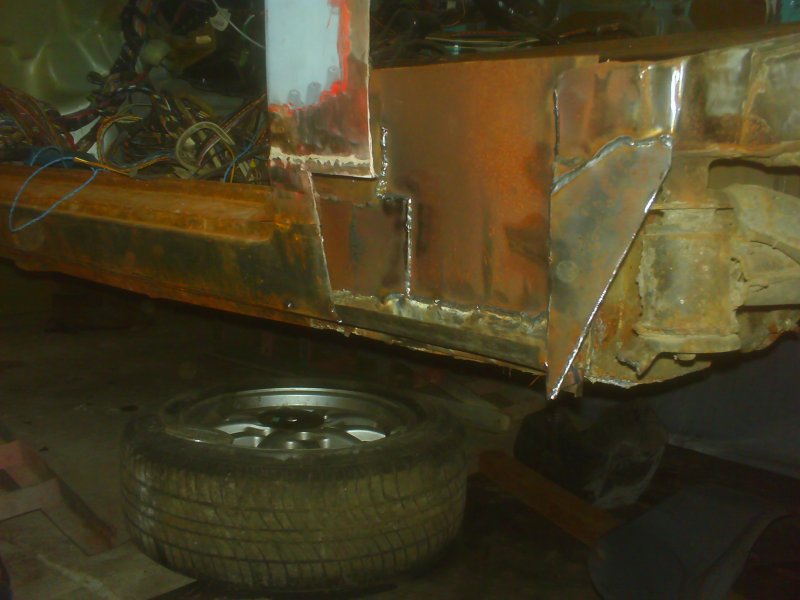
I put these tags in for the time being to hold the shell the right distance of the floor pan, these were later cut out and done properly when the rear tubs were fabricated.
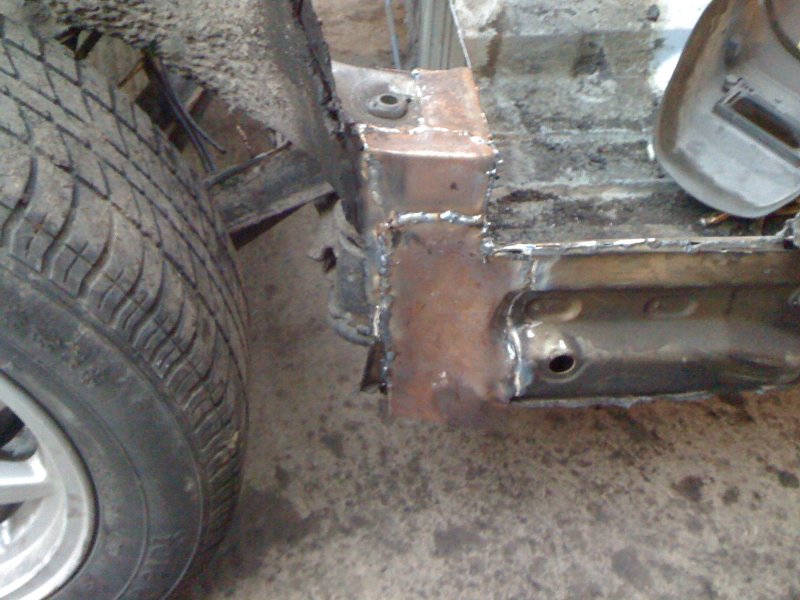
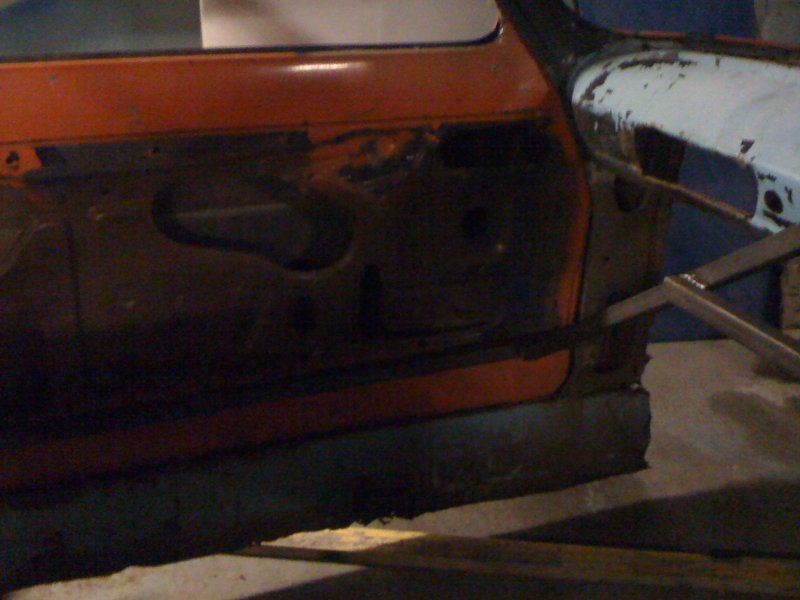
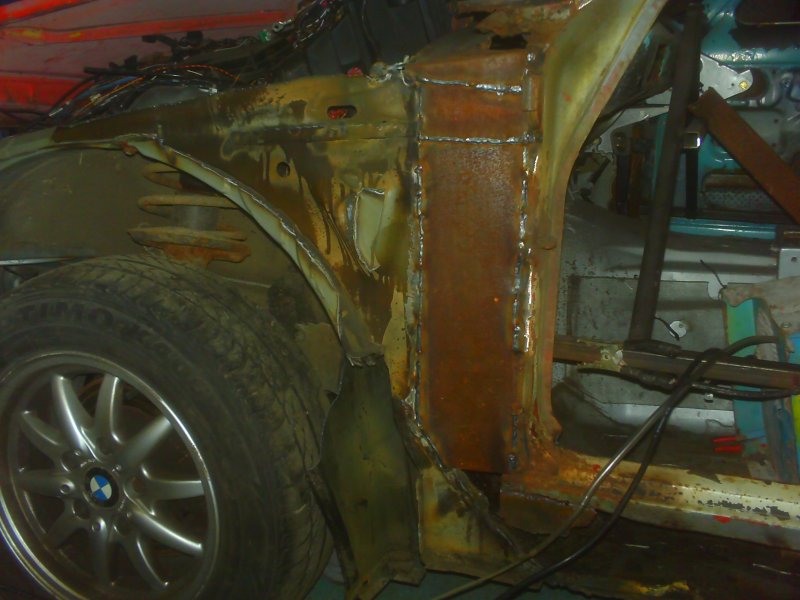
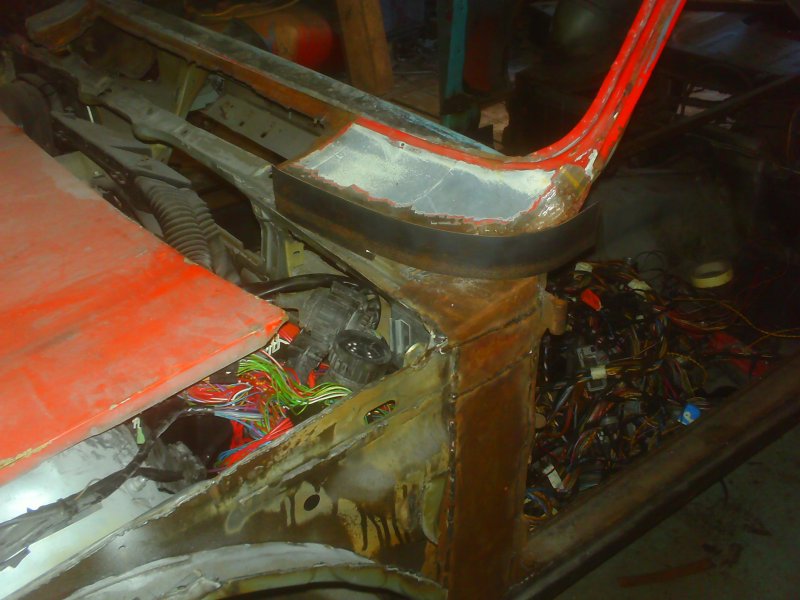
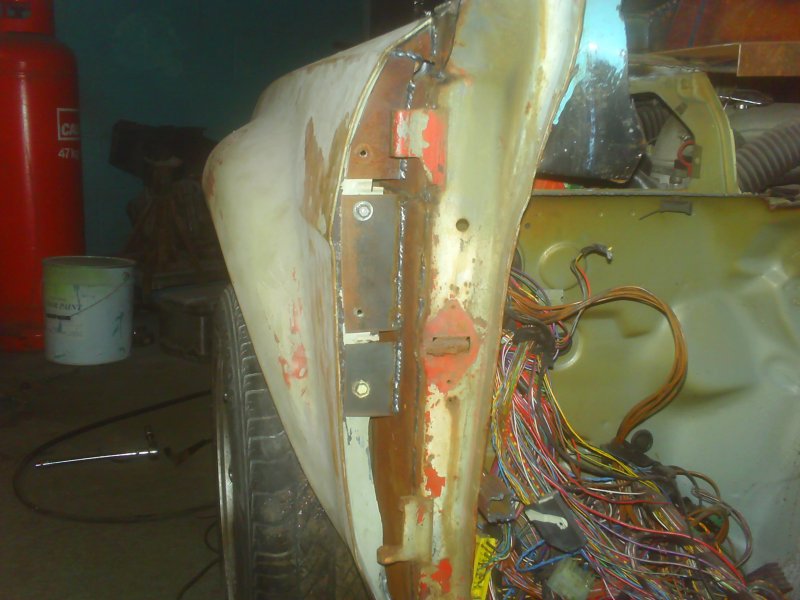
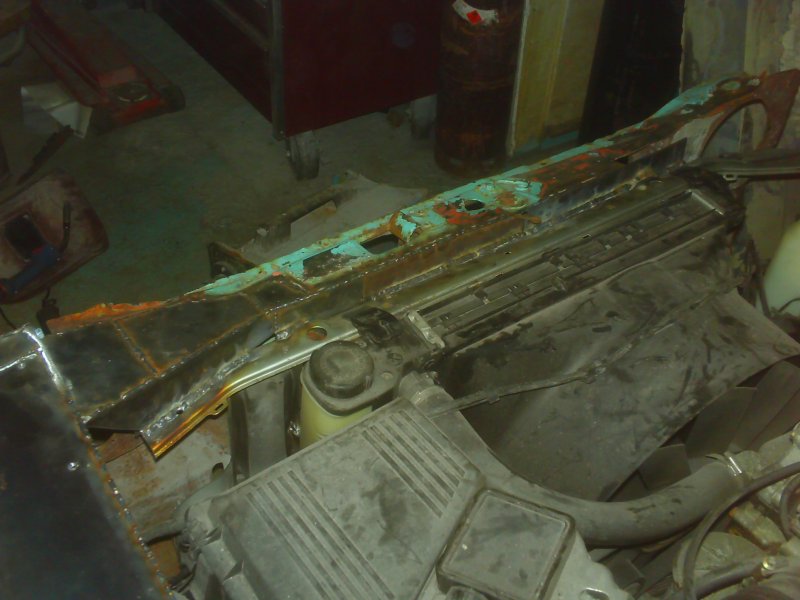
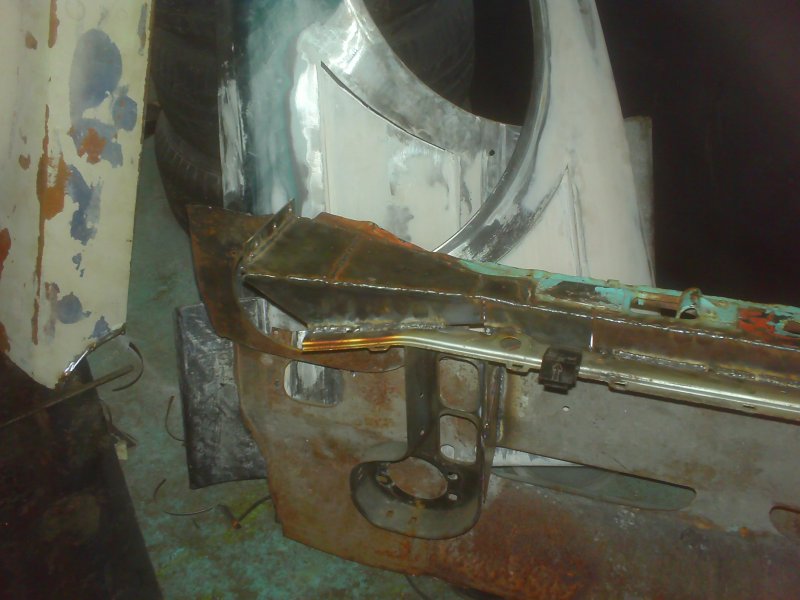
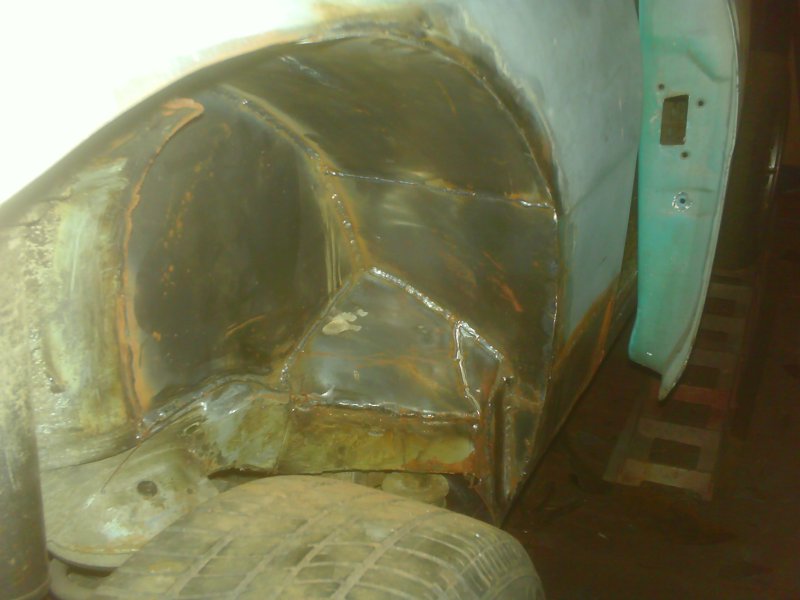
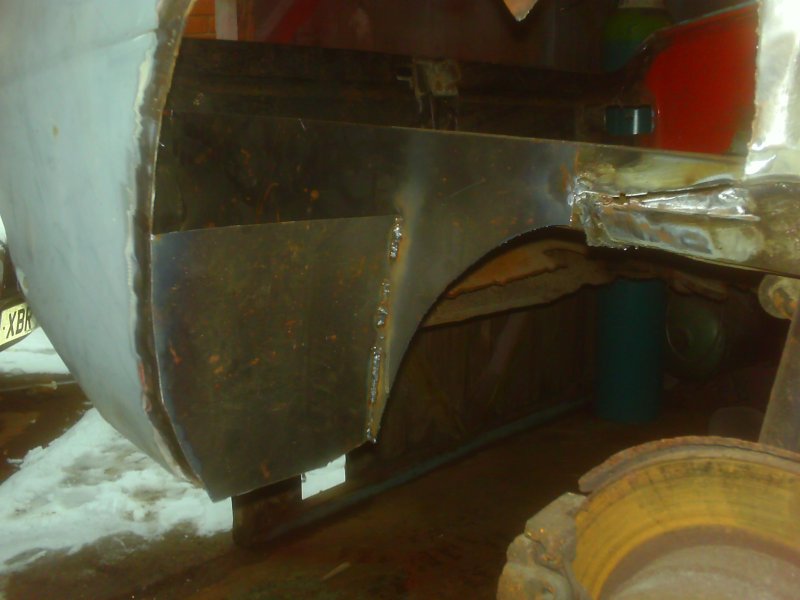
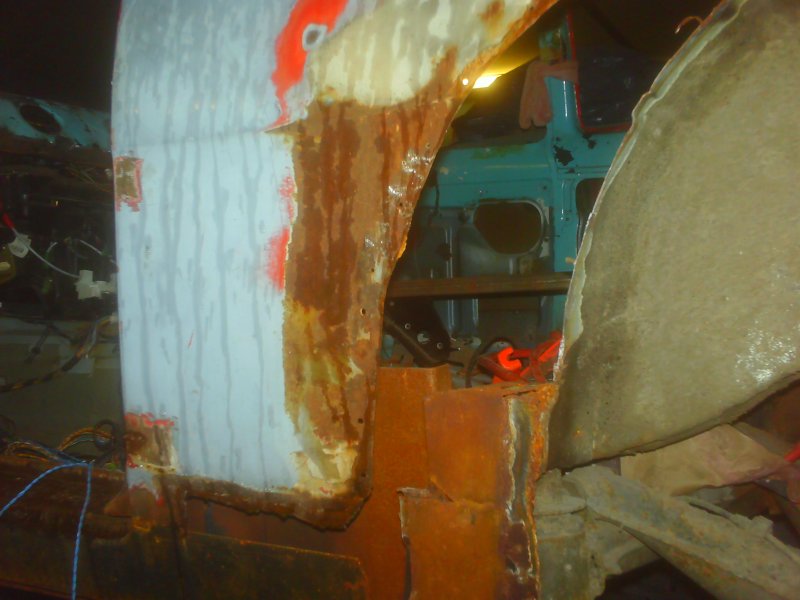
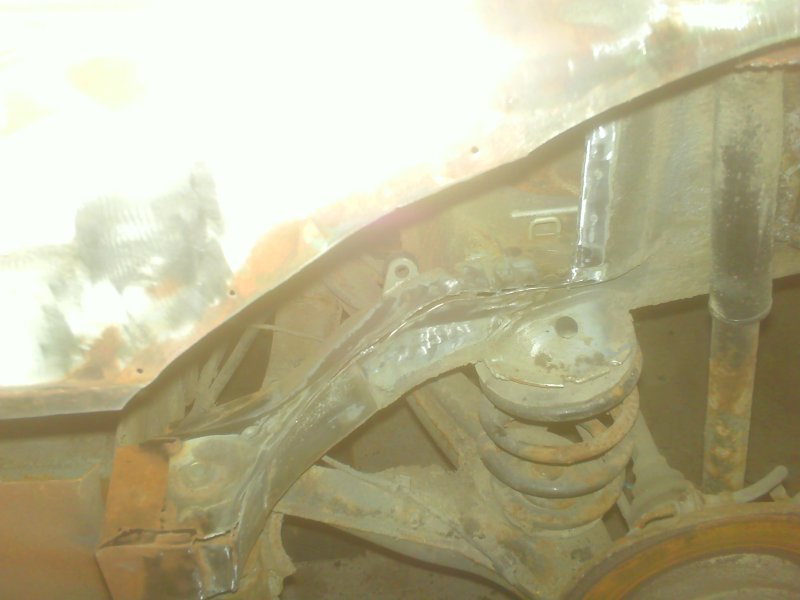
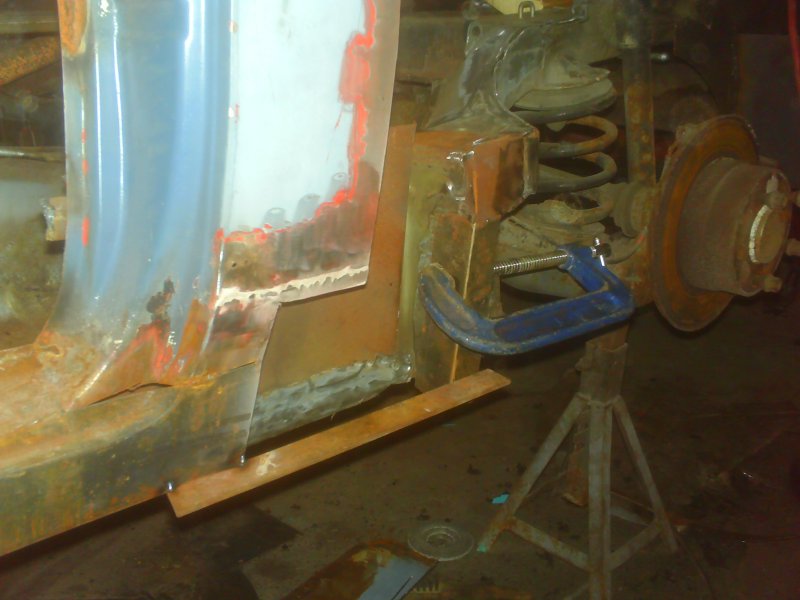
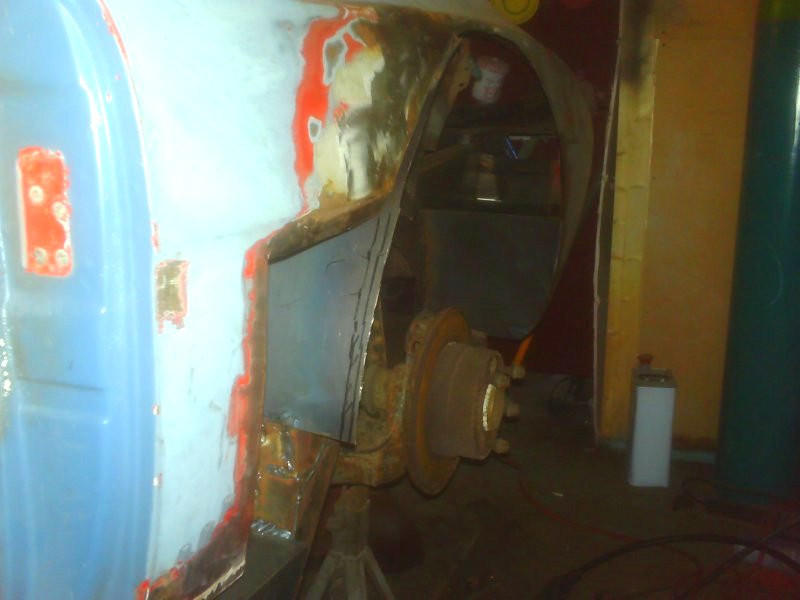
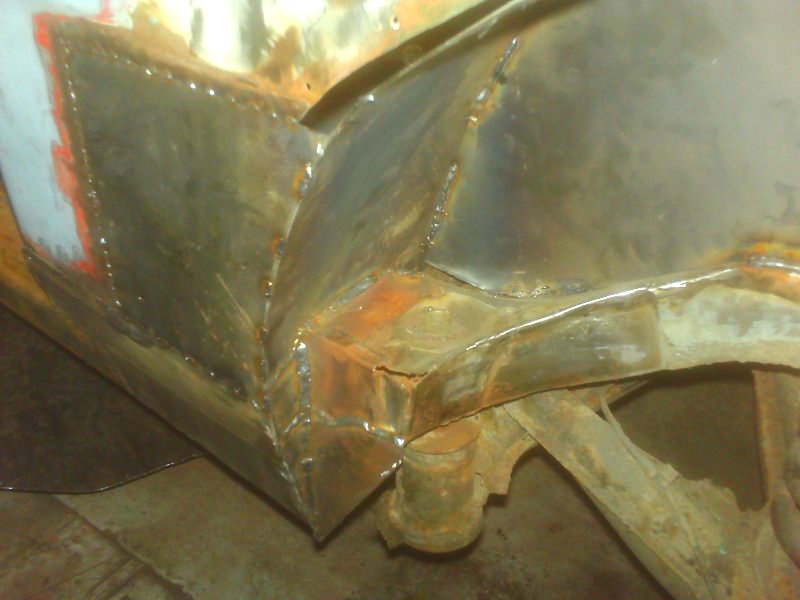
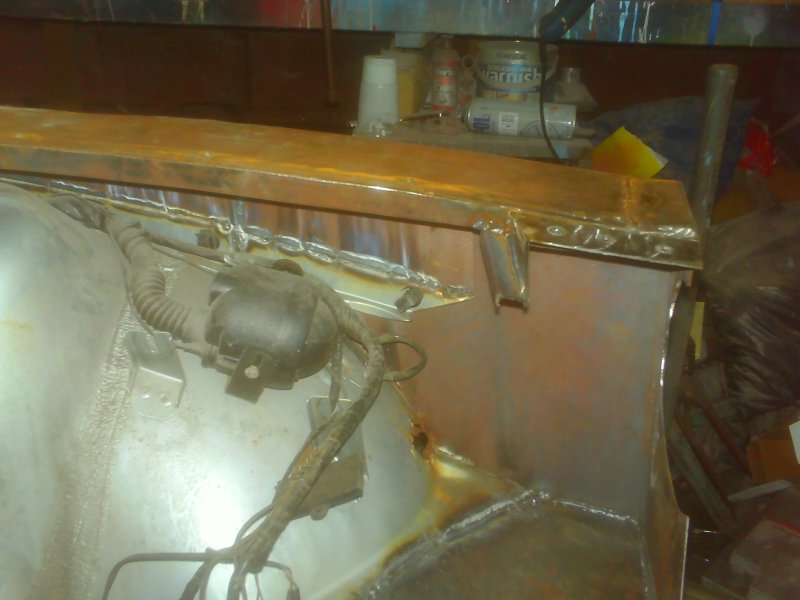
A post to Bmw inner wing made....the welding looks a bit poop, but its full thickness with good penetration, just a shame about the surface rust, but this will be easily cleaned of at a later date.
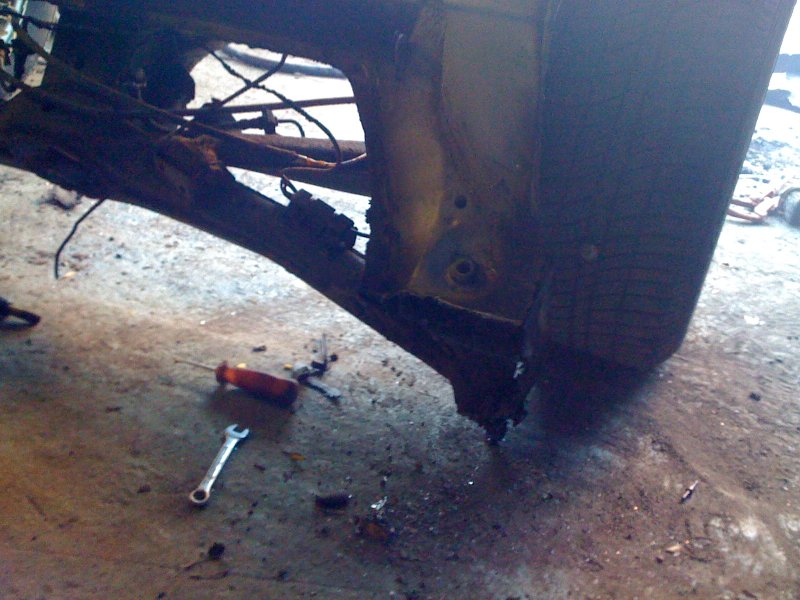
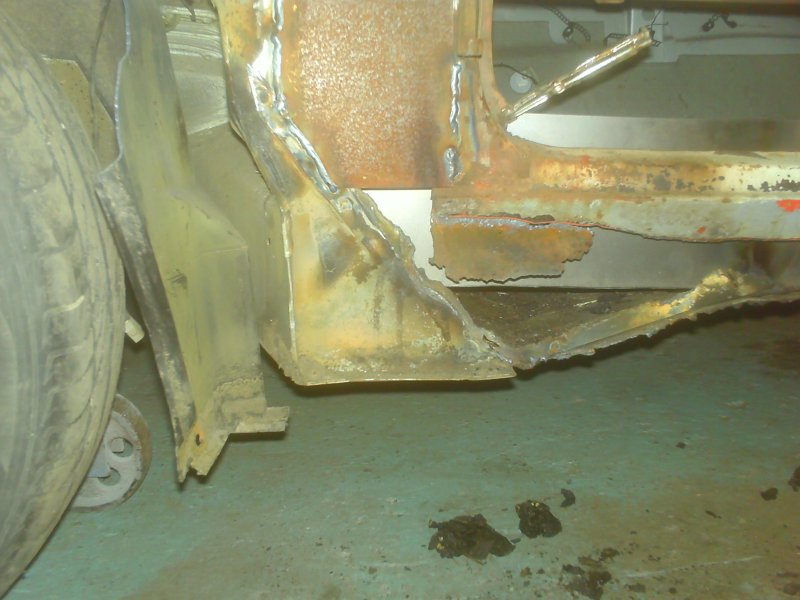
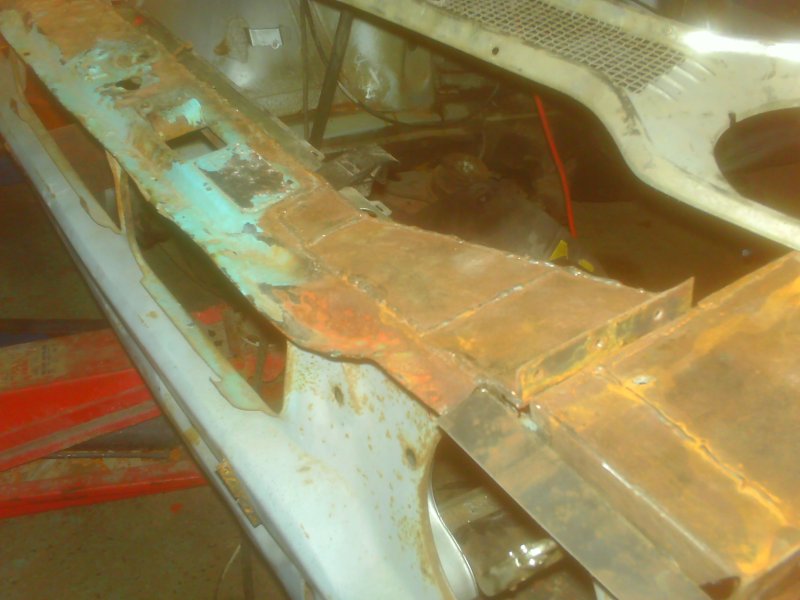
The lower chassis box section, 2 inches lower than the Escort sill/floor, so this will need re-profiling when I eventually flip it over and weld the under side.
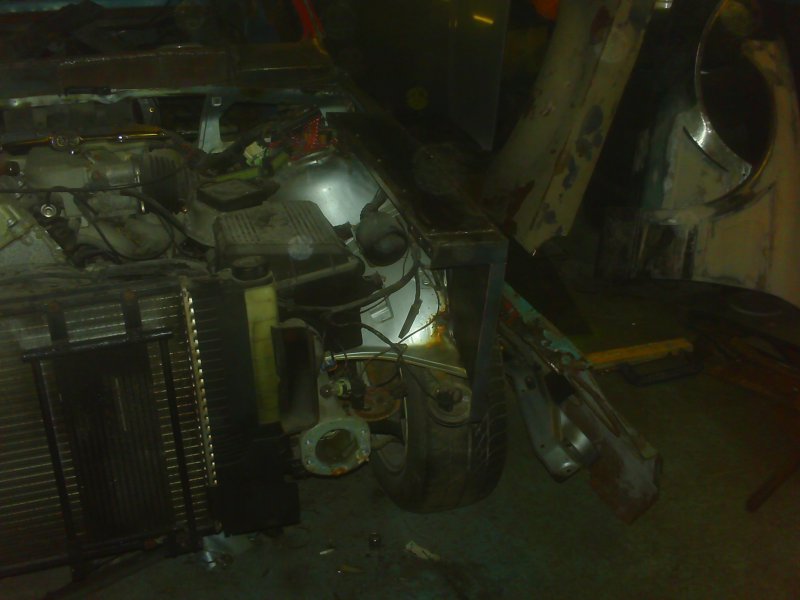
Excess inner wing on the O/s to be removed.
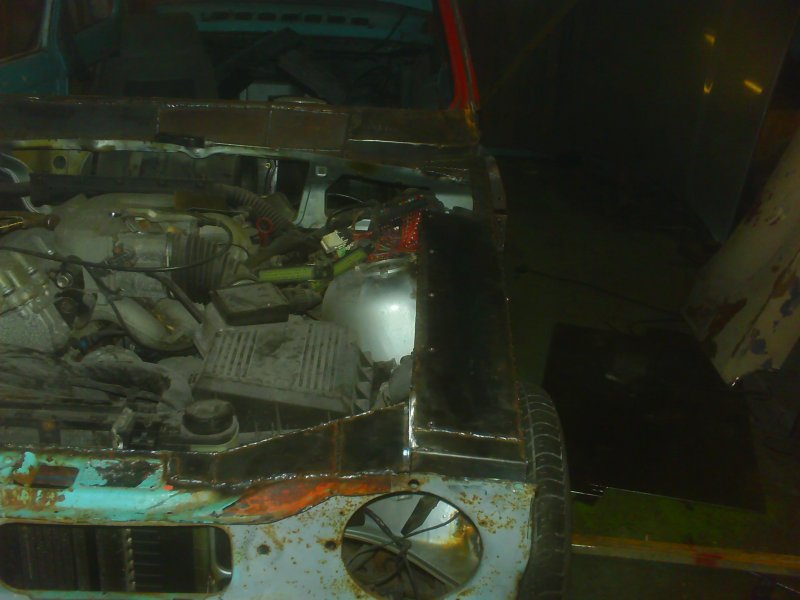
Bonnet covers up to the front of the car, oh happy days.
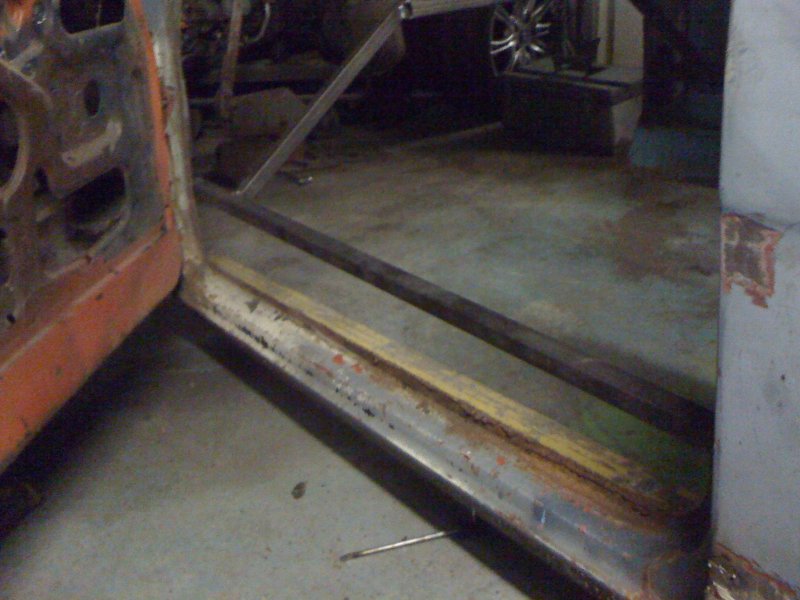
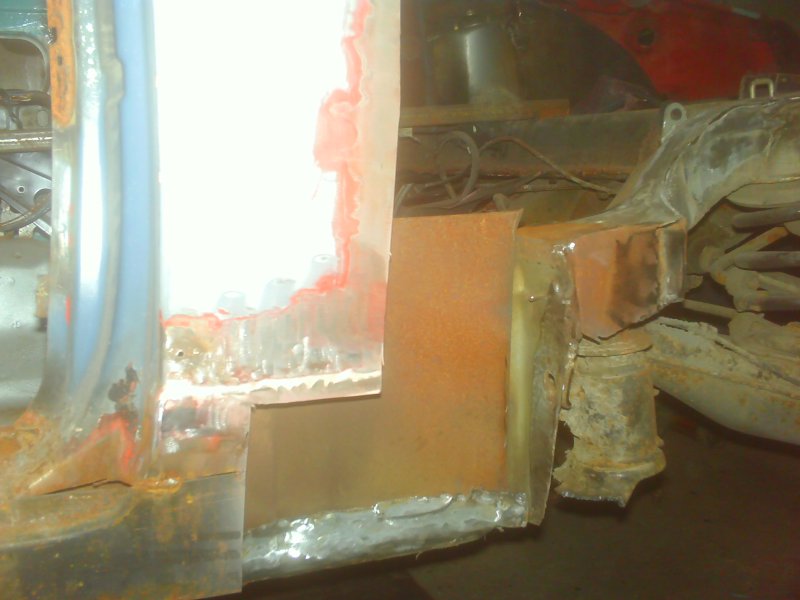
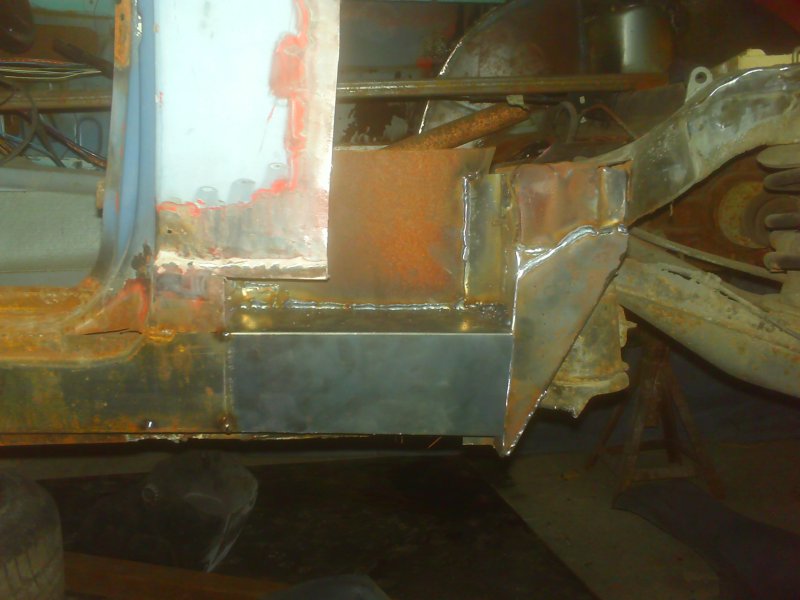
I welded in some inner sills made out of 1.6mm sheet, welded this to the shell, then jacked the floor up to the inner sill.
Front section needs to wait until the Bmw chassis leg at the front is re-profiled.
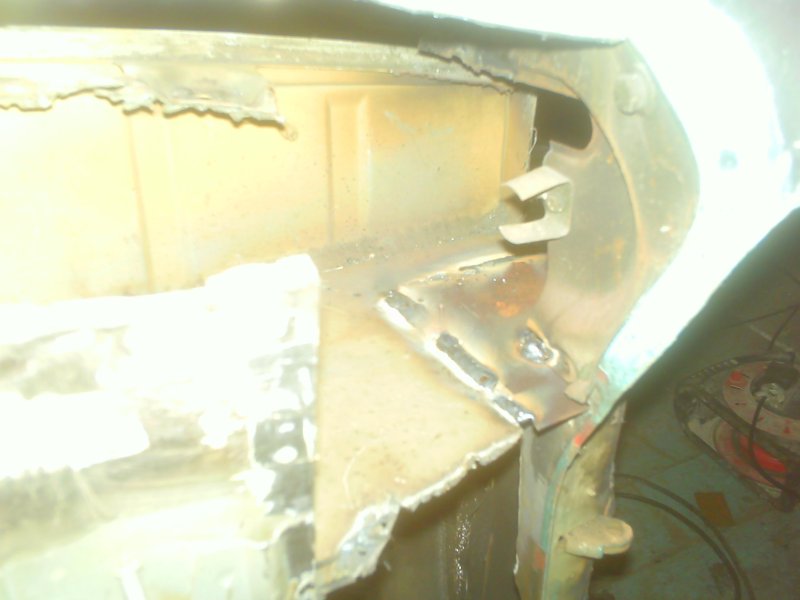
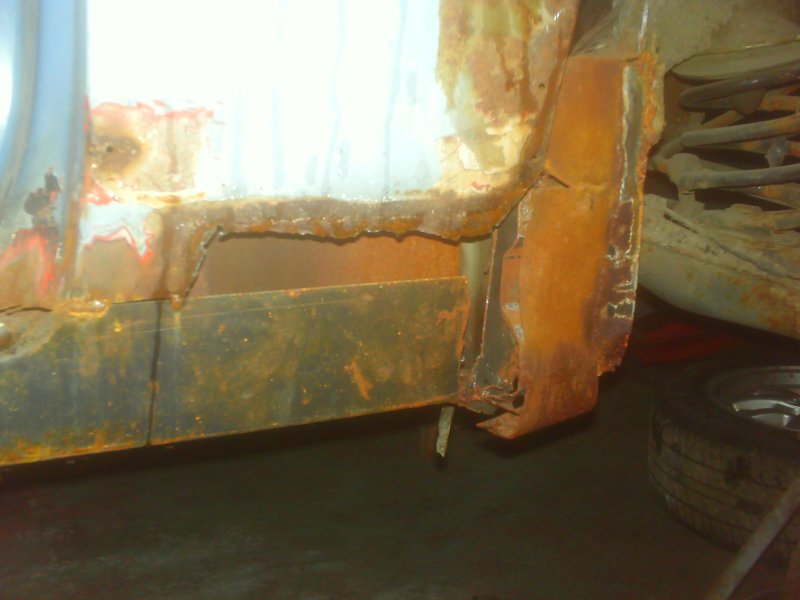
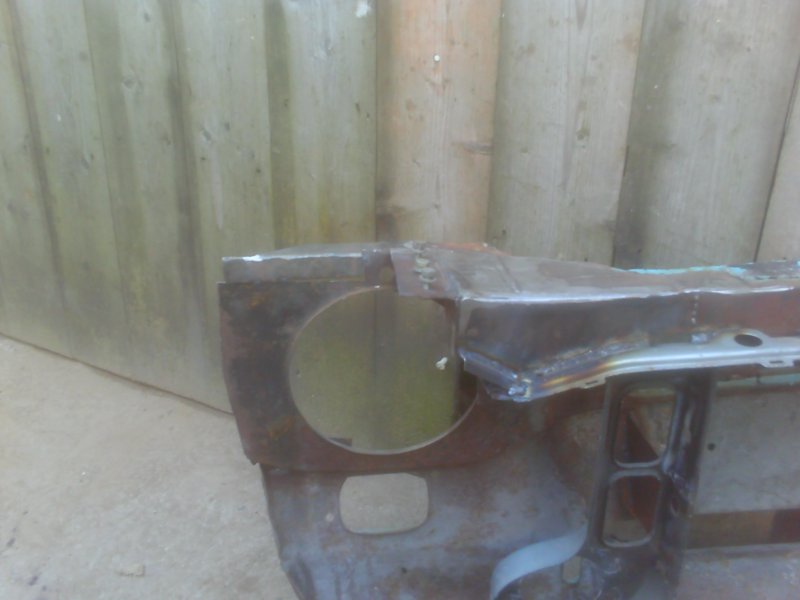
Rusty crap removed and remade.
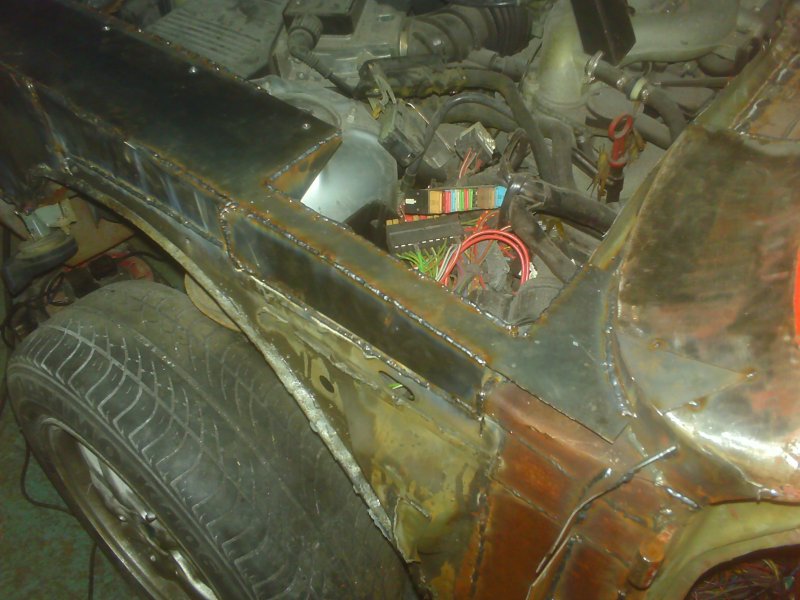
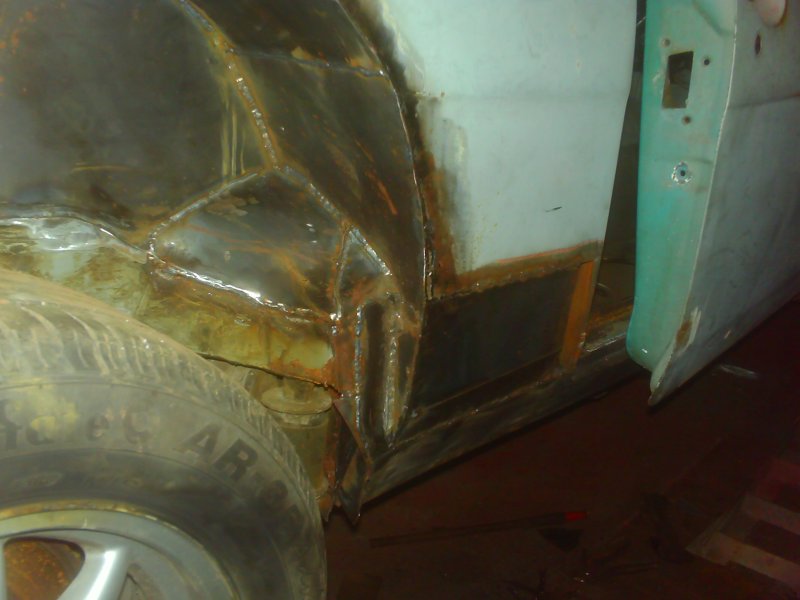
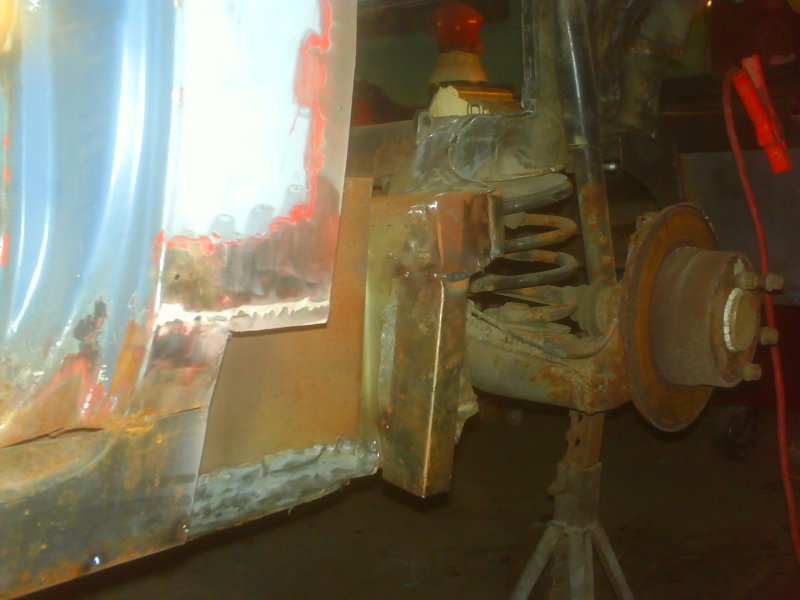
bit of infill joining the A post to the Bmw.


Arch is 10mm to far forward, but I sorted this when i fitted the steel arches.


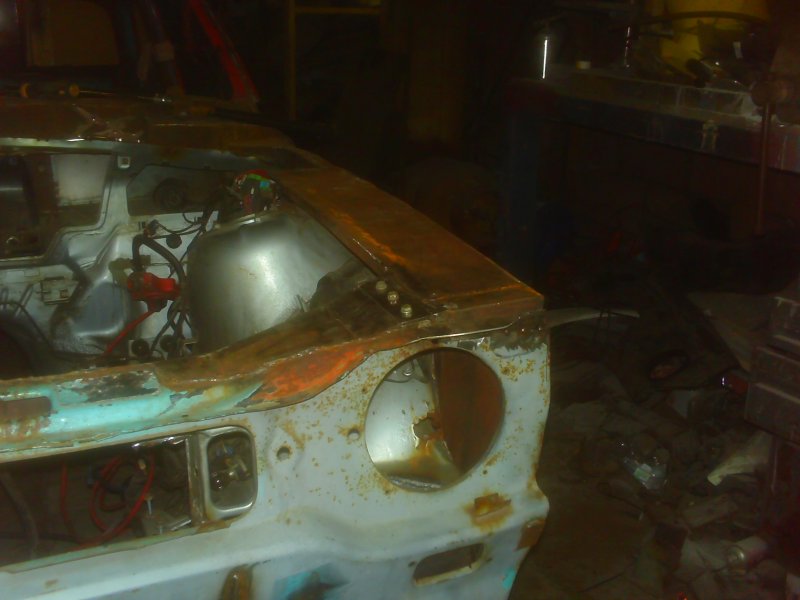
First plan for attaching the front panel and slam, I later revised this idea.
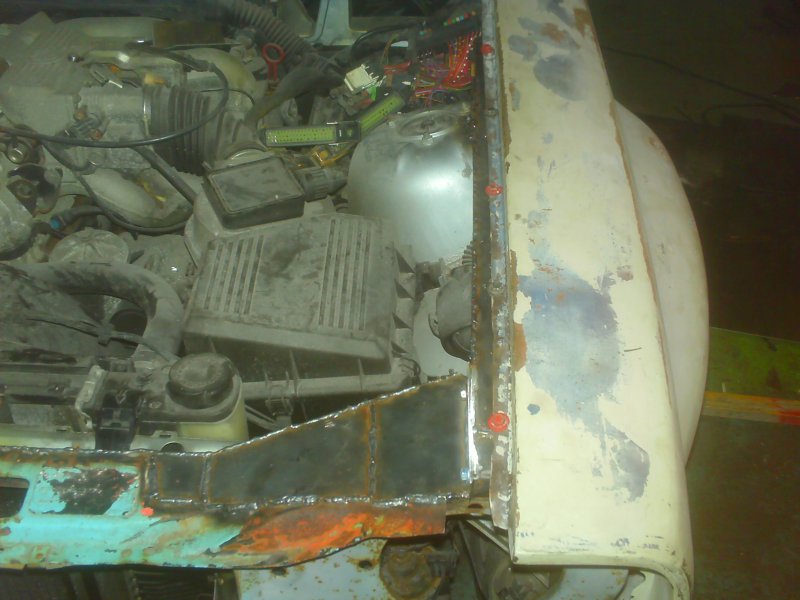
Both wings are going to be bolt off, this side mainly because the wing covers the access to the fuse box.

This is the mounting where the E36 front bolts to the chassis legs, I decided this would be the easiest way to mount the lower escort front.
Escort slam welded to the E36 slam.
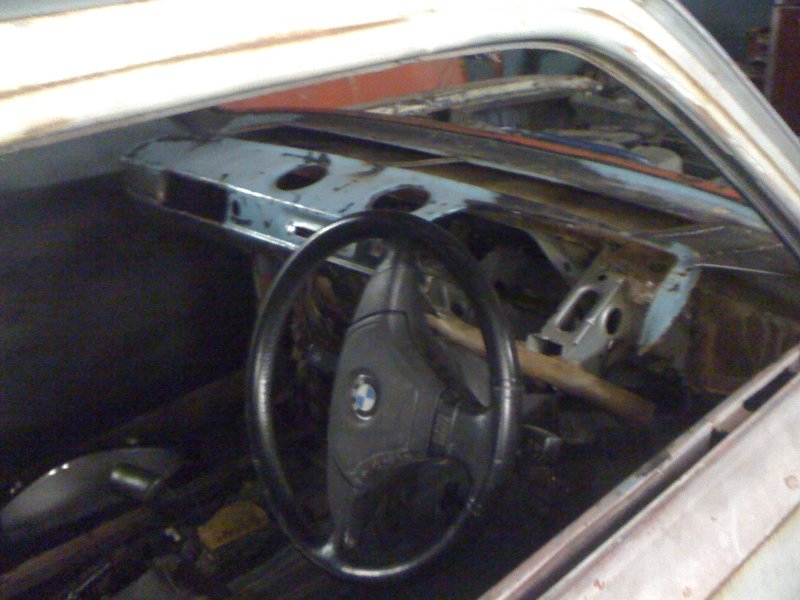
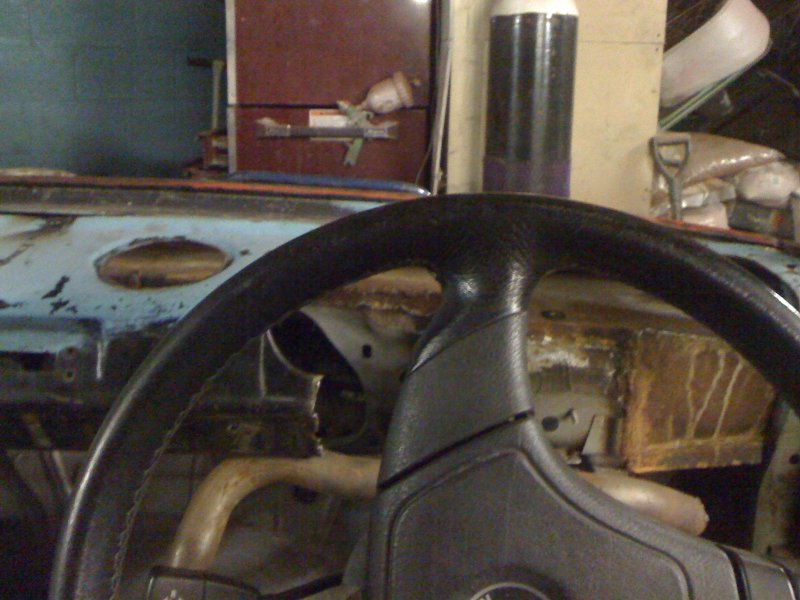
This has since been removed, I'm still unsure as to how I'm going to finish off the dash.

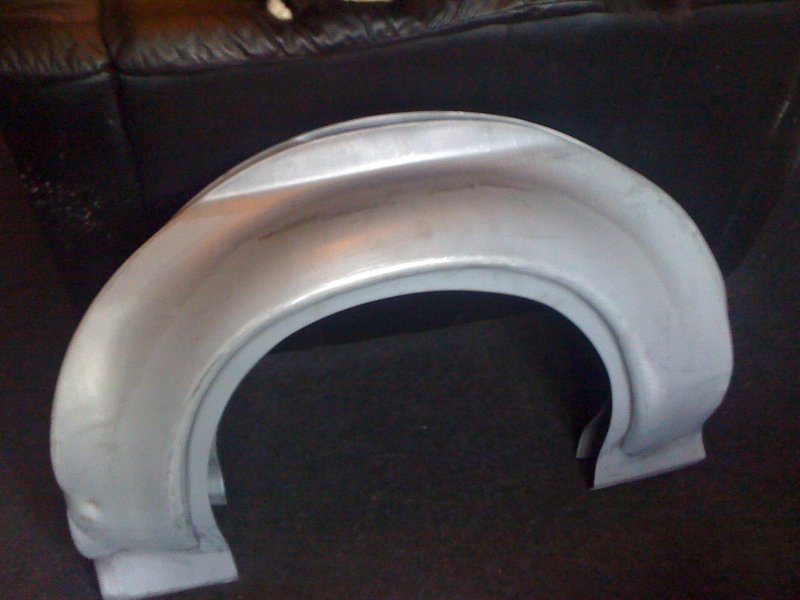
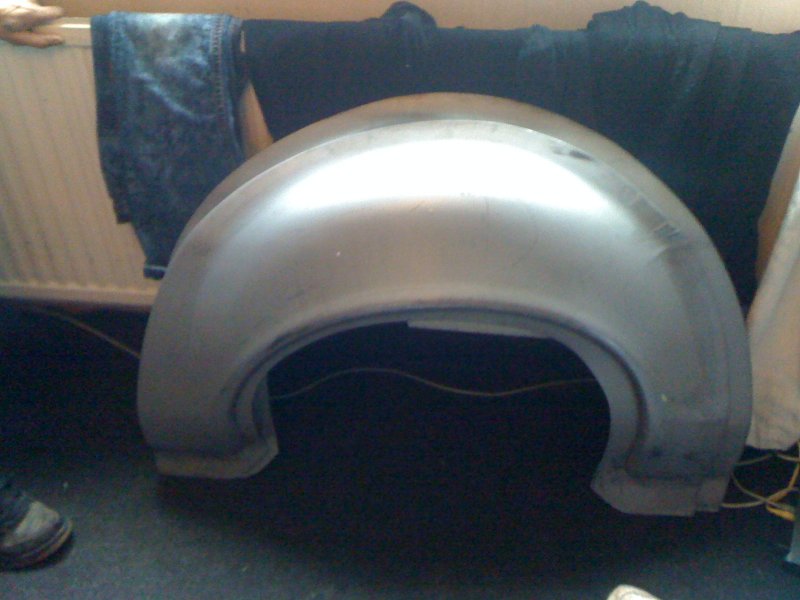
Steel arches off eGay.
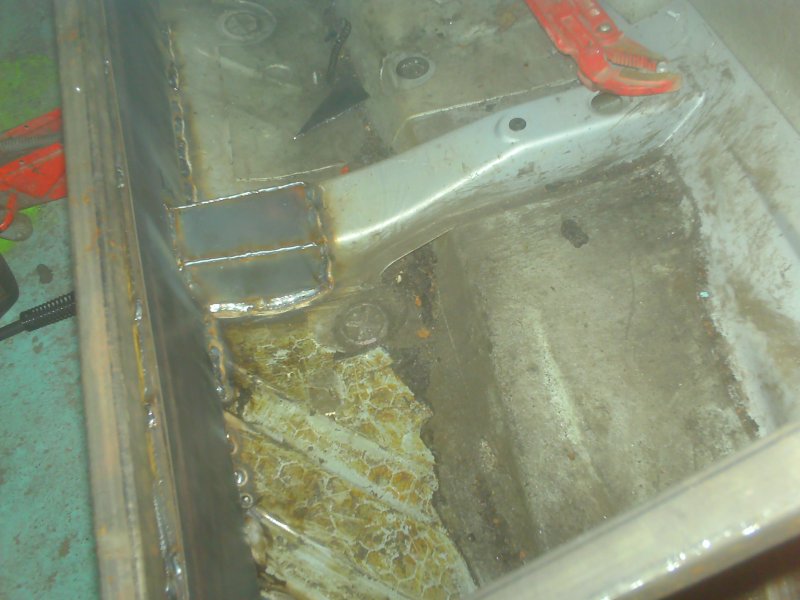
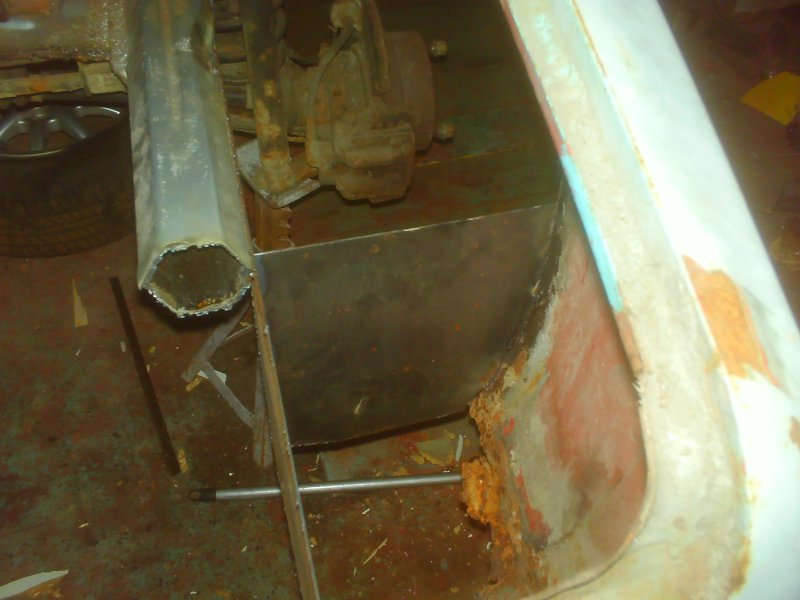
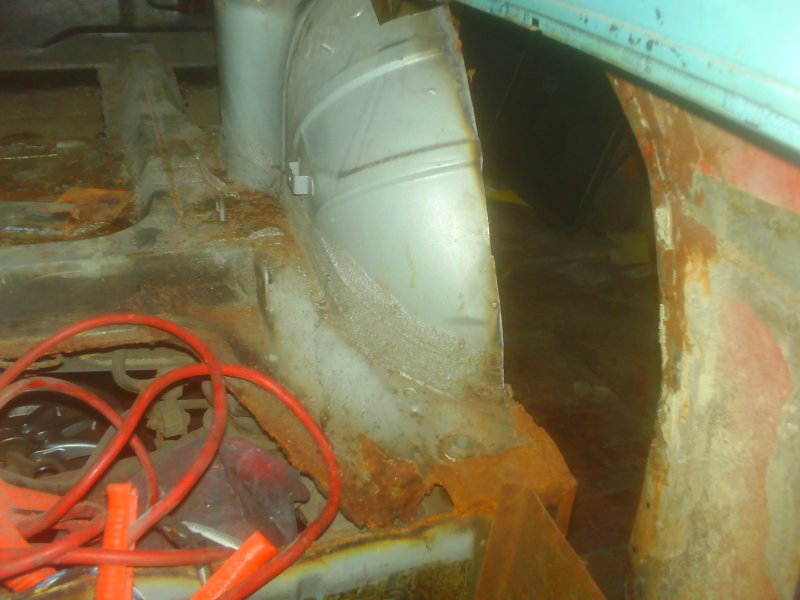
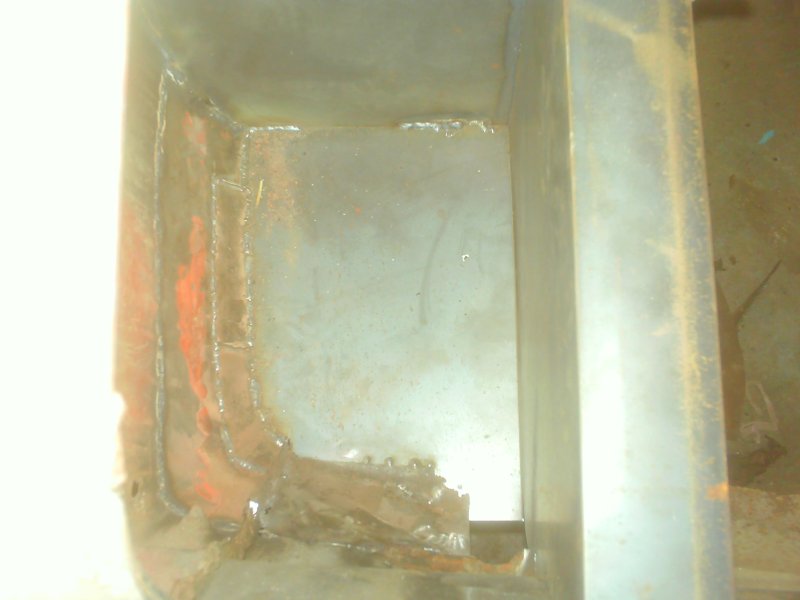
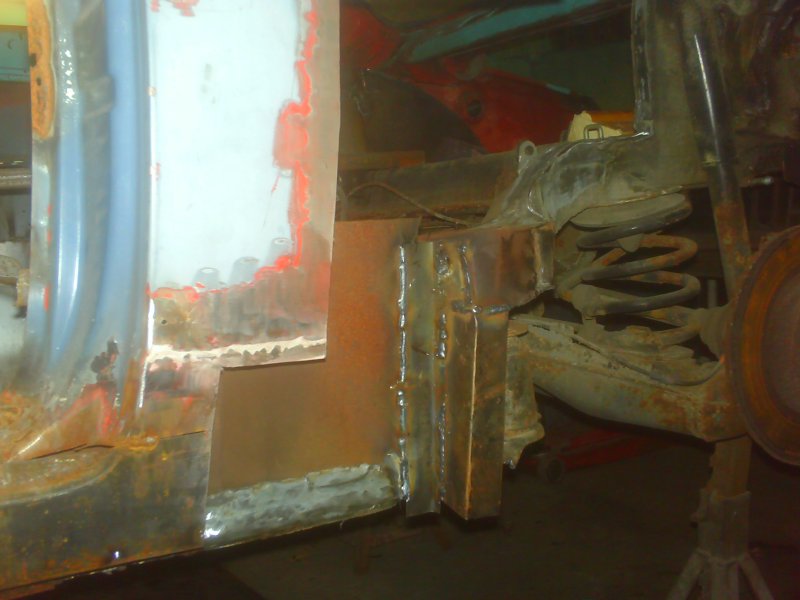
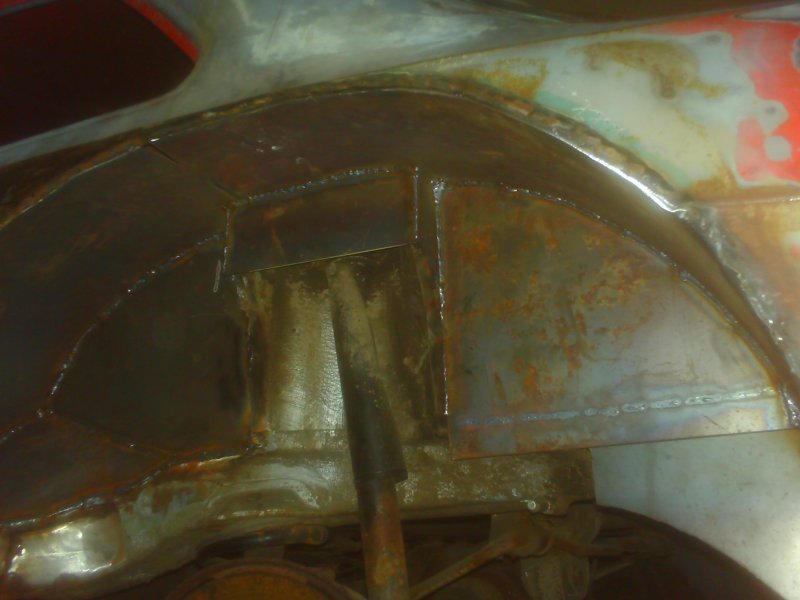
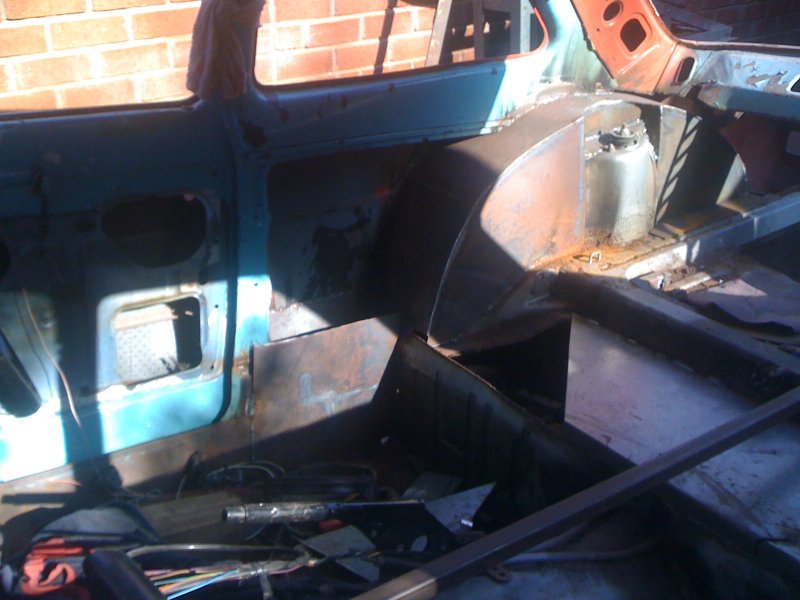
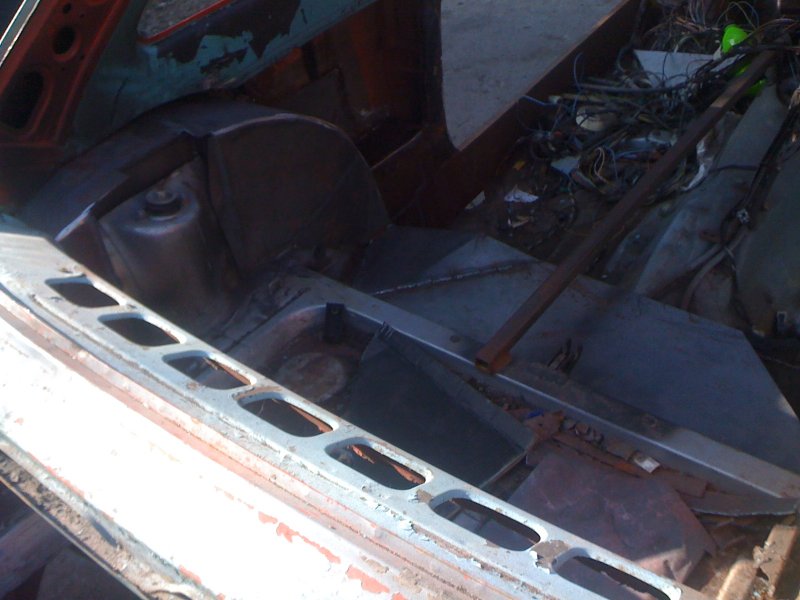
Cut out that tempoary join between the 2 parts of the floor pan and fabricated something much stronger. and then made a start on the inner tub.
Finishing off will be done once I get it stripped to a bare shell and i can get underneath it.
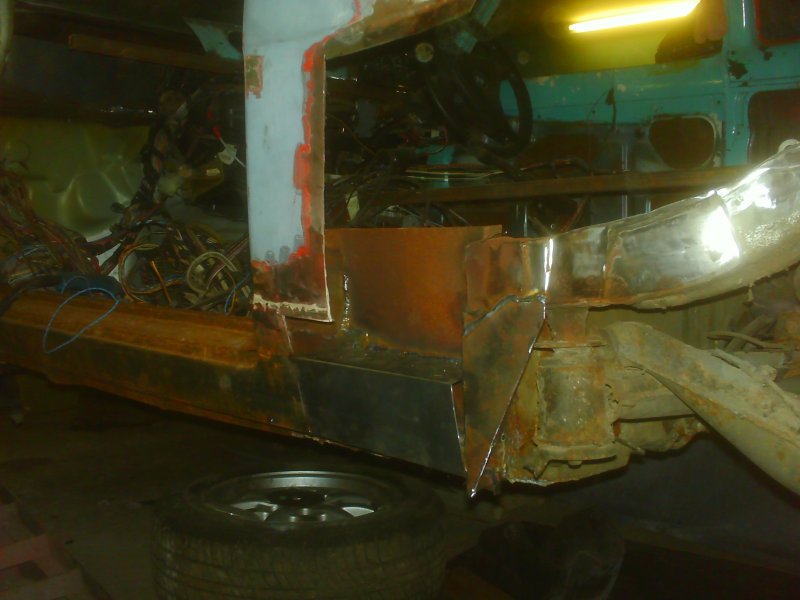
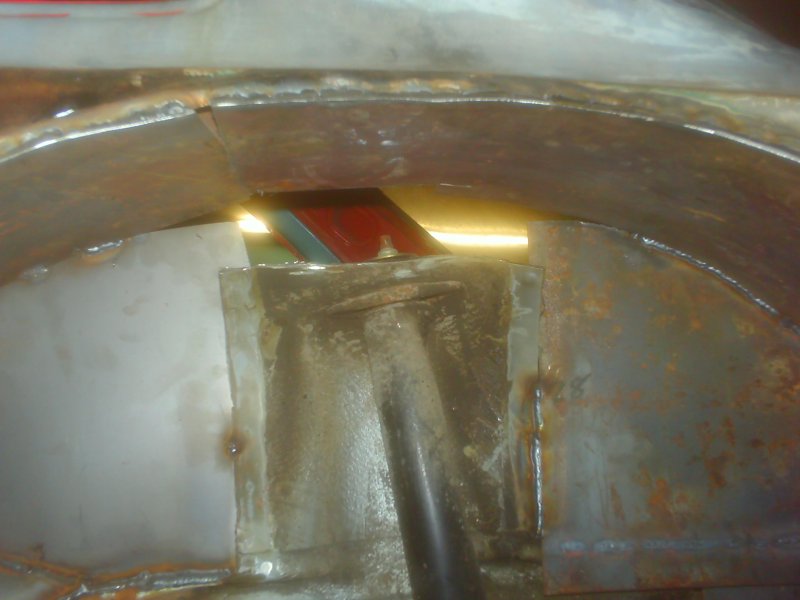
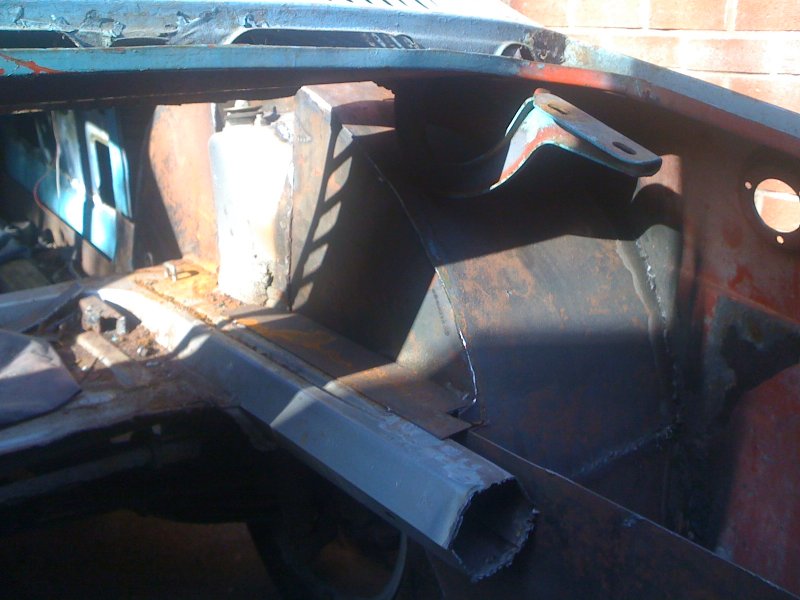
Hole to fill at the rear of the tub.
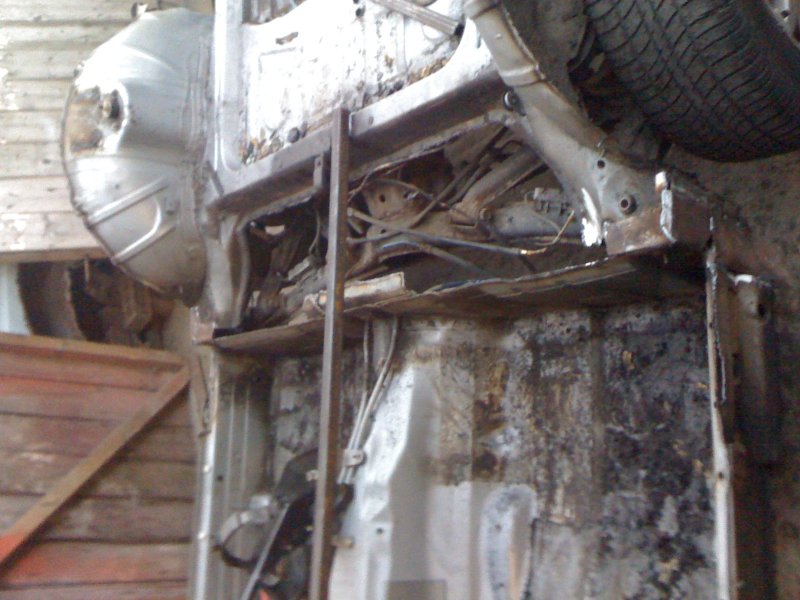
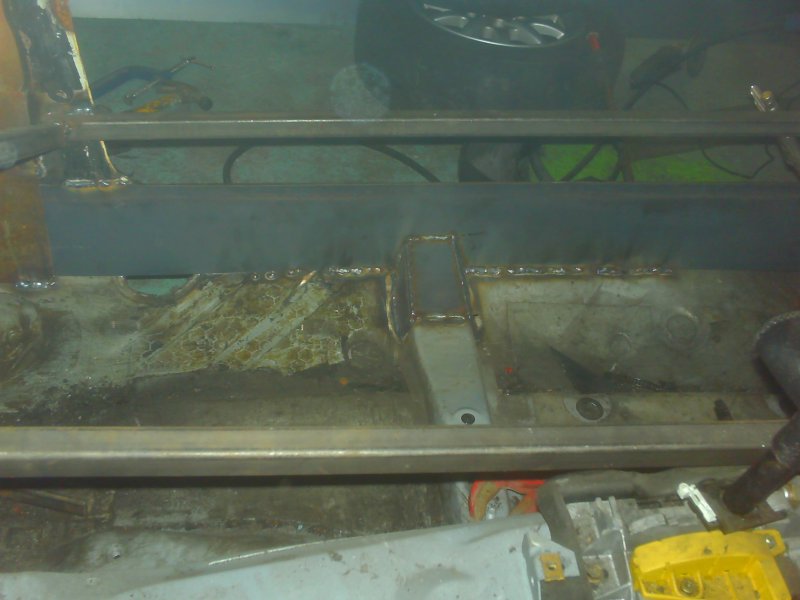
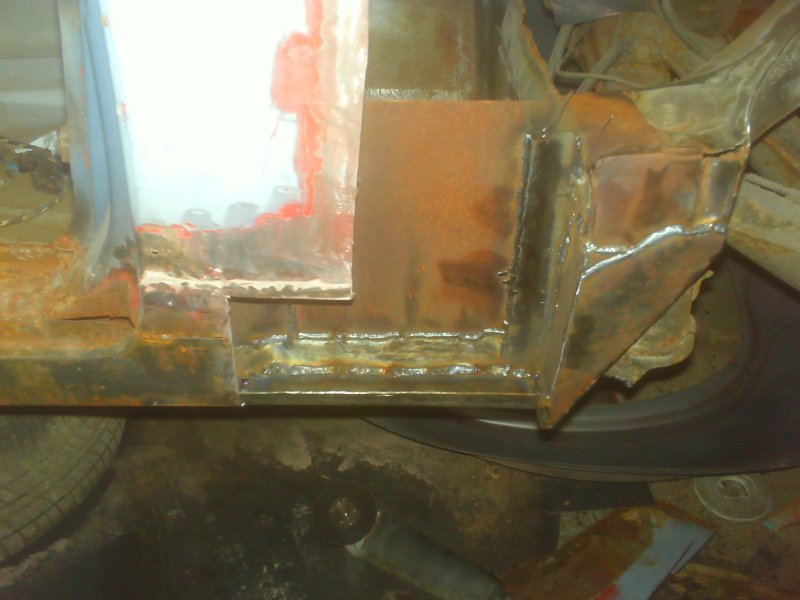
Start of the rear chassis leg, this stiffened up the shell no end.
lower rear section of tub in place
1 rear arch fitted.
front arch centered and tacked on.
8mm gap I needed to fill between the wing and the arch, I guess these are why they are expressed steel seconds.
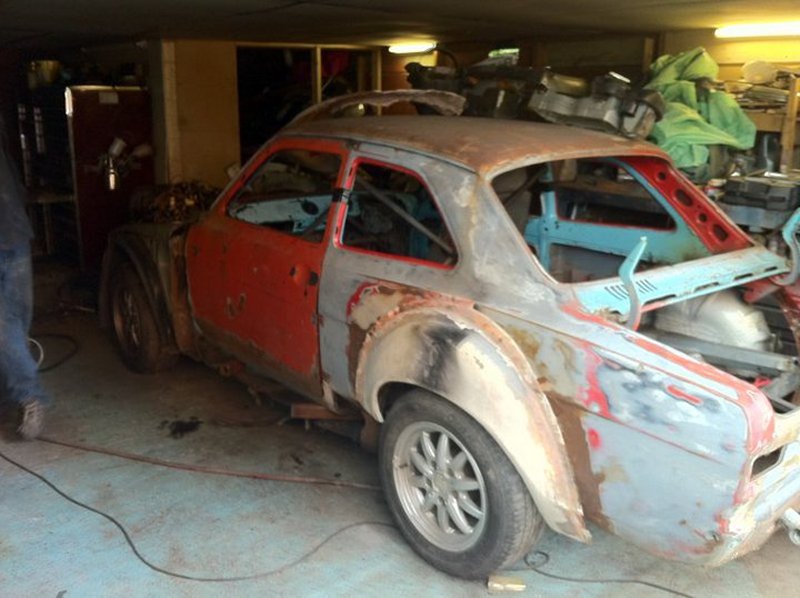
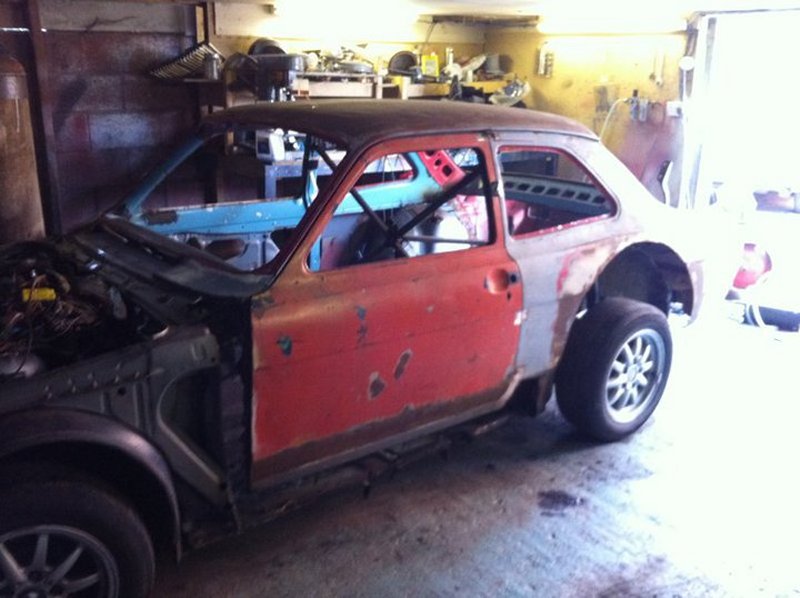
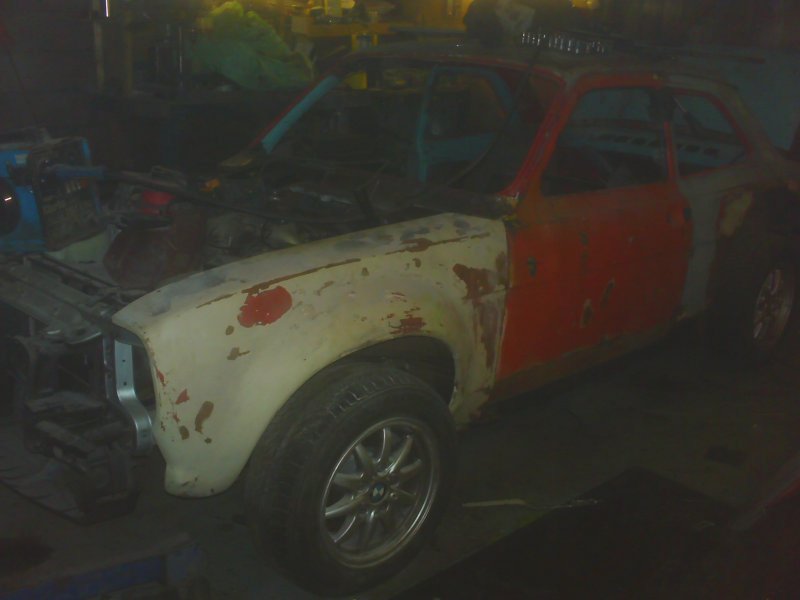
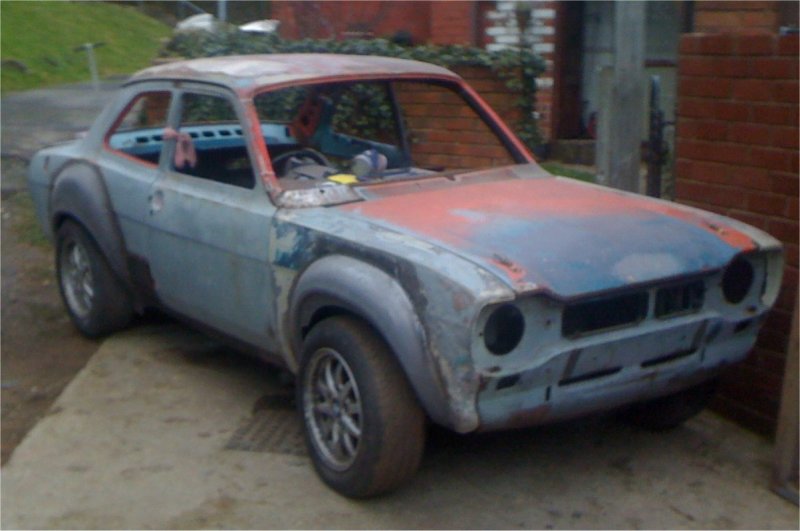
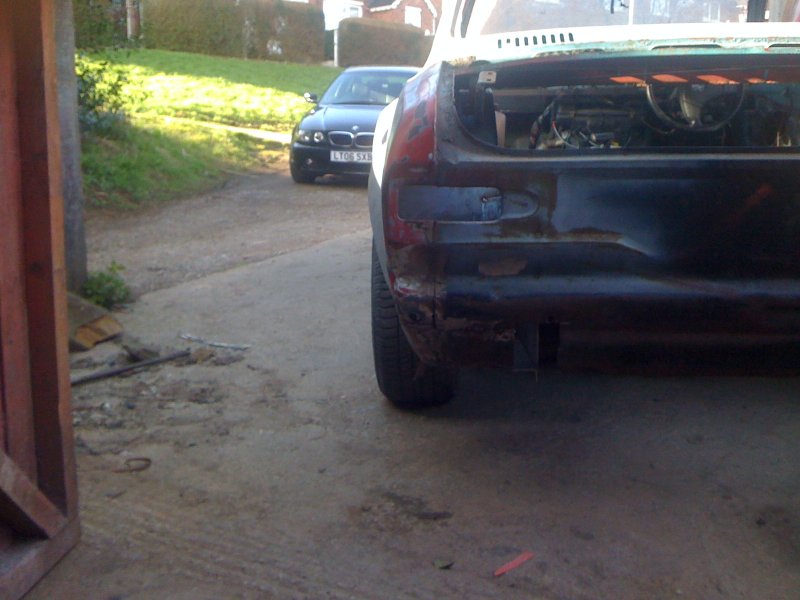
Finally all rolling as 1 piece so i pushed it out side to and a better look at how its all sitting.
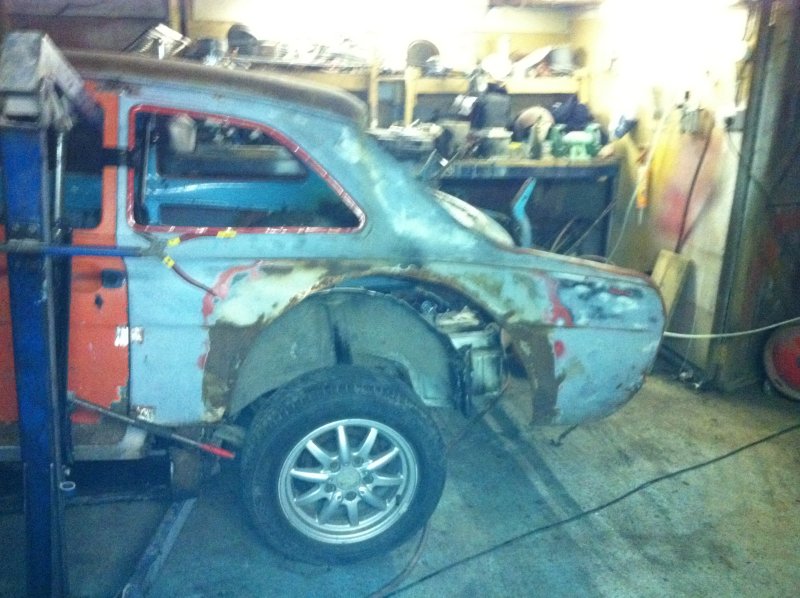
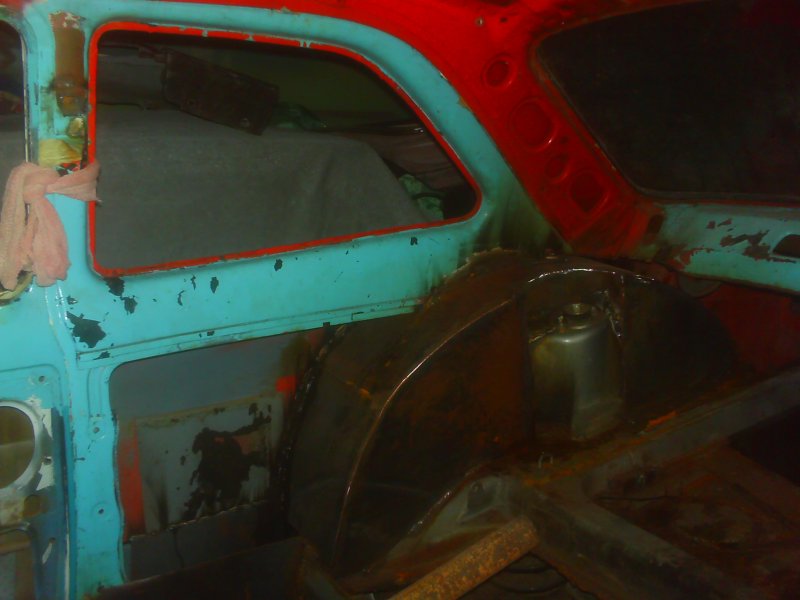
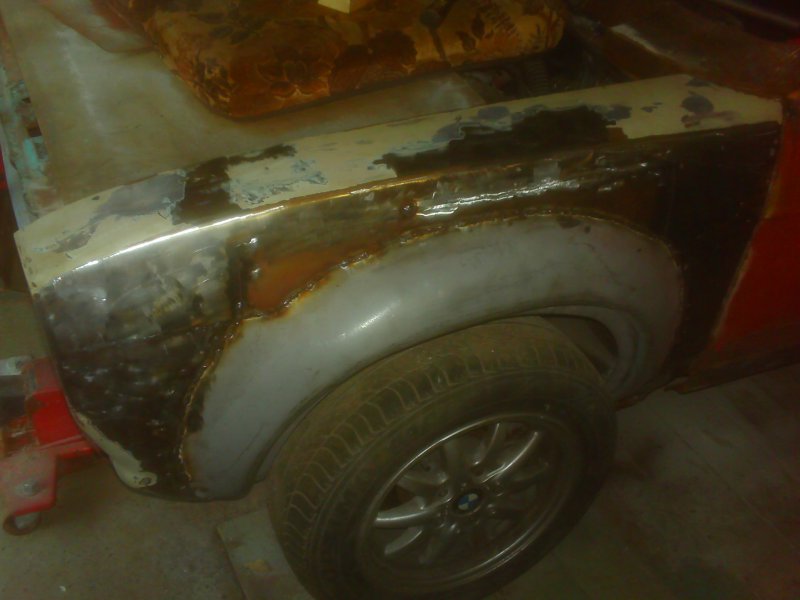
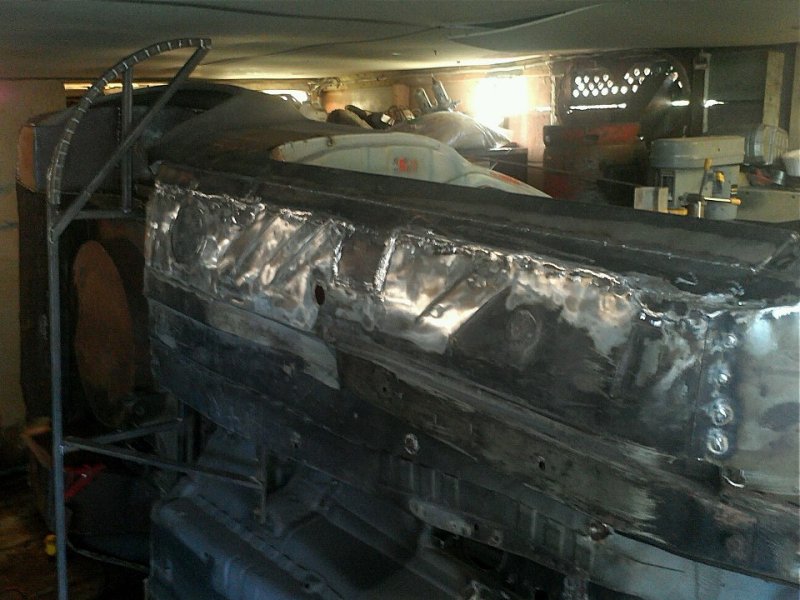
Time had loomed to start on the N/S
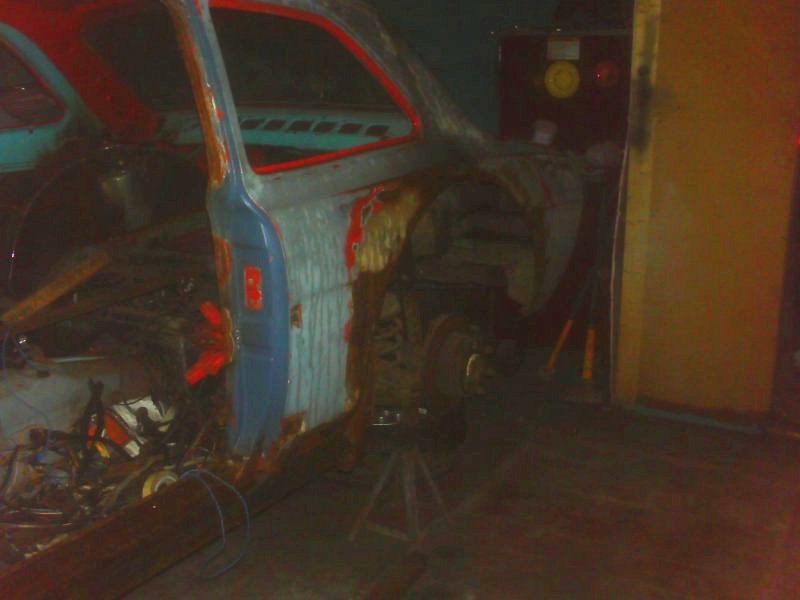
Again looking rusty, but this is only surface rust.
Loads of crap to remove.
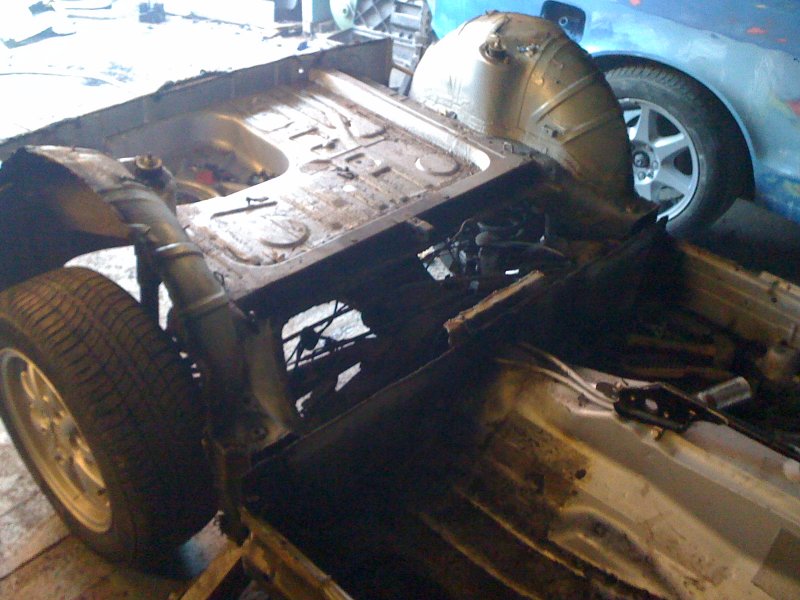
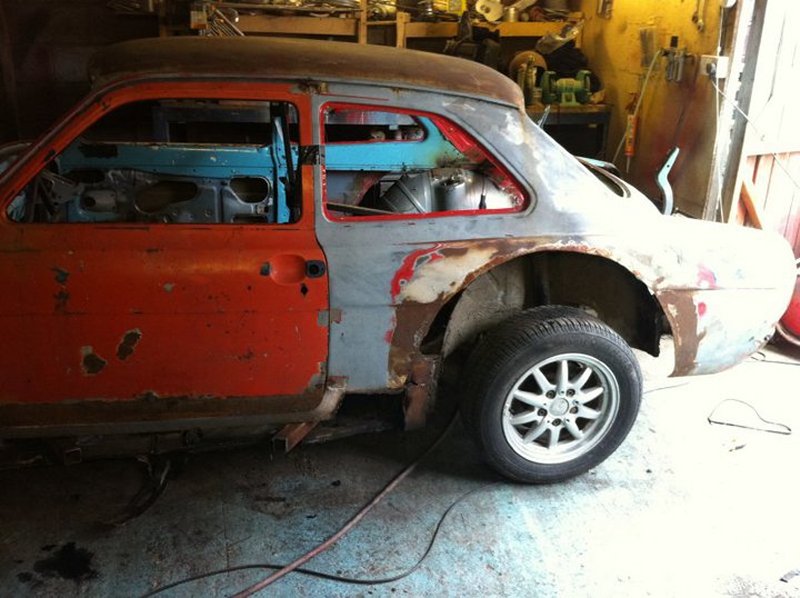
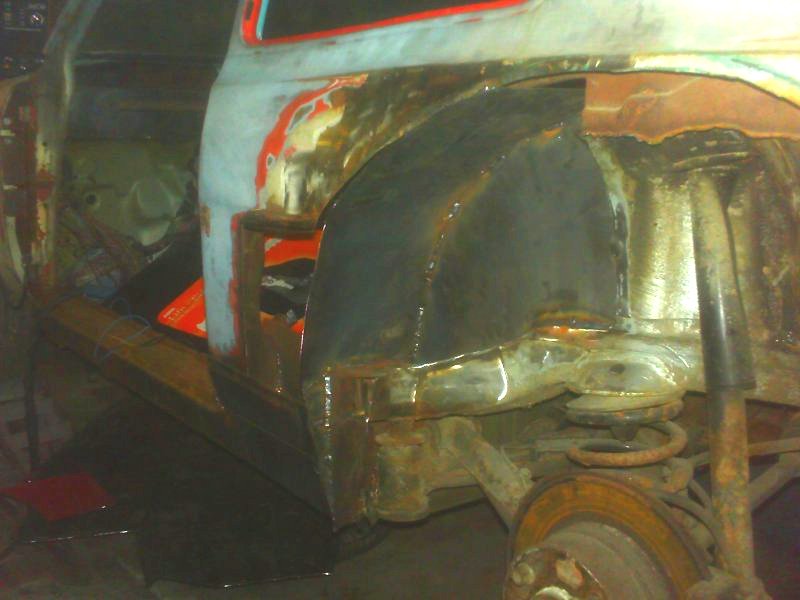
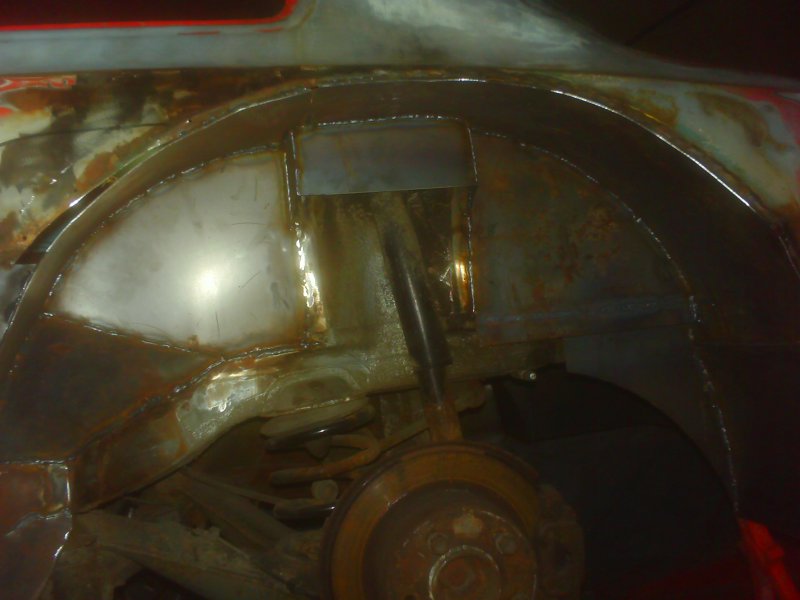
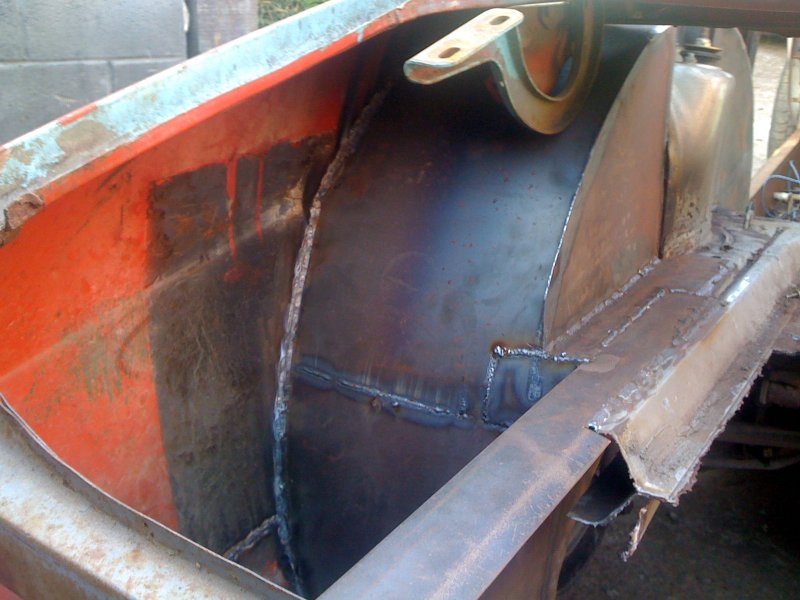
Better pic of the O/s rear tub.
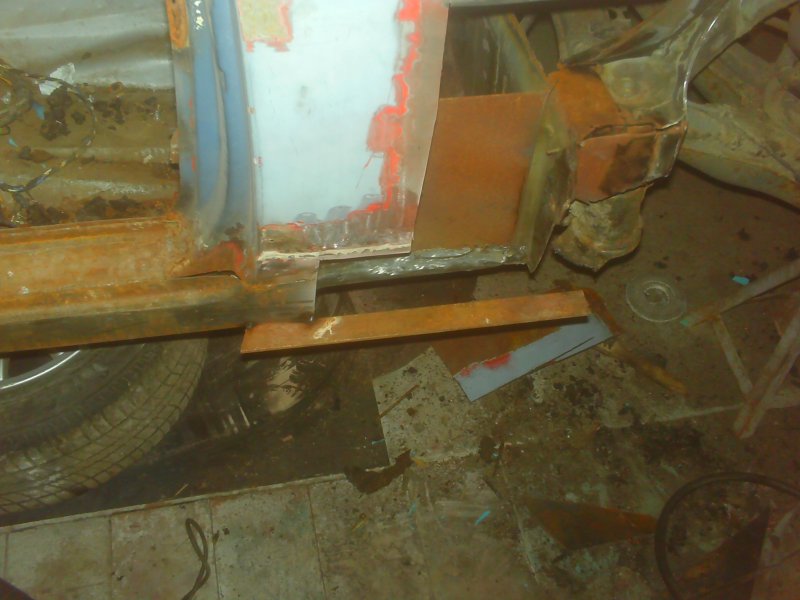
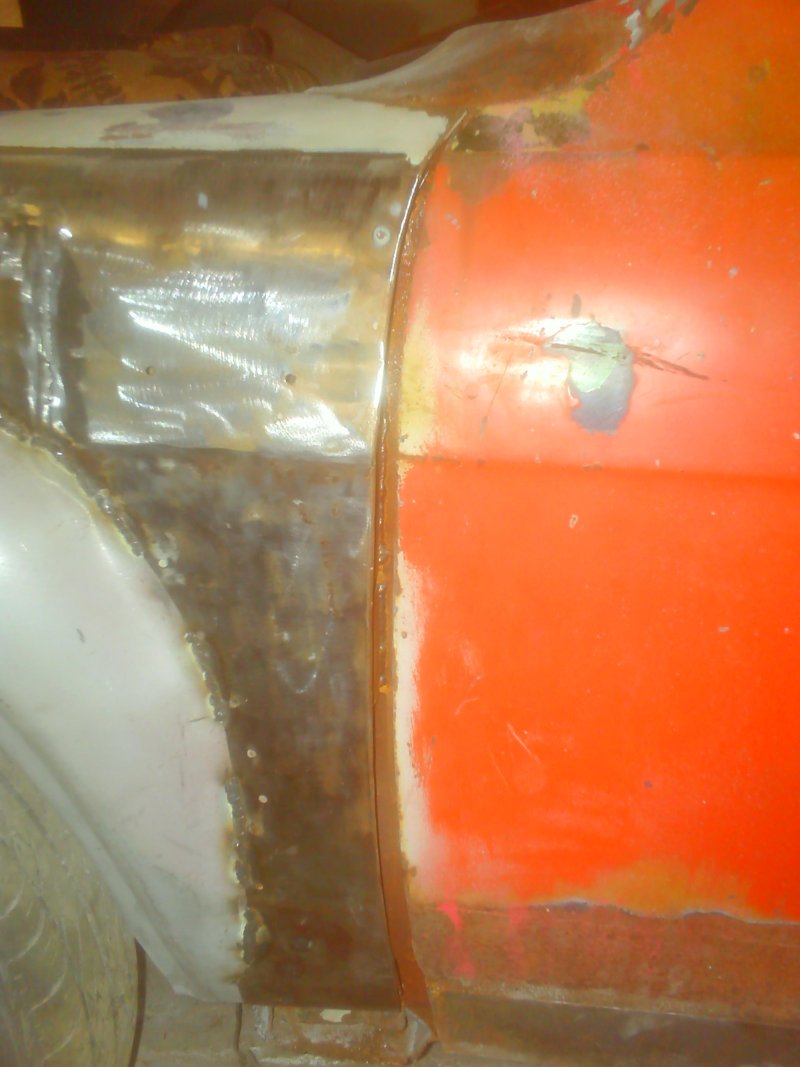
Bit more done, started attacking the N/S Started off by removing some of the excess crap.
this left me with a gap, but I Have started seaming that up, but my welder wanted a service as it was slipping.
Last of the BM floor pan folded over to double skin the joint.
Made a good start on the lower rear corner, I ended up cutting the corner off, making it on the bench, then offering it back to the car in 1 piece, its not quite done yet, but strong enough that I can finish cutting the rot out of it.
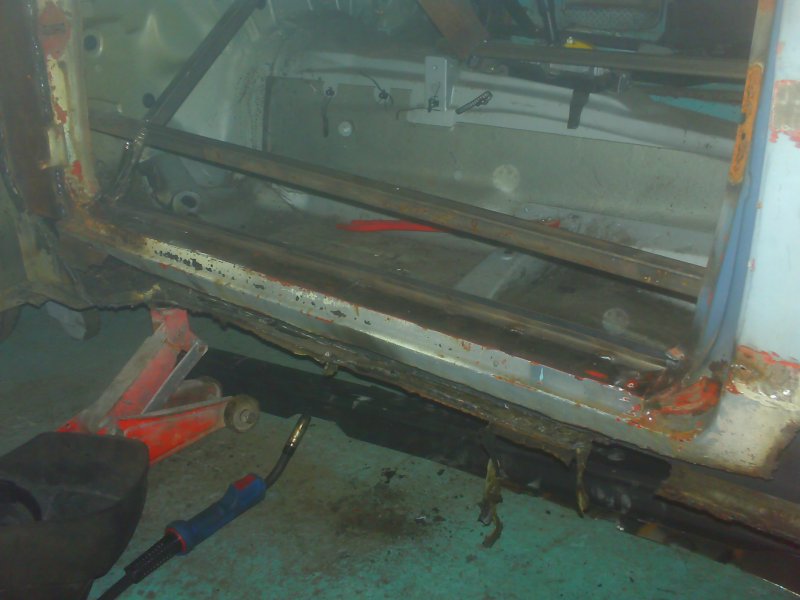
I tacked a piece of bar to the sill so I can get the line for the rear closer.


Closer finished off, and the bottom of the inner sill made ready to start building the outer.
And lastly lower outer inner cill closed.

You can see the crappy repair, where someone had welded a sill over a sill over a sill over a sill, so further down the pics you can see where I cut this out and replicated the line.
Line cut out and replicated
Easier to trim the car than it is trim the repair section.
Hole trimmed back and repair section filed back so it's a nice tight fit for but welding, handy having some old magnets to hold it in place, keeps the panel nice and straight too.
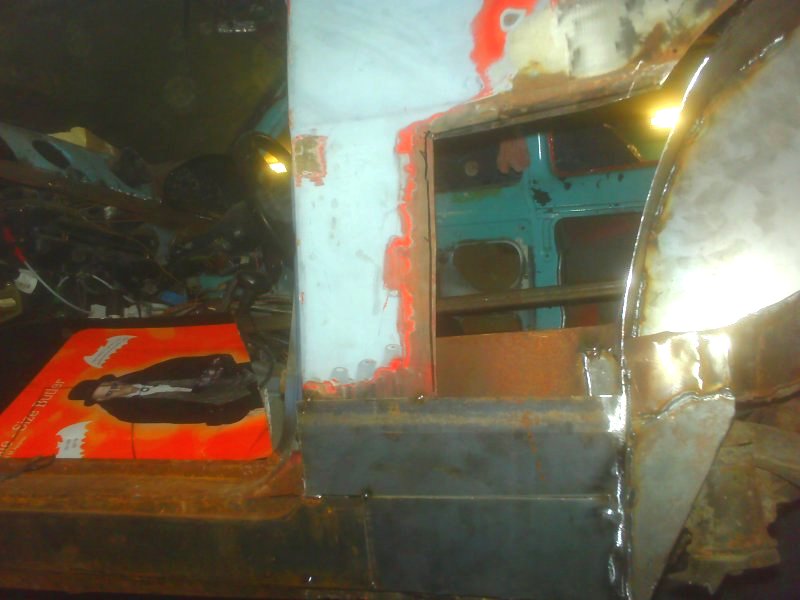
Keeping it the same as the other side, I had to get rid of this crap trap, you can also see the gap between the car and the inner tub, I'll chop out a bit more of the car and make a repair section for here to.
Sorted
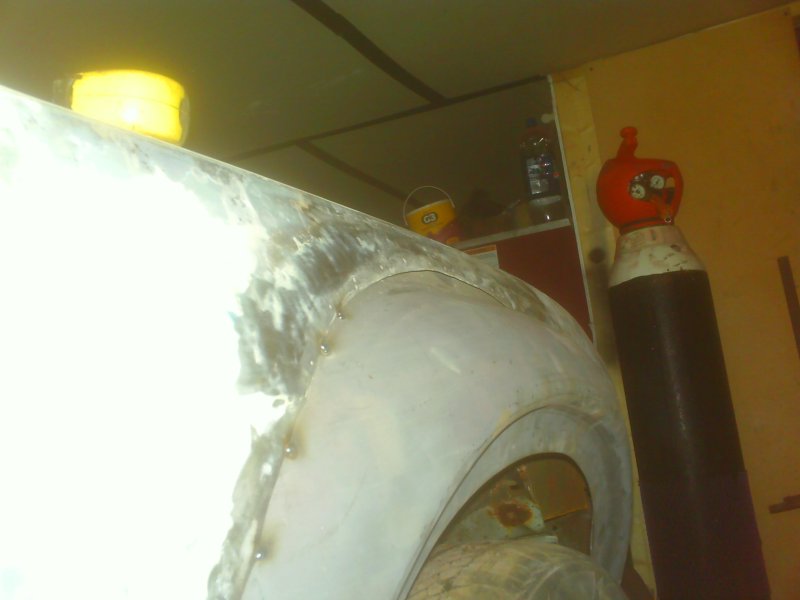
Trial fit of the arch to make sure the car is the right shape, the front half of the arch is fine, but the rear is gonna need to be pulled about a bit before I make the inner.
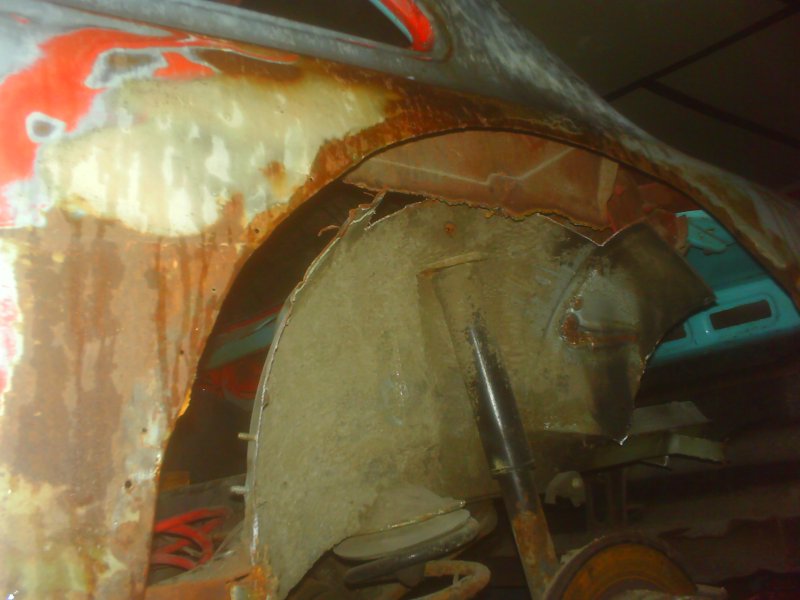
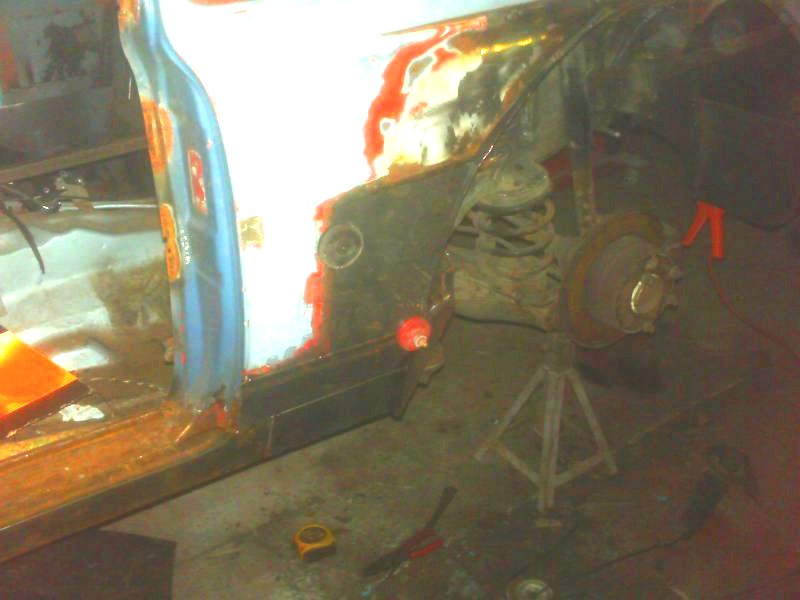
Arch removed again, some more crap to remove.
Removed
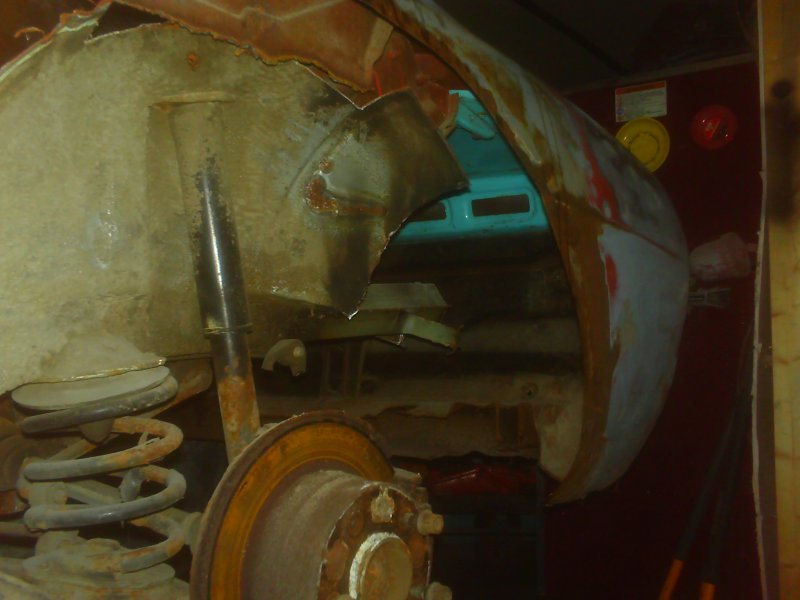
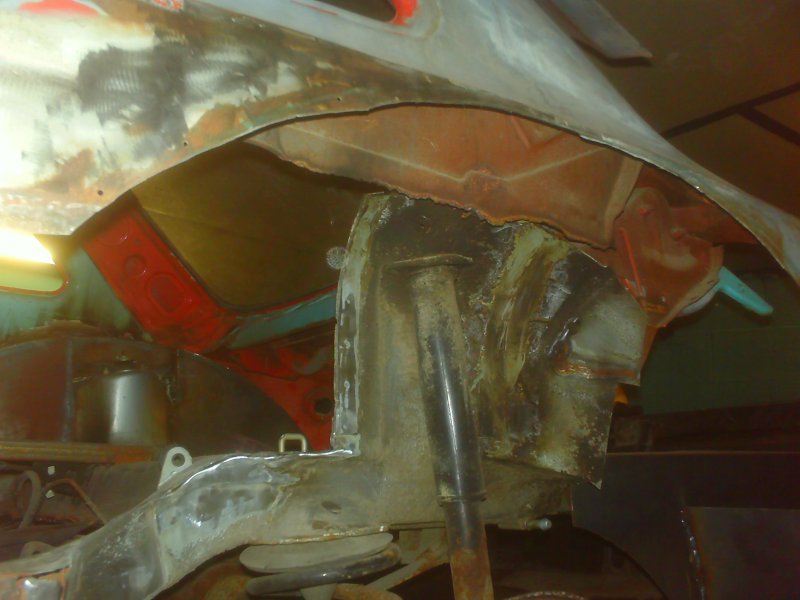
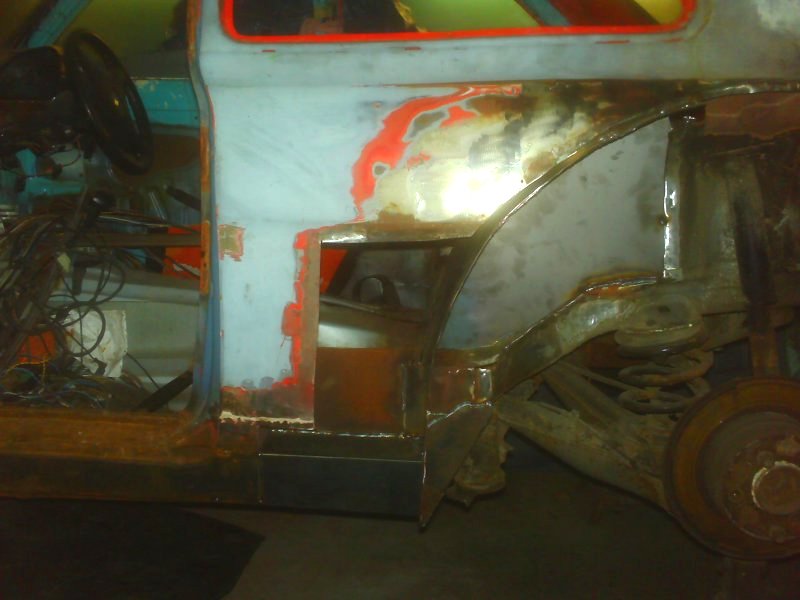
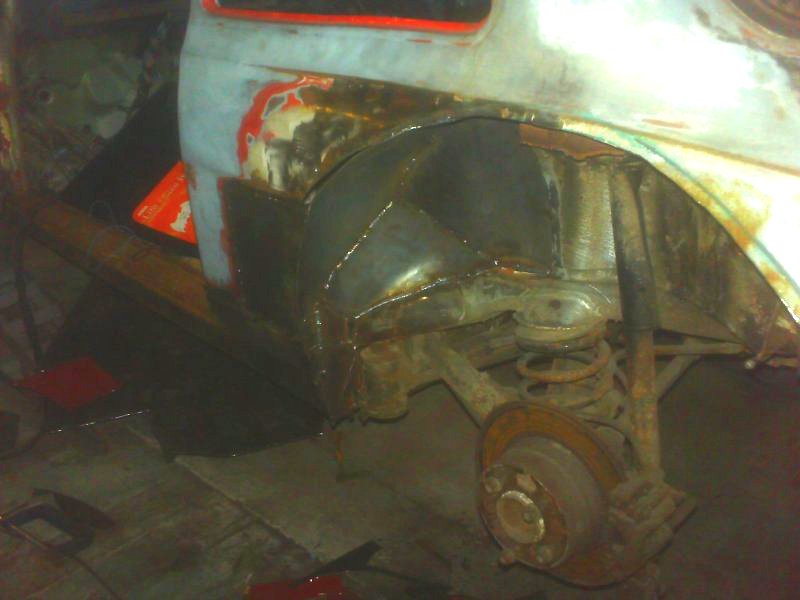
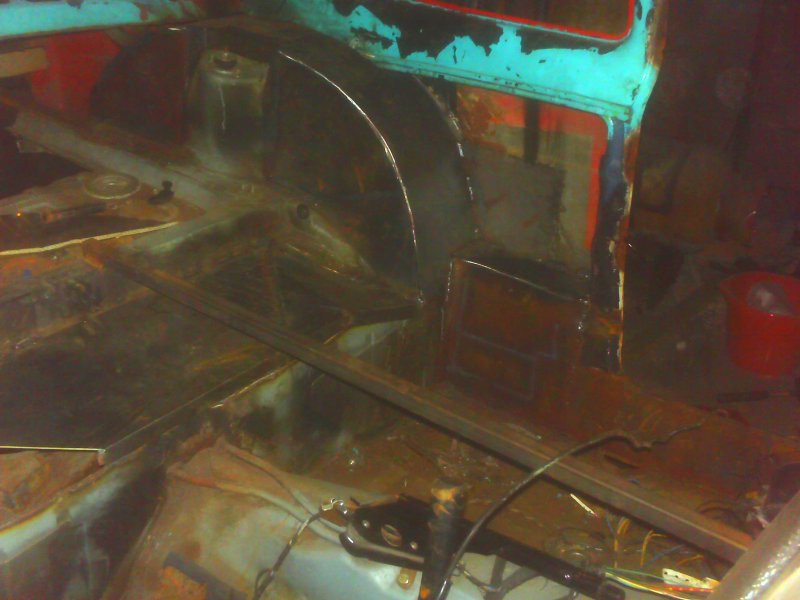
Upright of the inner tub placed in, its surface rust, honest :)
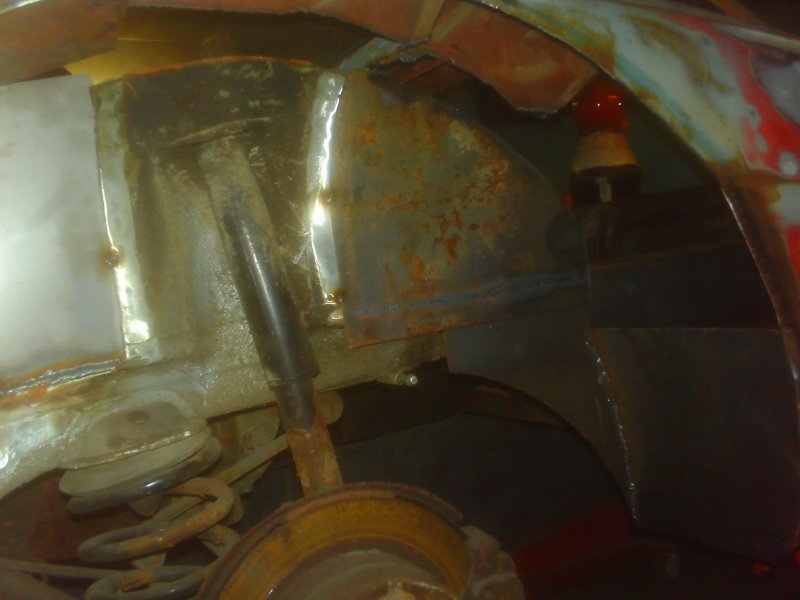
Inner going in
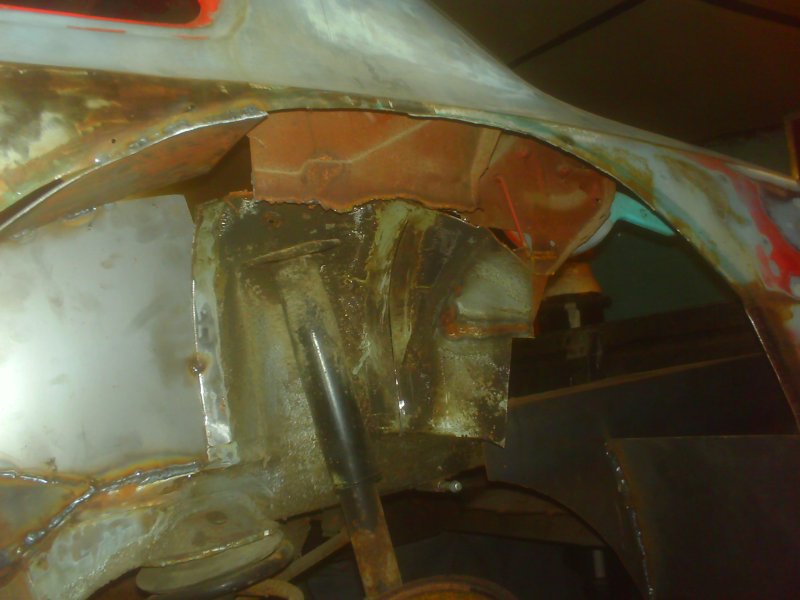
Excess to remove
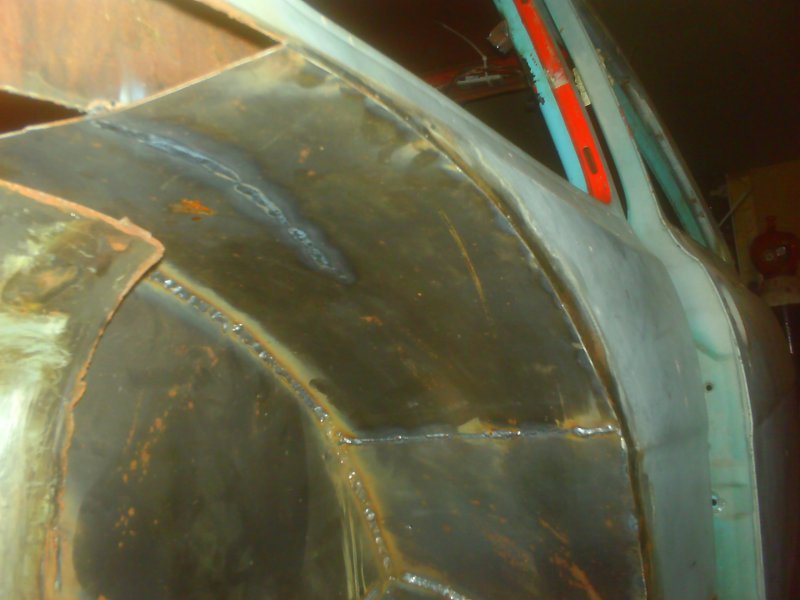
More gap tp fill
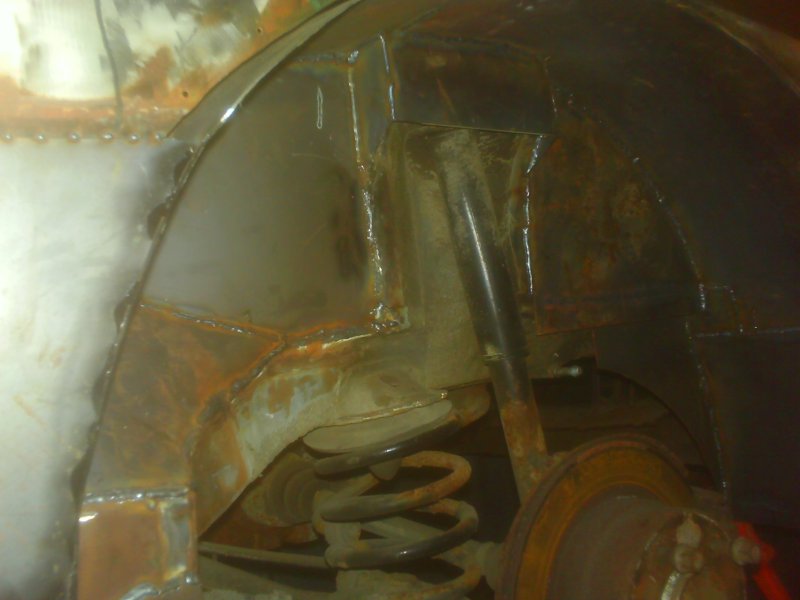
Turret done, just that gap to fill between the car and the tub and its ready for the outer arch
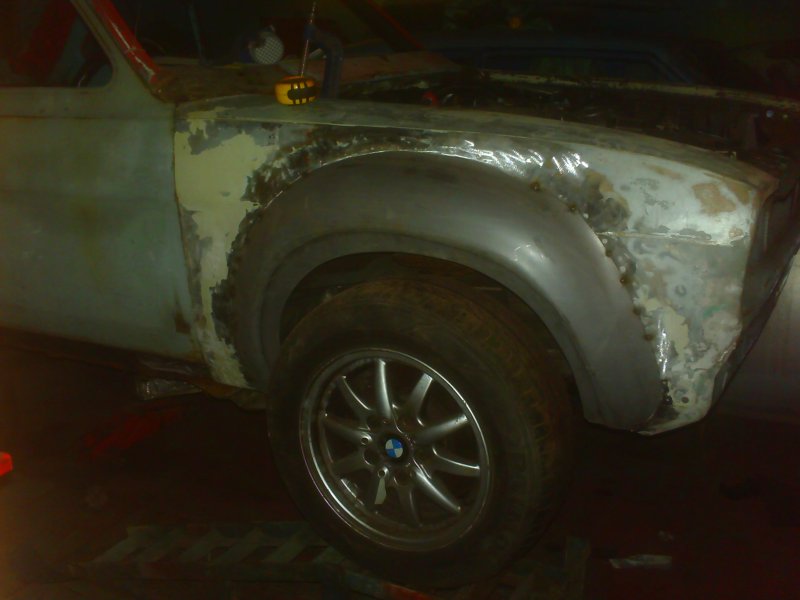
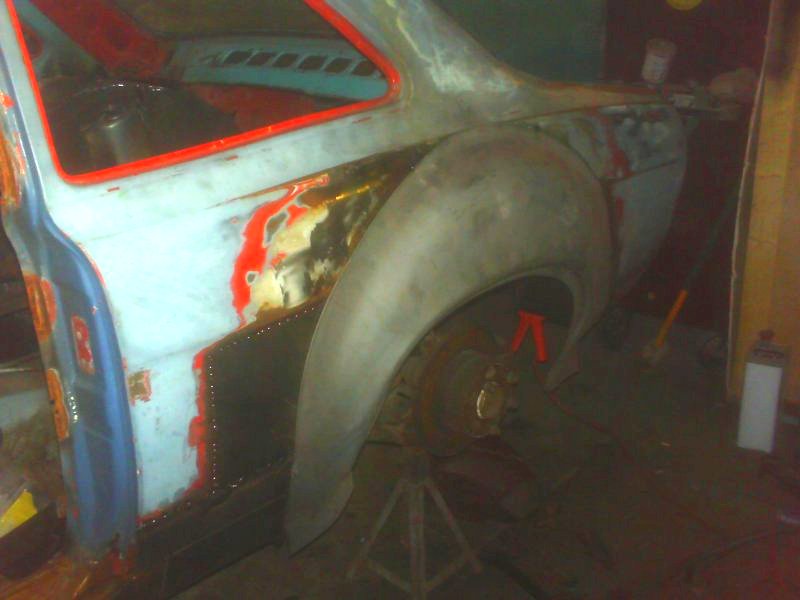
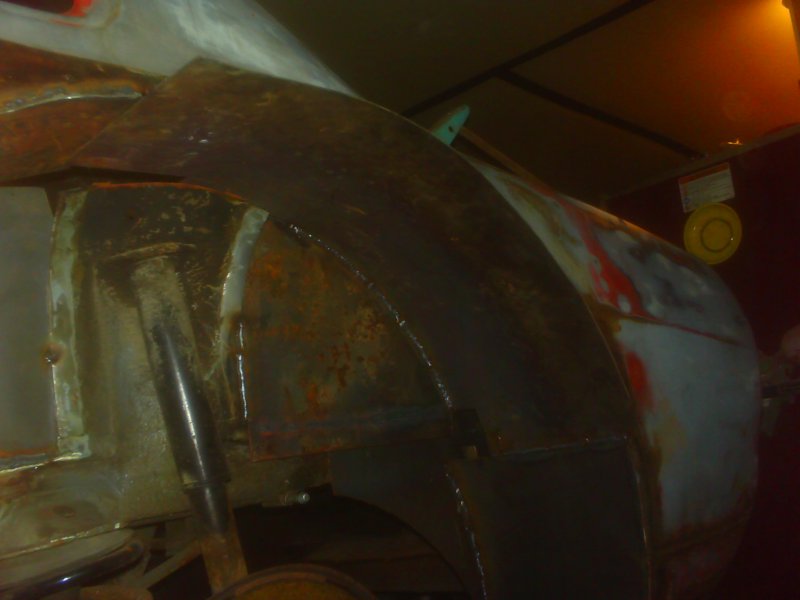
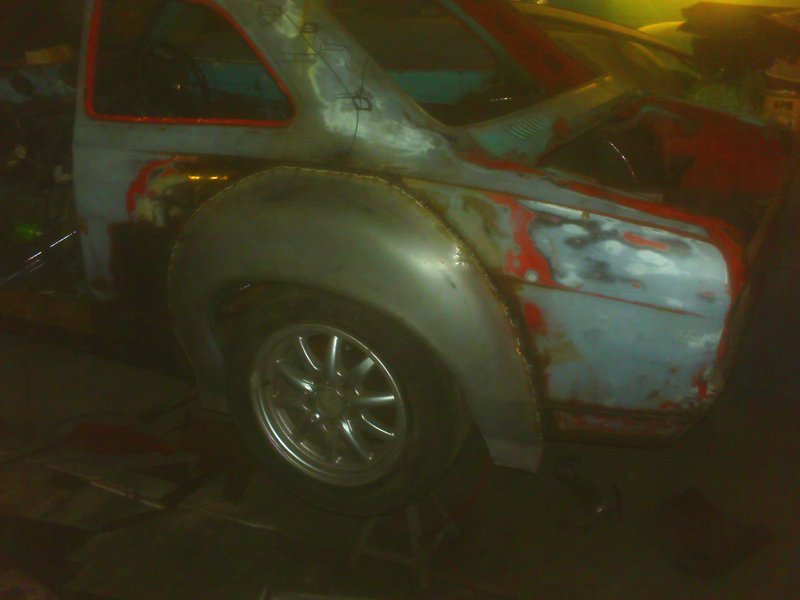
Wheel arch fitted.

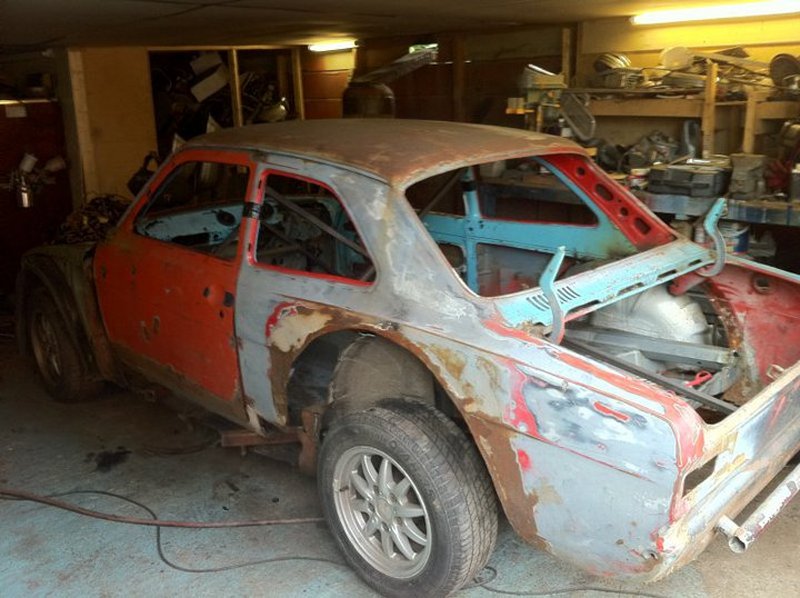
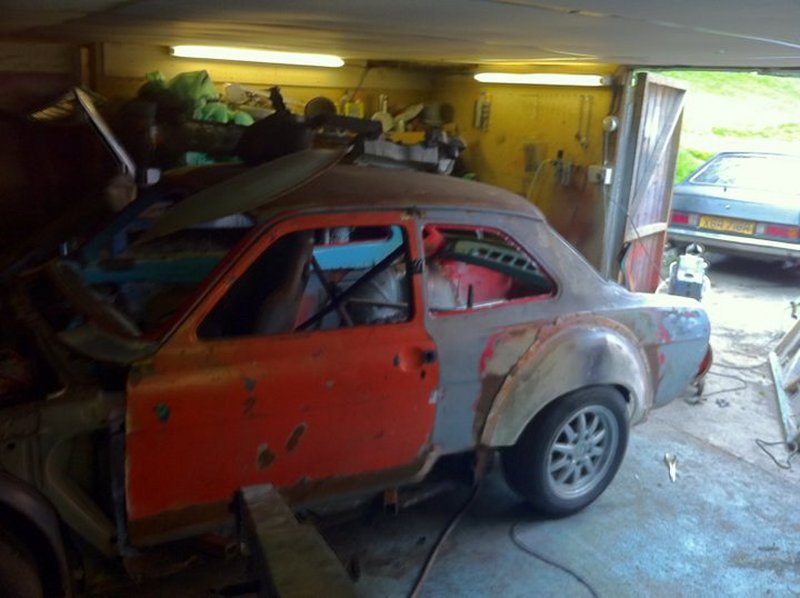
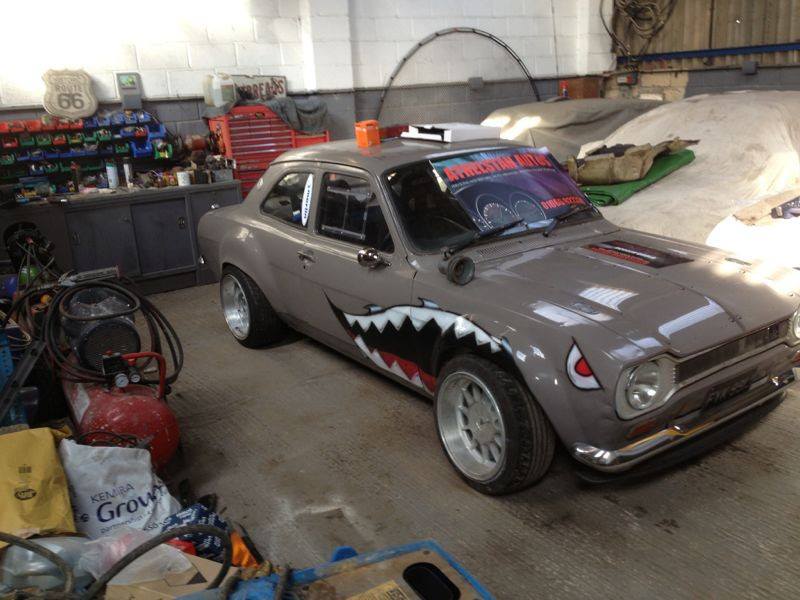
Pushed her outside to give her a clean up and to give the garage a sweep only thing I'm not happy with at the moment is the ride height at the front. The bubbles make it look high even if it were a real escort, but I reckon they need to be dropped 50 to 60 mm, I don't really want to use 60mm lowering springs as that would make the ride to hard, but I'll decide what I'm going to do closer to the day.
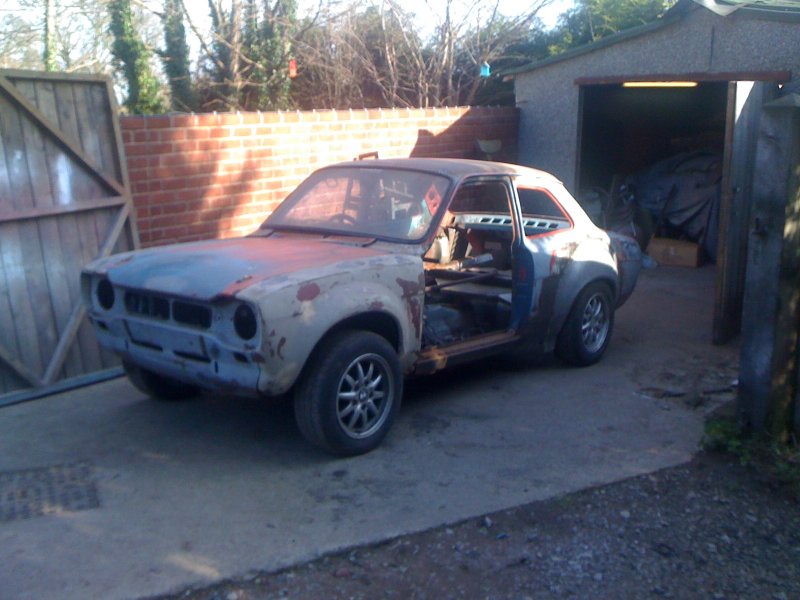
Yummy stance, can't wait for the Cibies :)
Better pic of the inner tub, this has still got to be seamed and ground back yet, but its starting to take shape.
other side needs a bit more to it to finish boxing it all together.
Started to fill the gap between the 2 halfs.
still have to remove some excess and grind back, but its starting to take shape
annoyingly hexagonal box section, I'm still thinking whether to box it in or keep the hex profile.
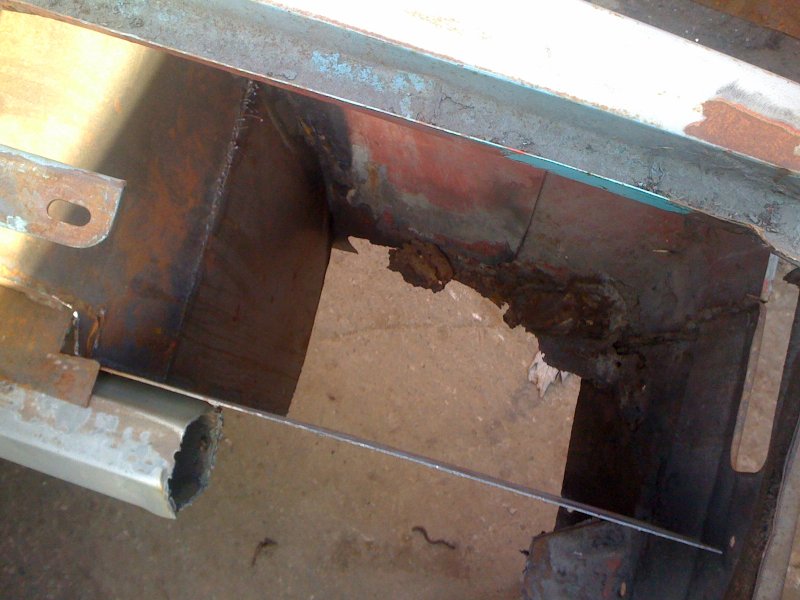
still have to finish of the corner where there is still a bit of rust to cut out and reform.
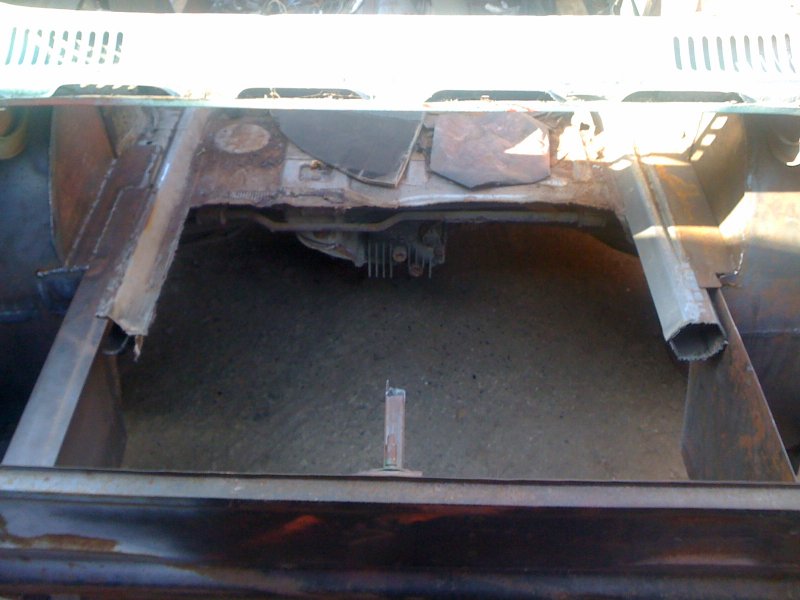
Boot floor as it is now
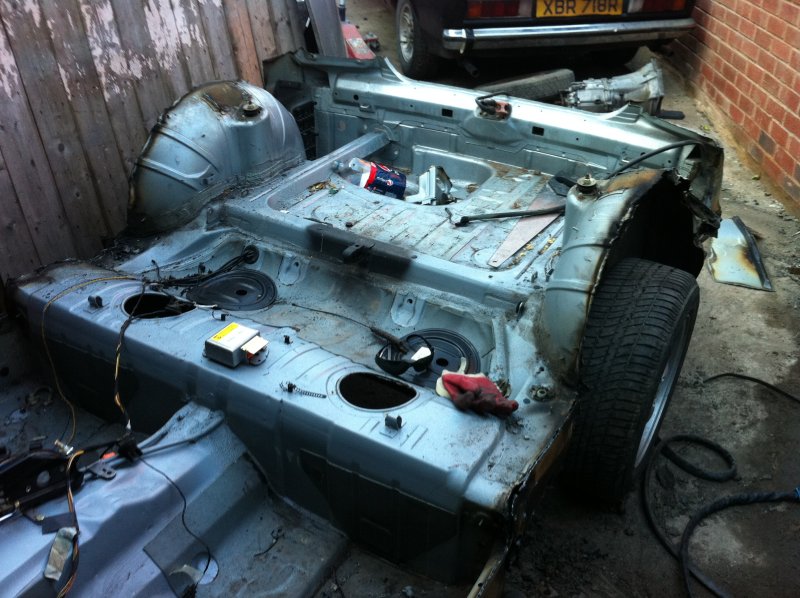
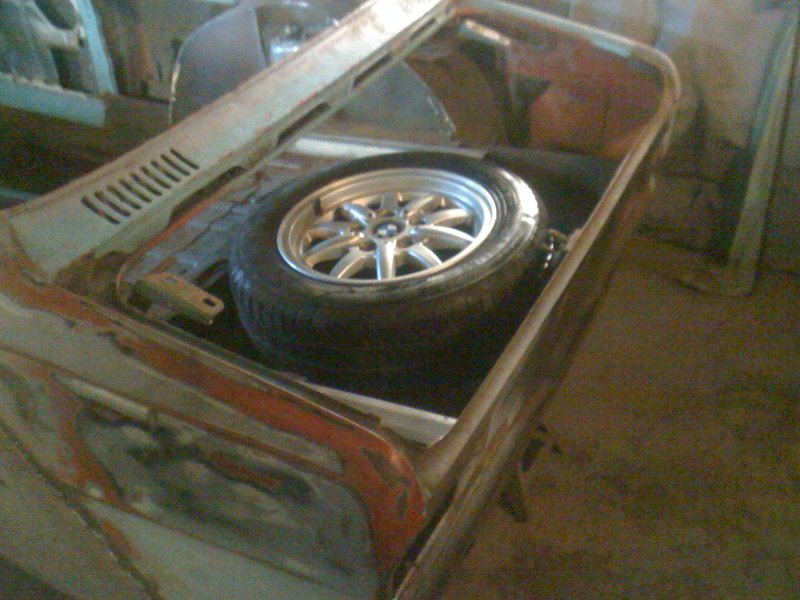
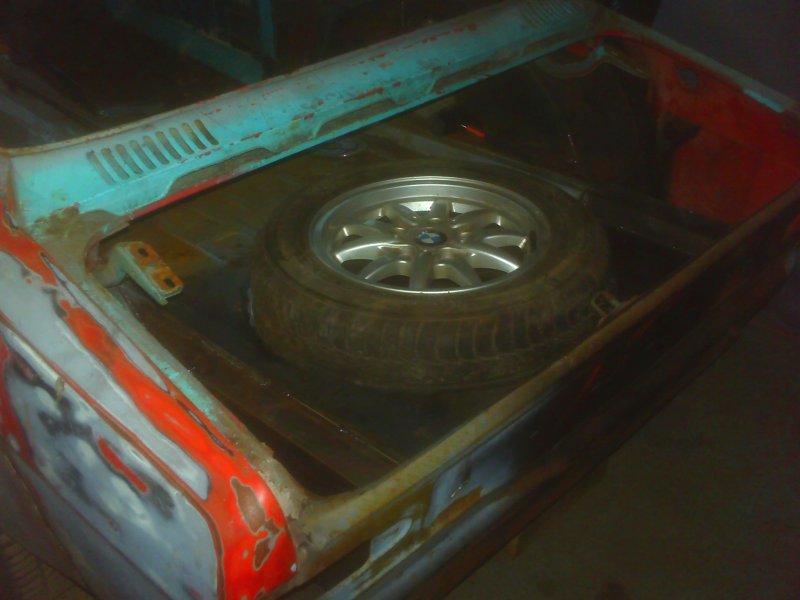
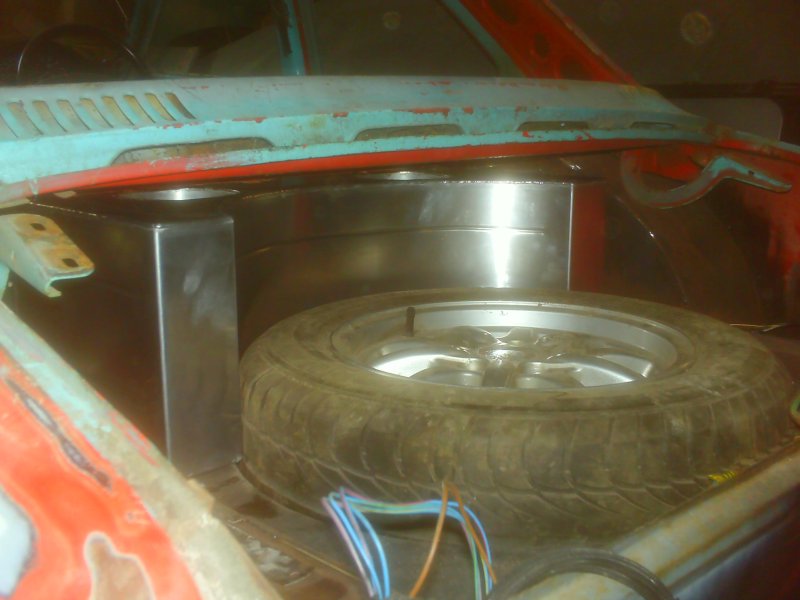
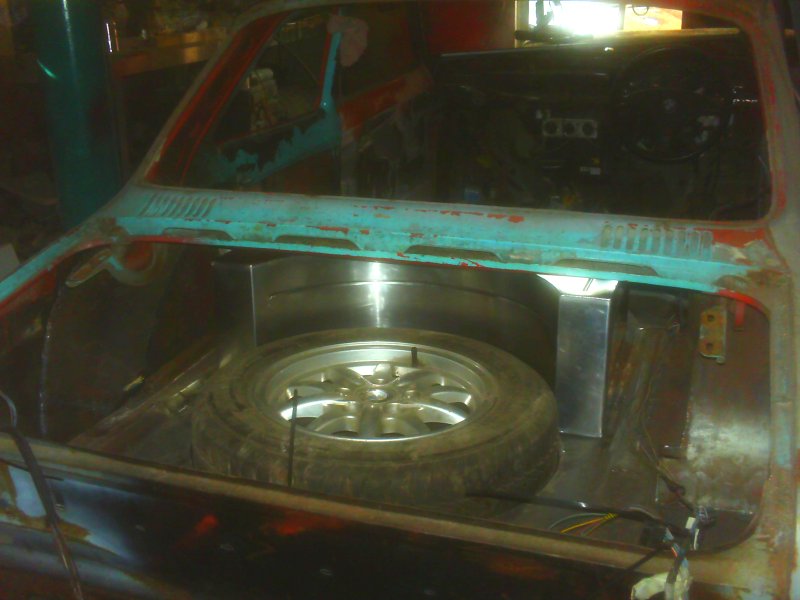
spare wheel sat in there supported by axle stands to see where its best fitting, I gotta remember to leave enough space for a fuel tank.
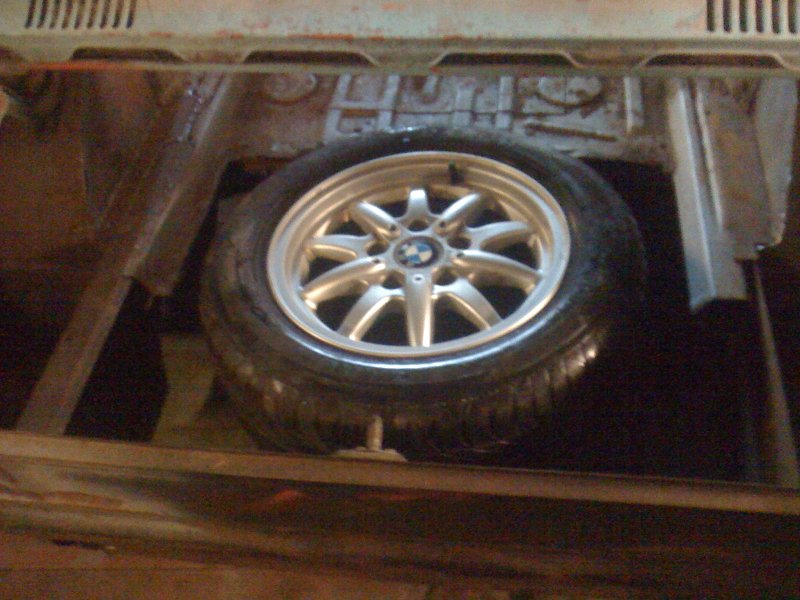
spare wheel next on the list of stuff to attack
Battery will be going in here
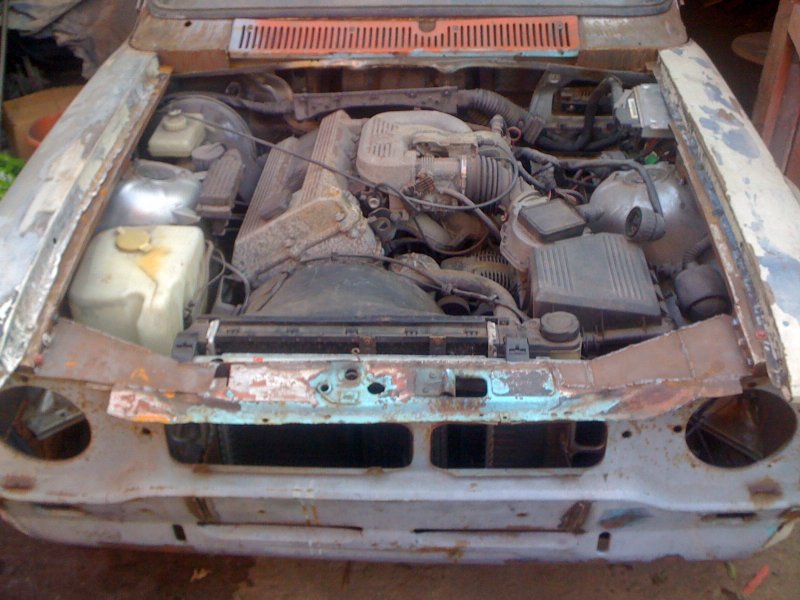
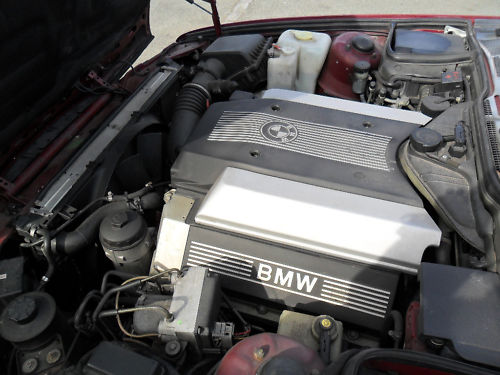
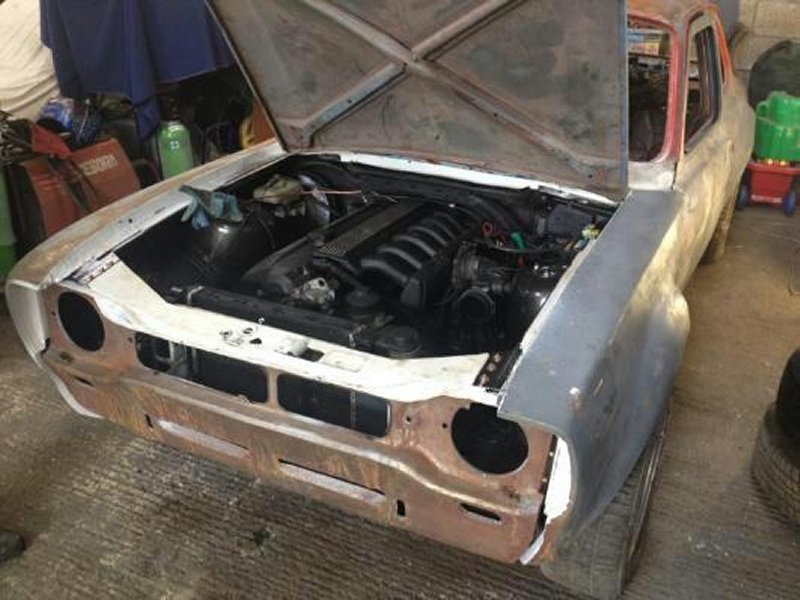
engine shot....dang, it looks sweet in there, I don't know if I should tweak it up, or fit a 4.0 v8 to carry off the extra weight....mmmm dilemmas
Boot floor made.
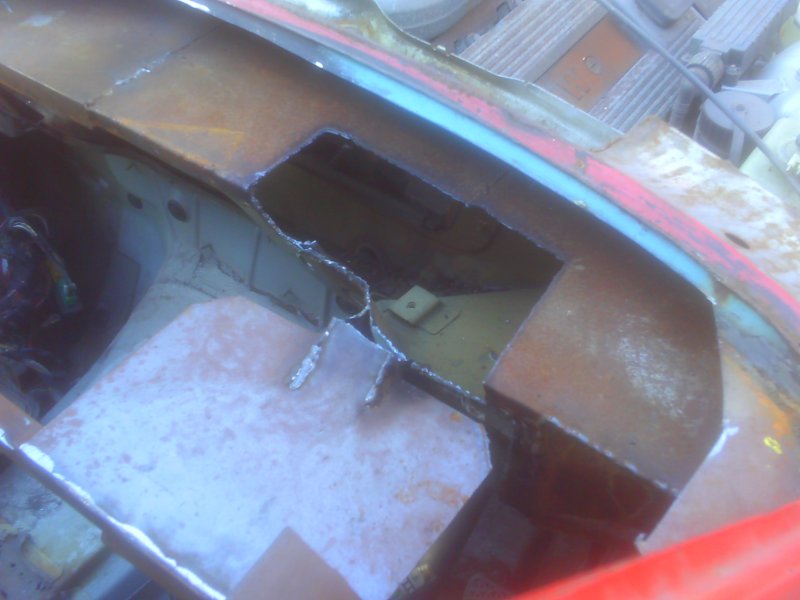
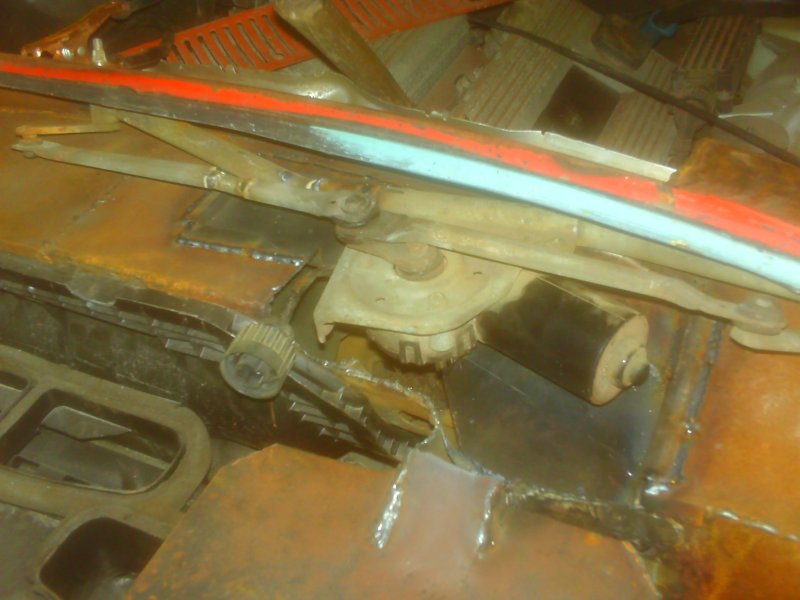
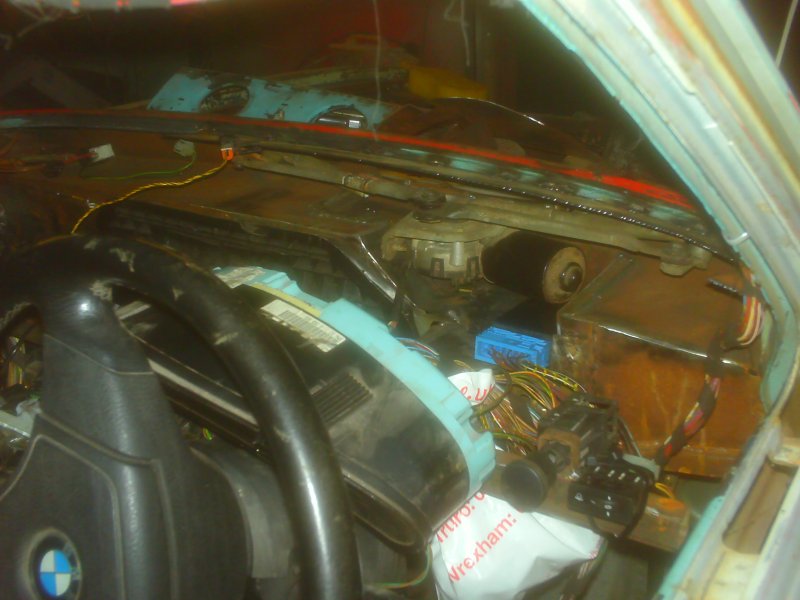
Job I've been putting off and putting off, but I decided it just had to be done so I can sort the dash area out I never even put a though into the wipers when I was putting the bulk head together...so I started buy hacking out a recess where the motor roughly sits
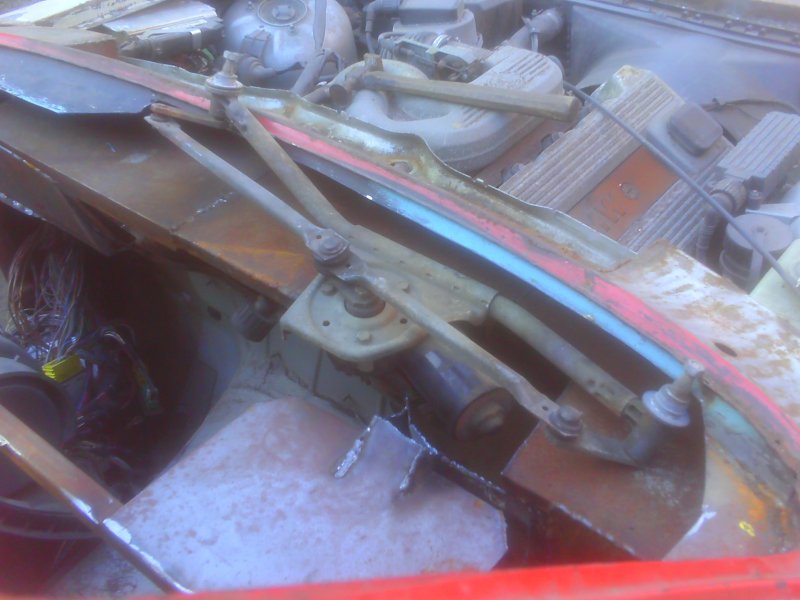
Bm wiper motor is 1.5 inches too short, and also the spindle holes are bigger so had to attack with the round file.
It all fits now, I just have to finish boxing up the tray it sits in
.
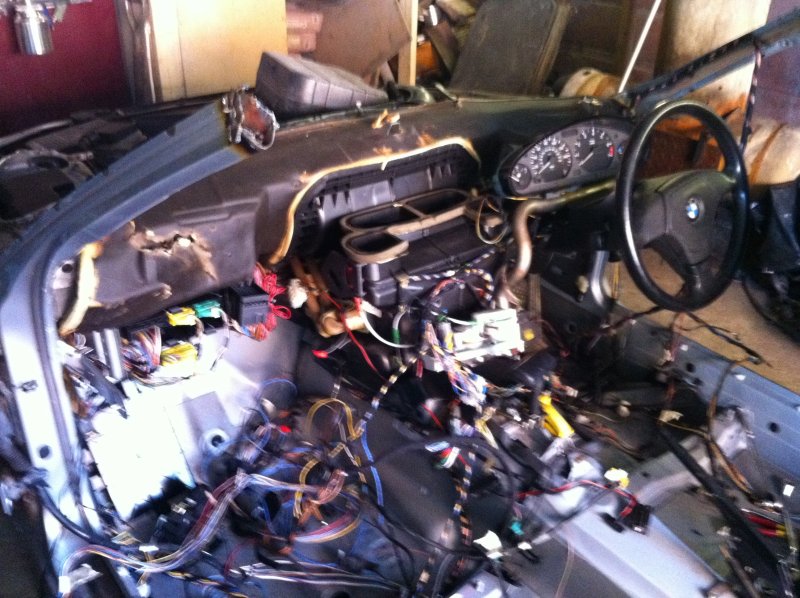
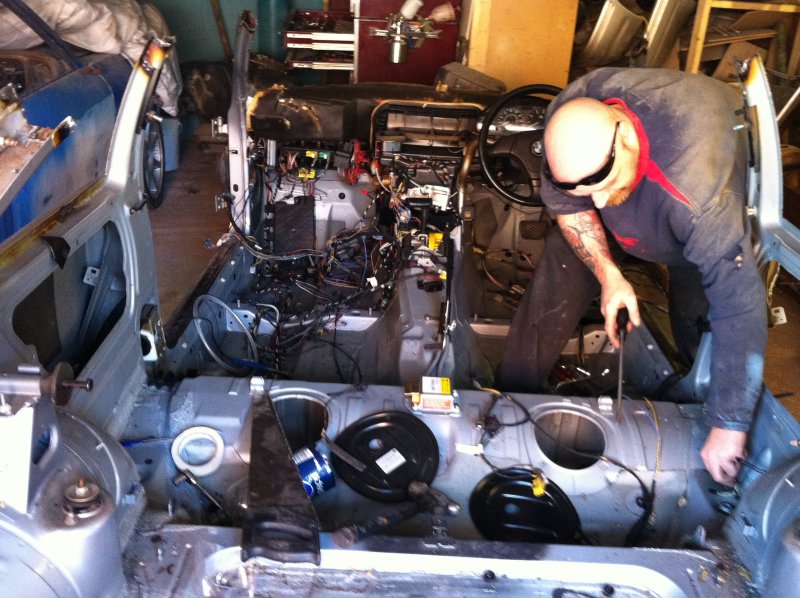
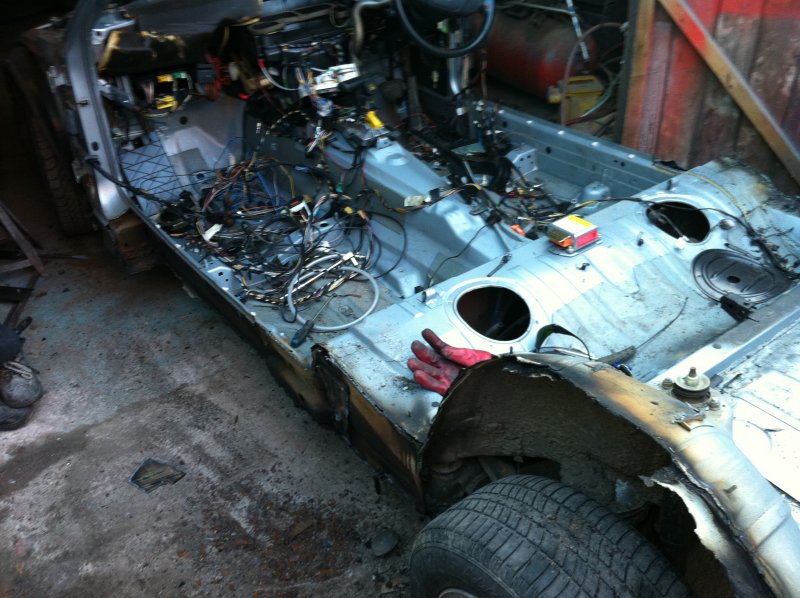
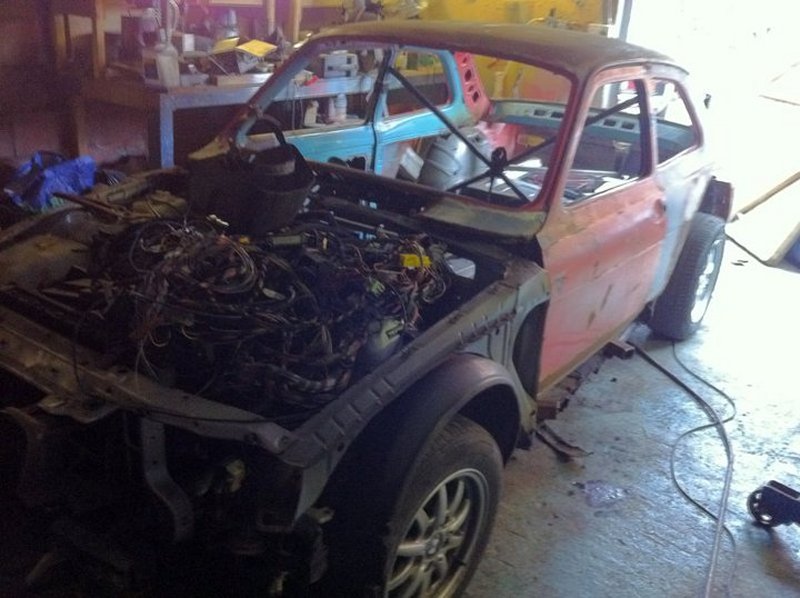
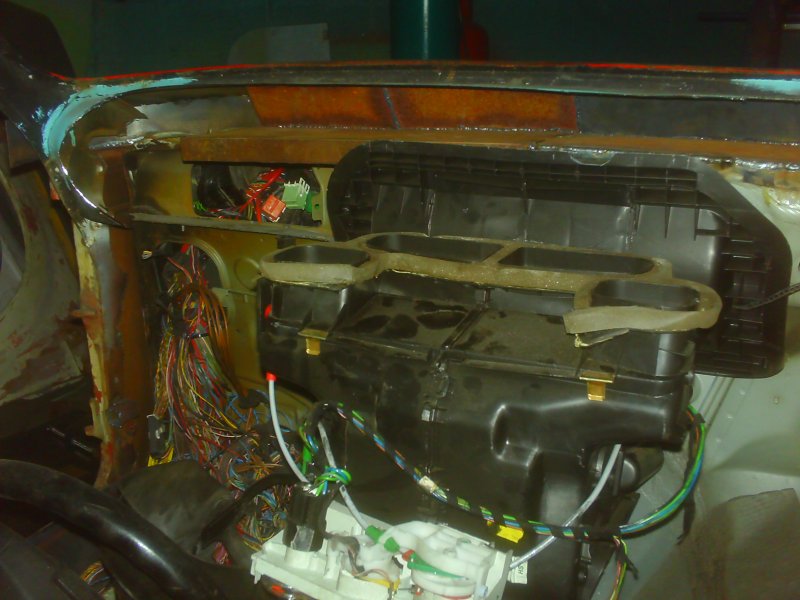
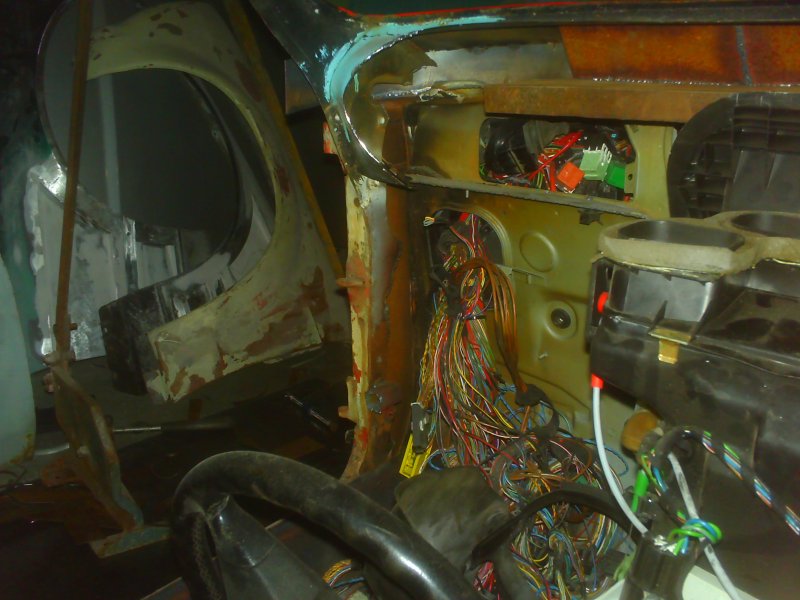
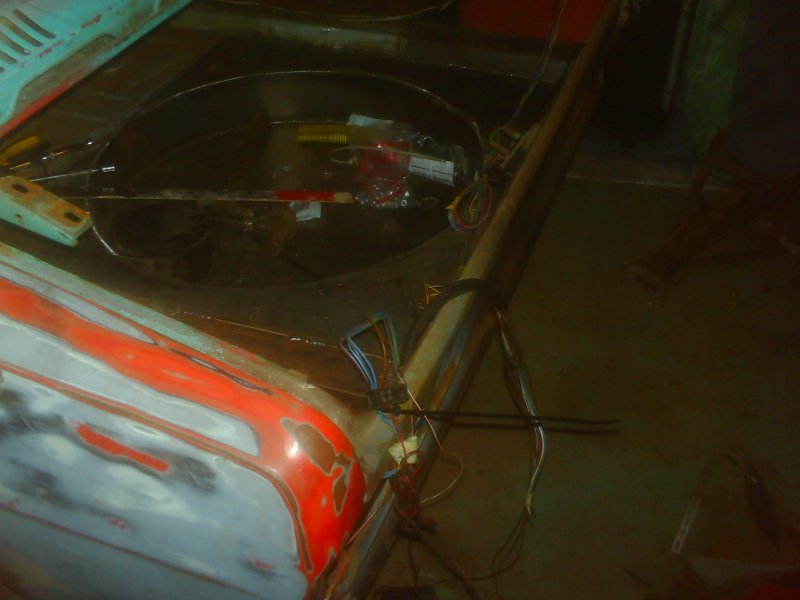
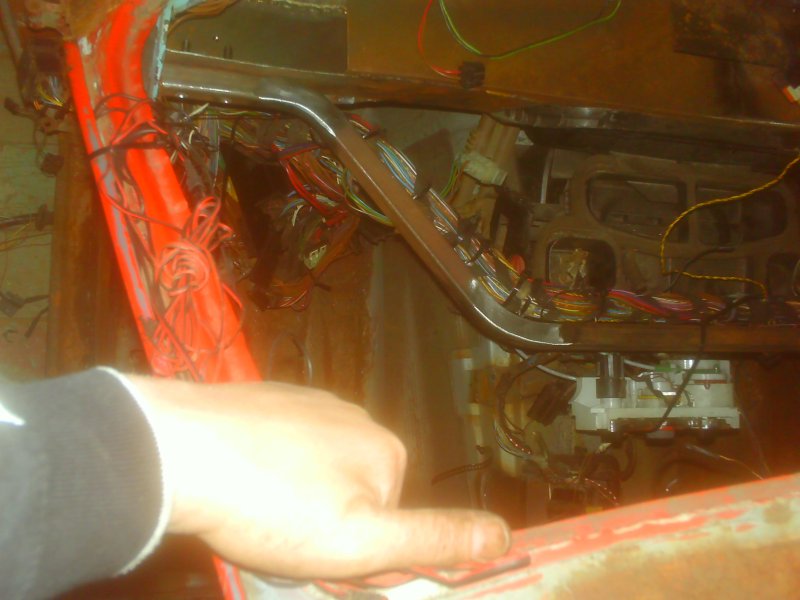
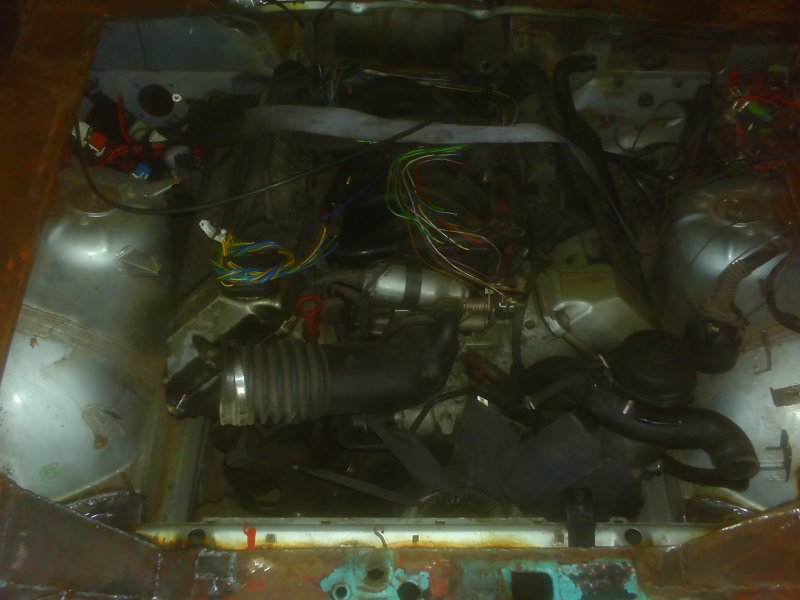
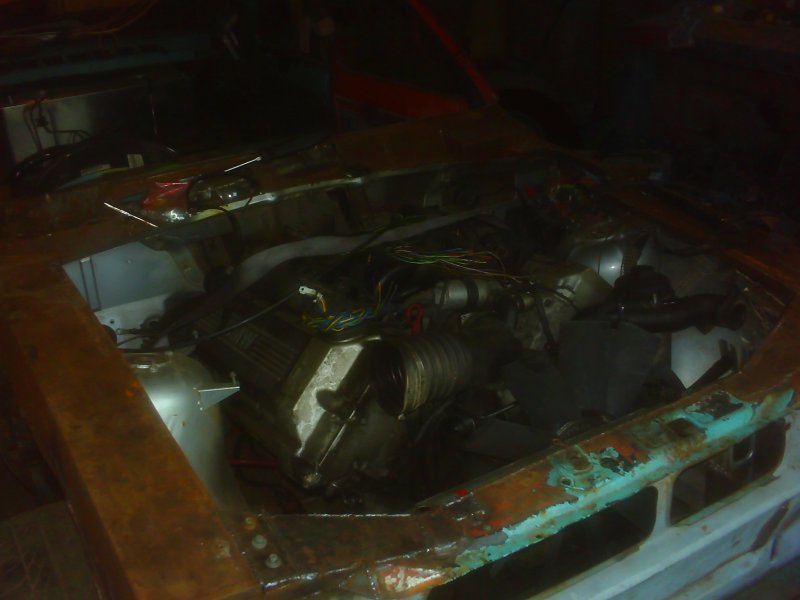
Well wiring is all routed up....some of it wants shortening to tidy it up a bit, and I've started to remove some of the excess that's not needed, speaker wires etc, also to go will be the electic windows, but I'm keeping the central locking....so just waiting on the fuel tank now, once I have that I can make sure it all still works, then strip it back to a bare shell to start the final fix on the welding front Wonder if I should keep the parking sensors :) This mess is all going to sit up under the dash.

Tail light wiring, and tail gate wiring, only thing I need to keep from the gate wiring is the heated rear window.
Interior lights, central locking sensor, and sunroof wireing, sunroof wires are gonna be trimmed out.
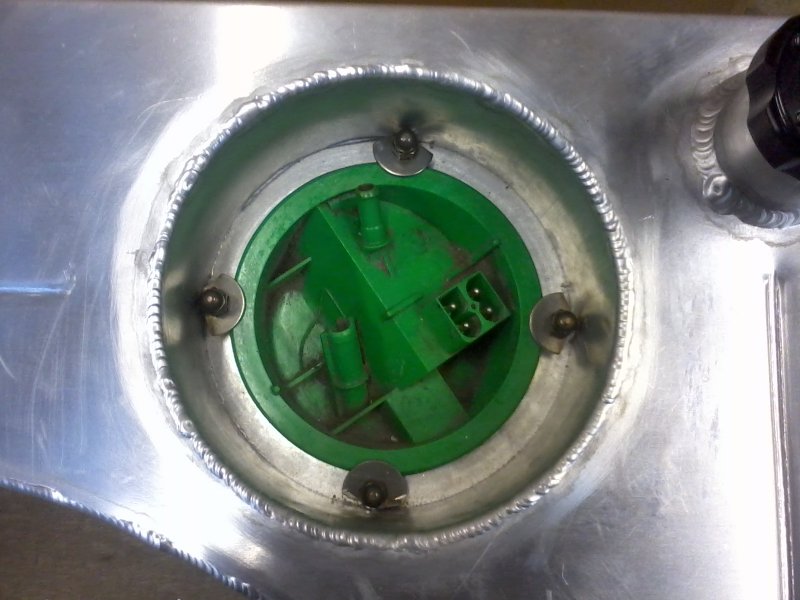
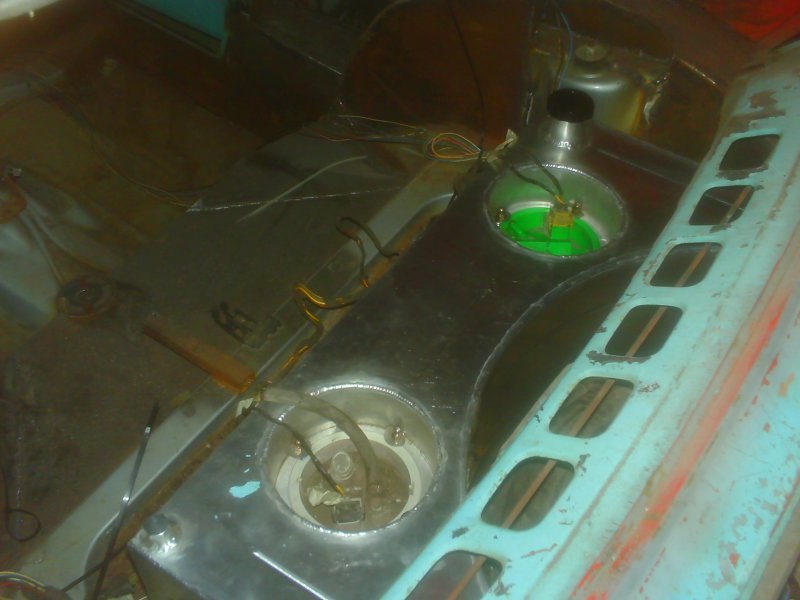
Airbag sensor, and fuel pump/gauge plugs.

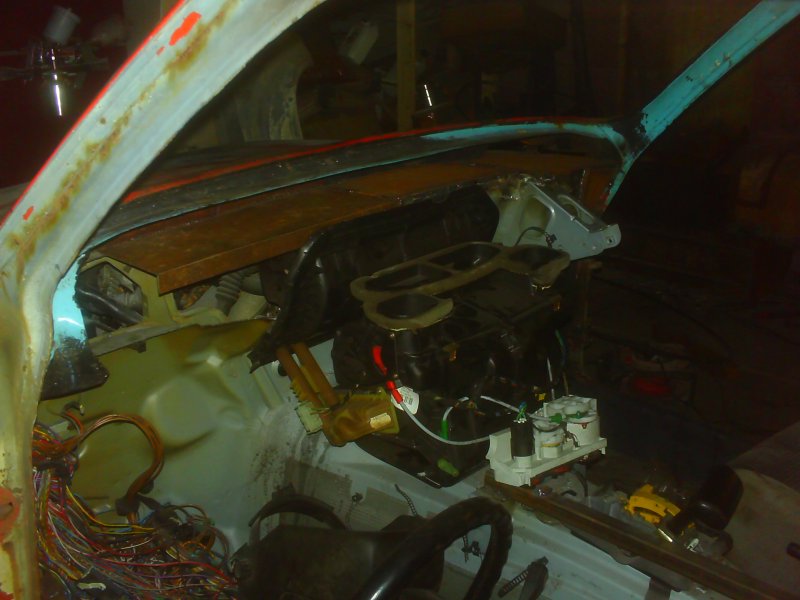
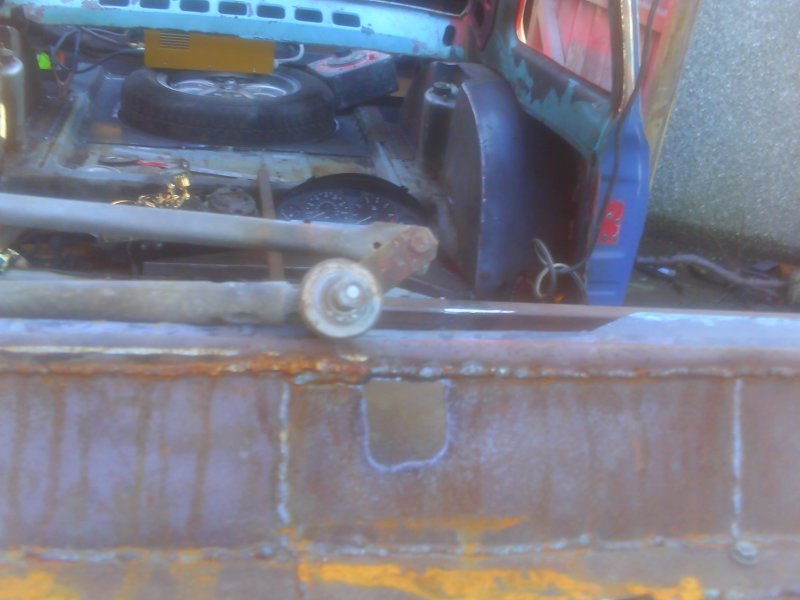
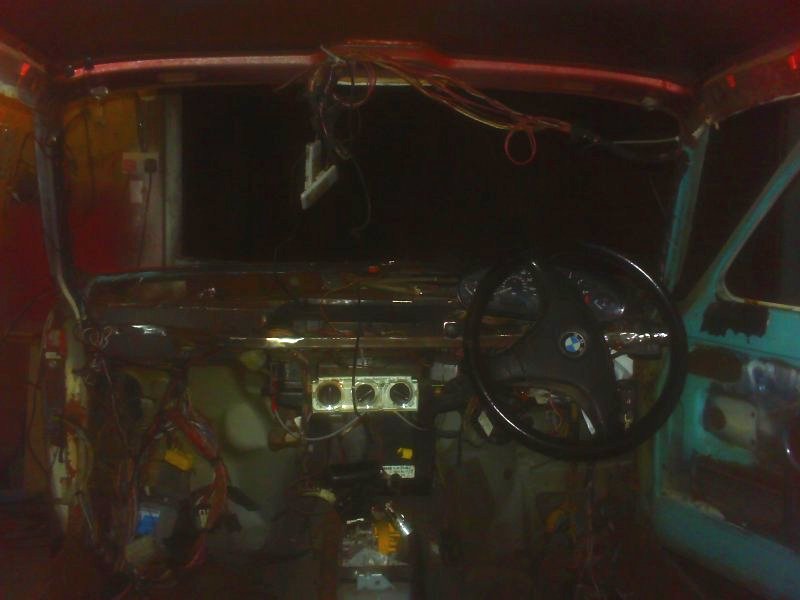
Top view of the dash brace, looks quite neat this bit :)
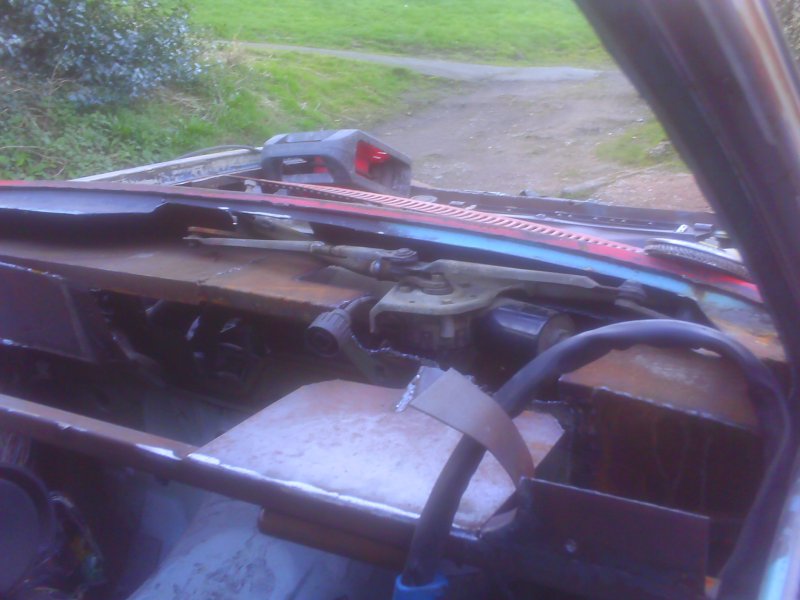
Wiper mech looks at home now
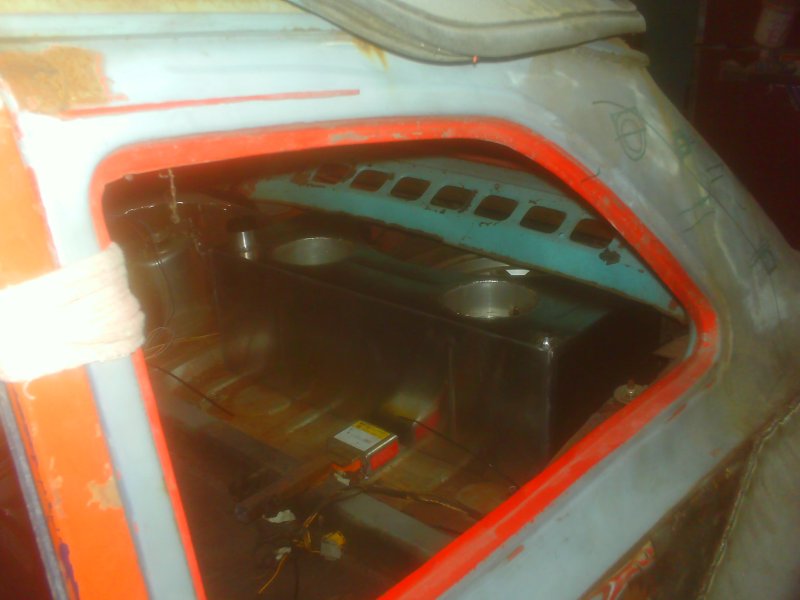
Fuel tank in progress.
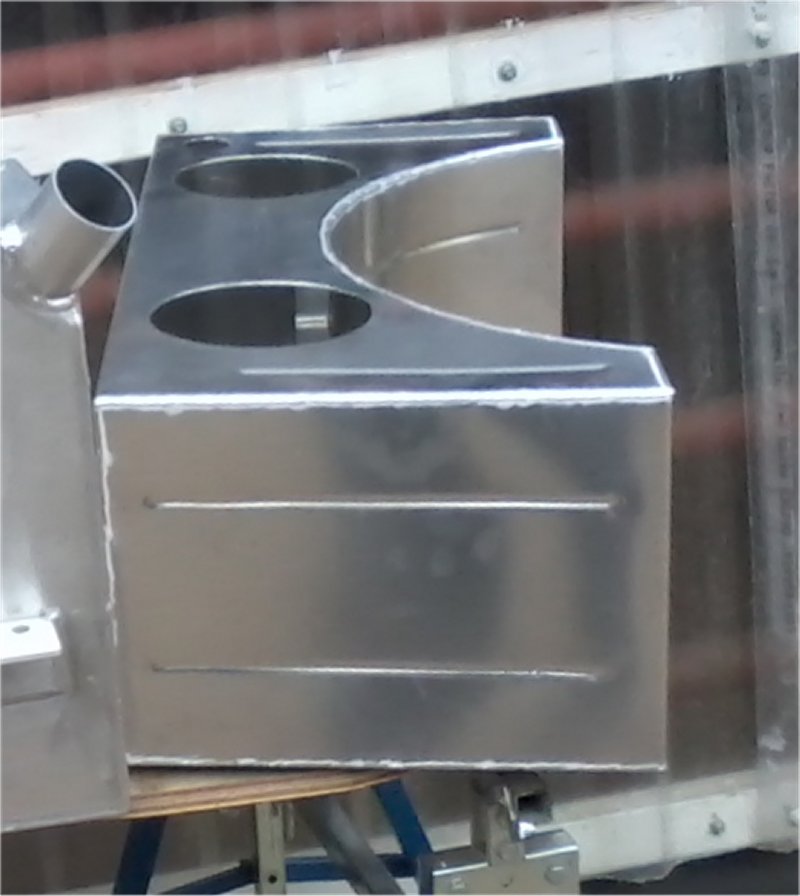
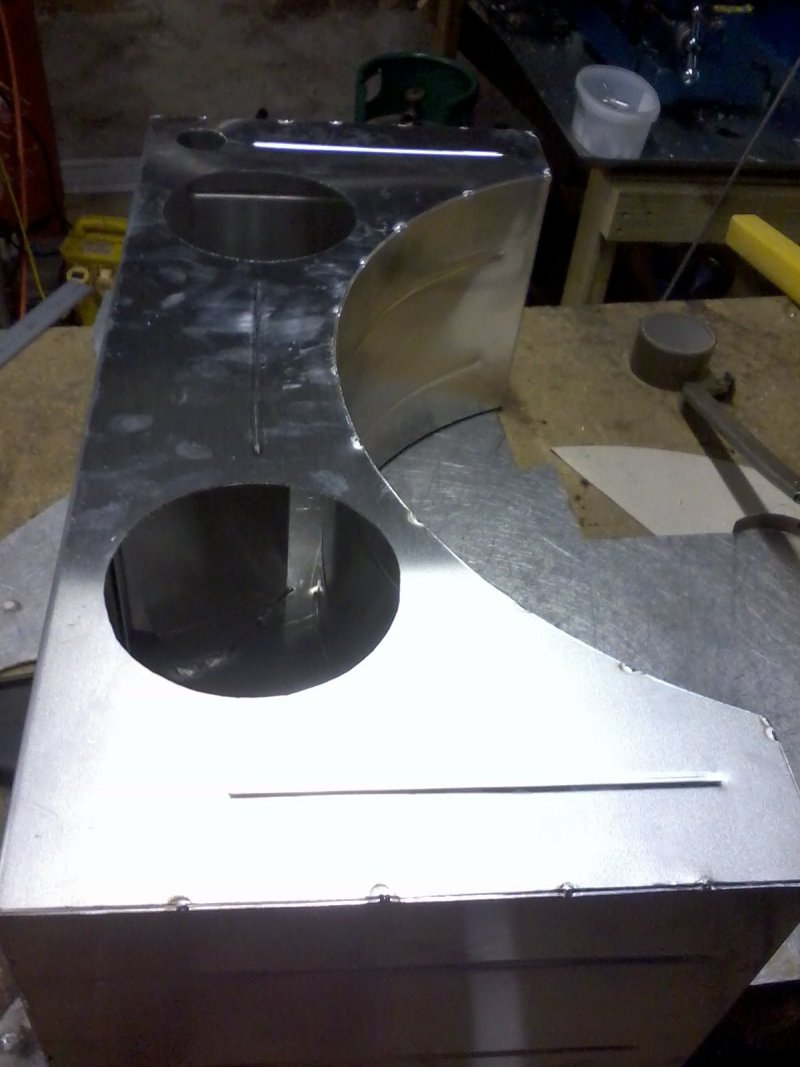
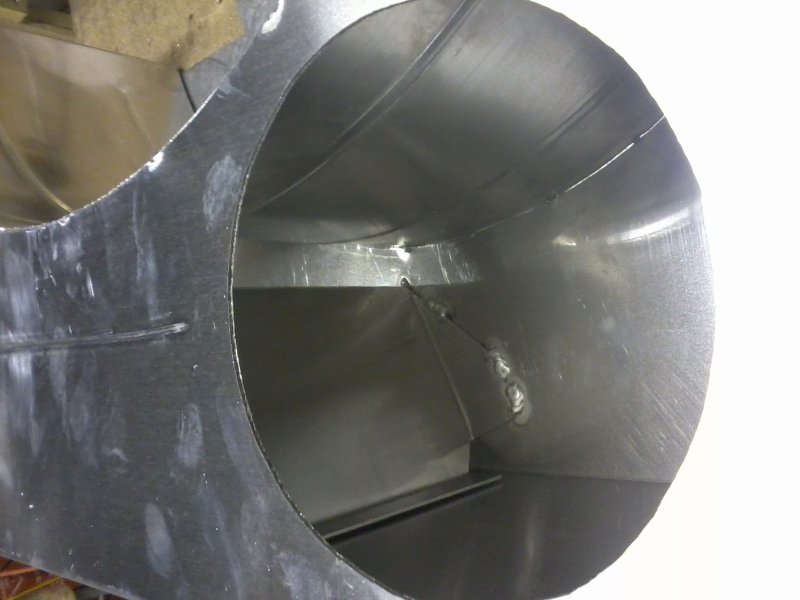
Oh how sexy is this :)
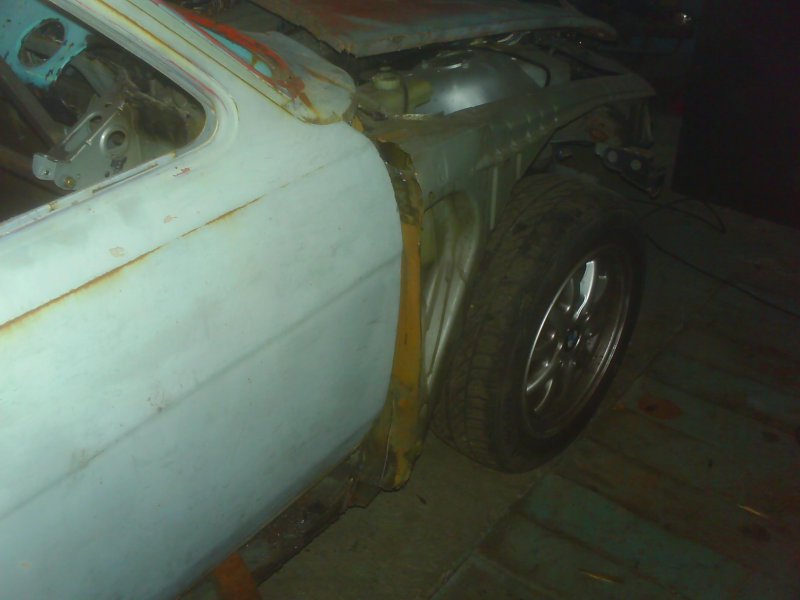
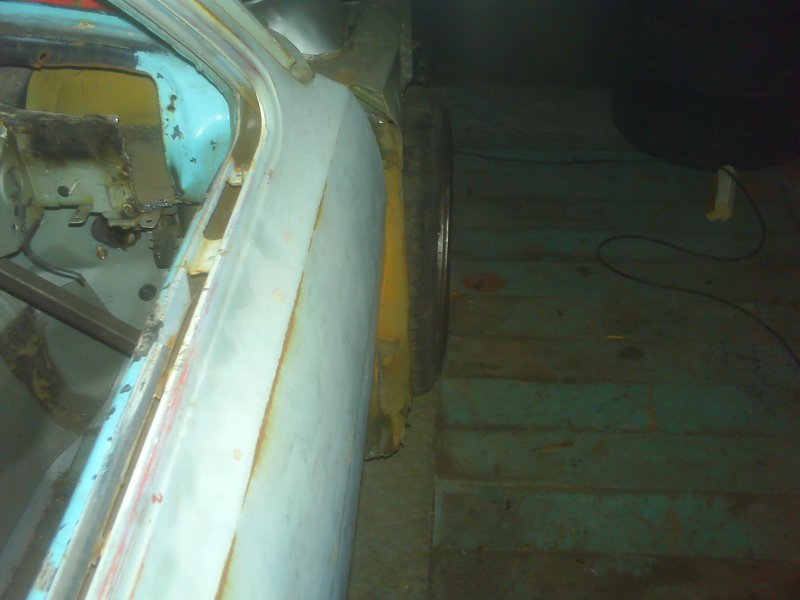
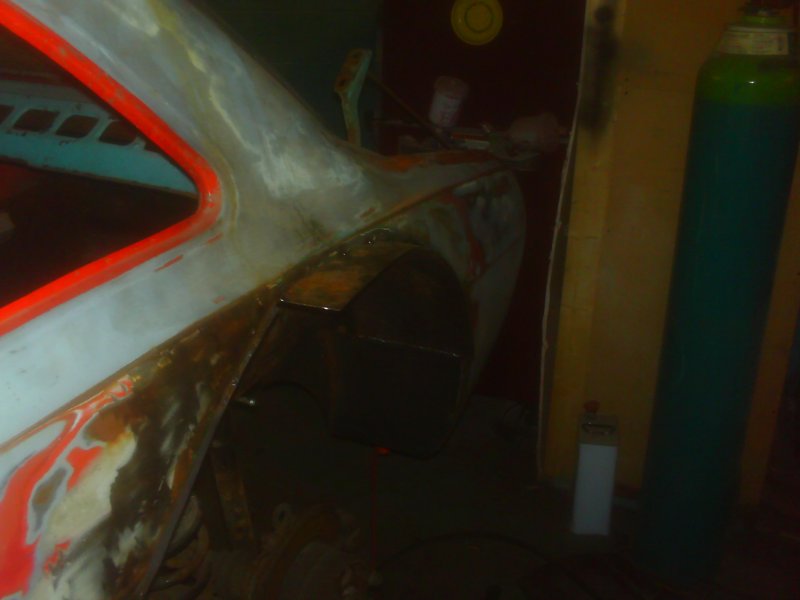
N/s front arch fitted.
when the wing is lifted to align the swages, the gap does become even, honestly, but check out that horrendous gap :( (this turned out to be the wing rail being to high)
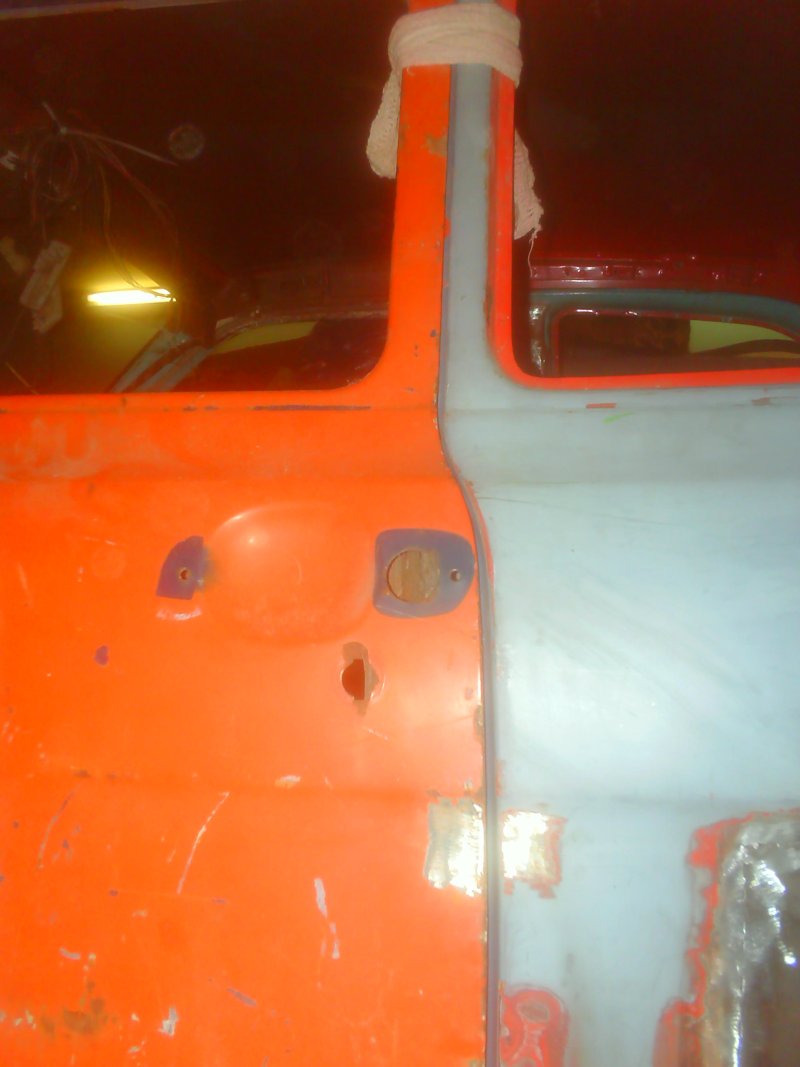
thing is the wing fitted before I did the arch, so its my mistake, but rather than unstitch the arch, I'll address the gap: and, Sex continues :)
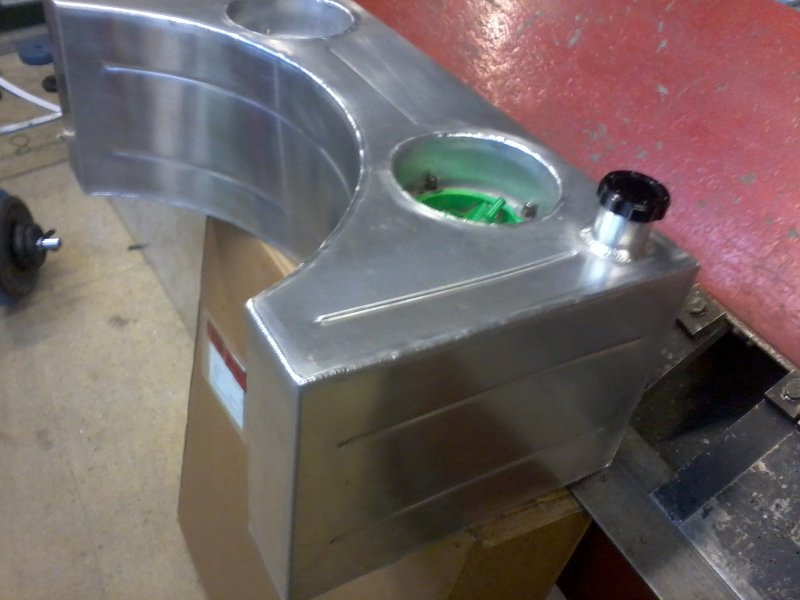
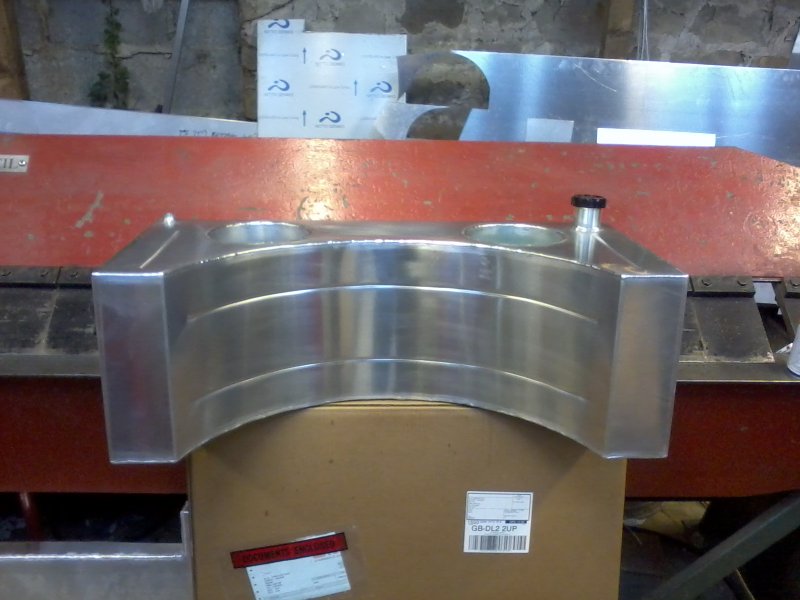
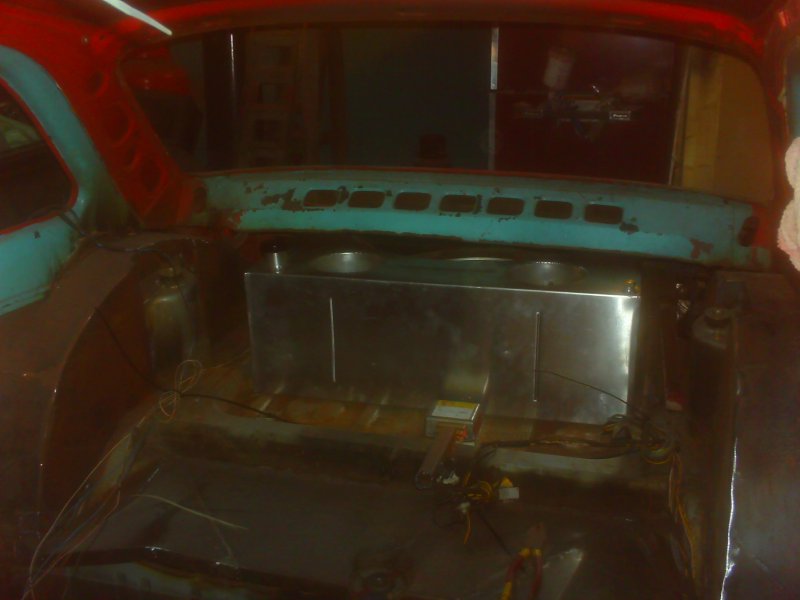
Fuel tank made and slotted into place for now.
Got me a bit of access now the bay is cleared, so it was back to fabrication and modification I forgot to take a pic, but the N/S basically started off looking like this.
Front panel on and showing the gap
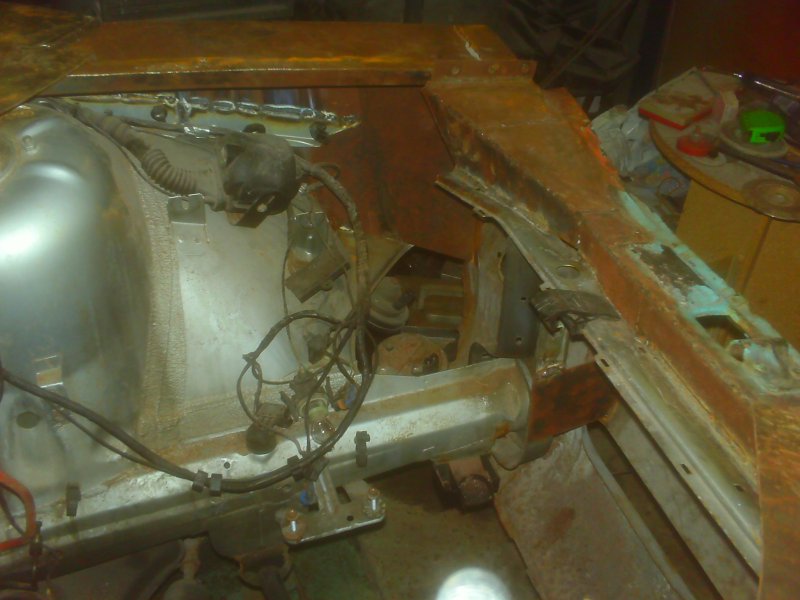
Plate ready to weld in
crap pic, but welded in and the head light profile cut out panel fitted

Wasn't at all happy with the fit of the wing to the front panel, and after a little measurement I couldn't do while the engine was in place, I found the wing mounting panel was 10mm higher on the N/S compared to the O/S, so I lowered it, now the wing lines up with the front panel, and it has also dramatically improved the wing to door gap.
Was starting to get a bit late, and the normals are putting their kids to bed, so I thought I'd call it a night with the grinder, but I thought I'd put a pic of the last top bit to weld on the landing panel....should strengthen up the front panel no end, and gives me summit to screw the grill to :)
bit more work done to the front, a new way of mounting, still have to seam it up, but it all sits flush. decided to go with welded nuts rather than self tapers this time.

Ah the sound and looks of a v8....e34 530i I bought locally.
thought I'd store it where its going till I have the subframe.
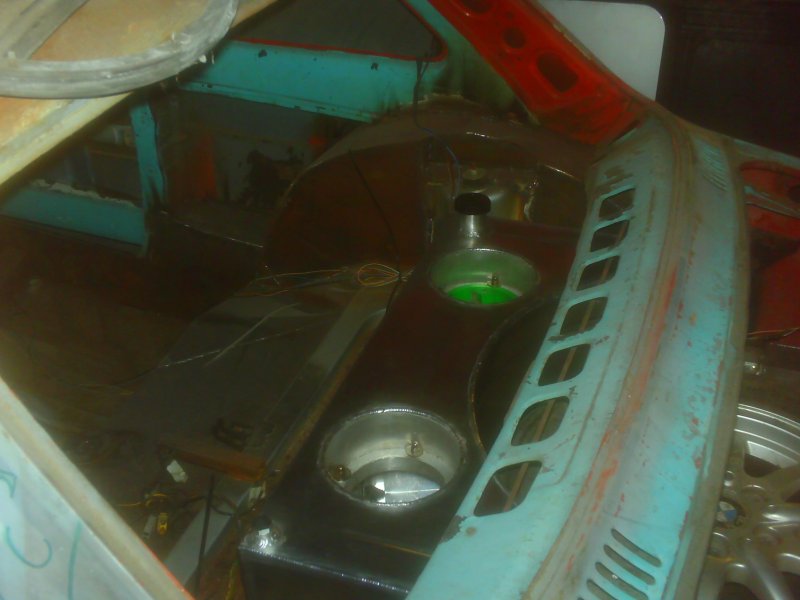
Final shot for now of sexy fuel tank :)
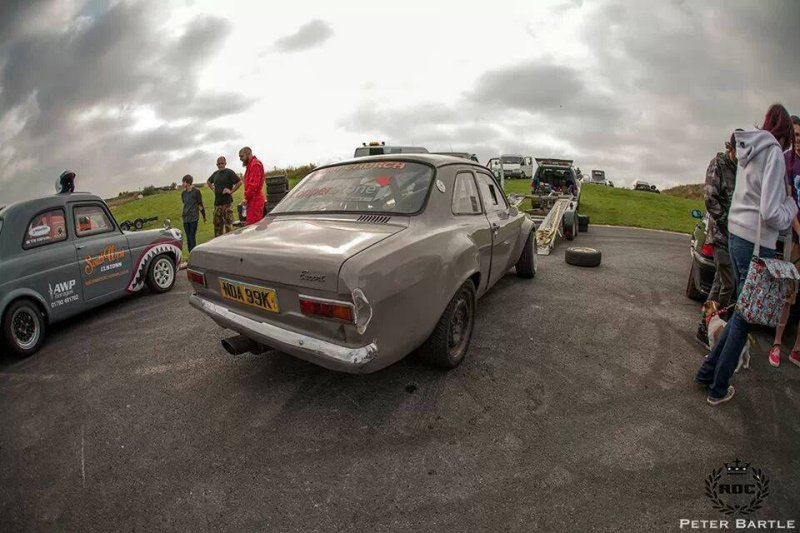
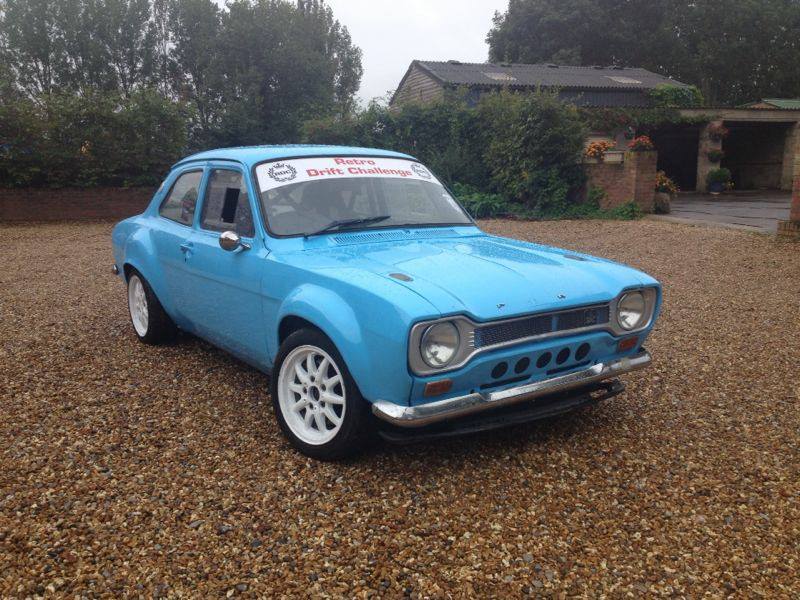
And Pretty much that's where the story ends for me, as I sold it on before I could finish it, next picture is the guy picking it up, and a few pictures I've found of it in its new hands
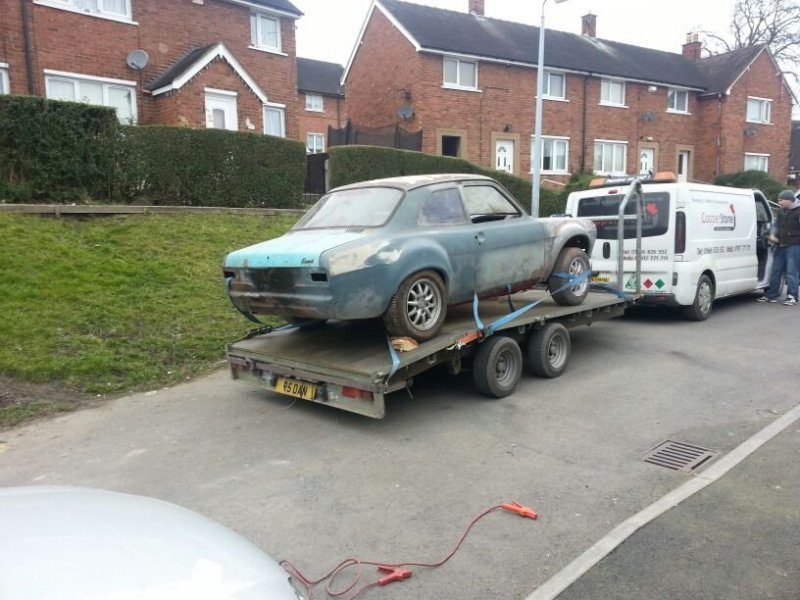
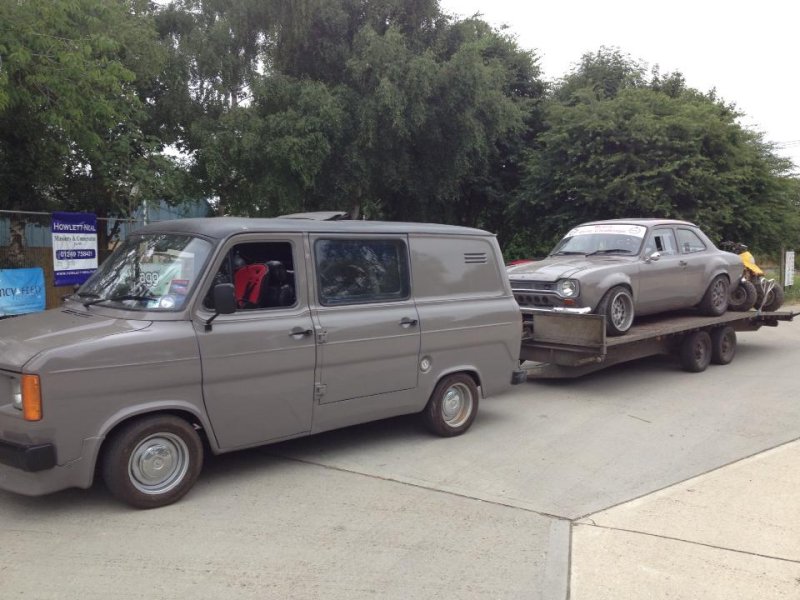
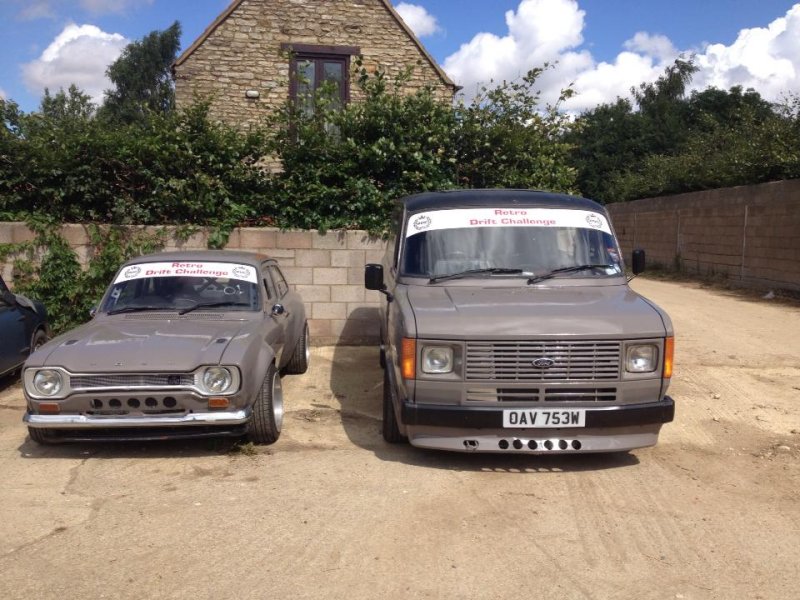

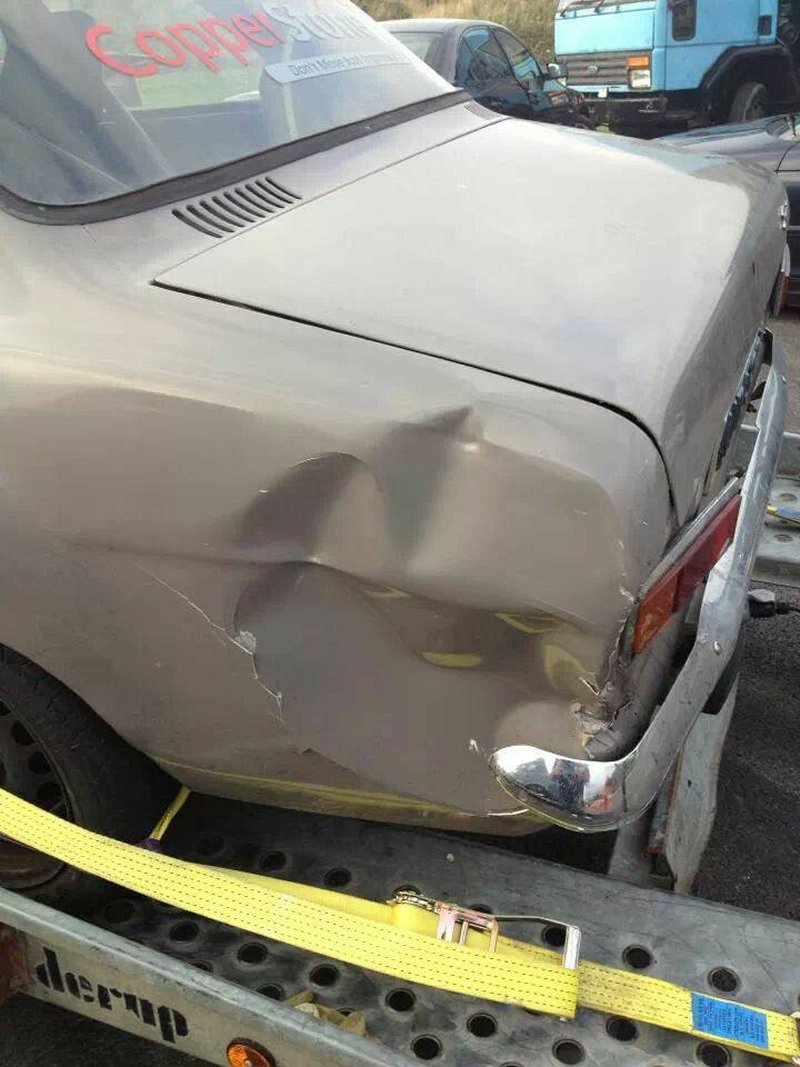
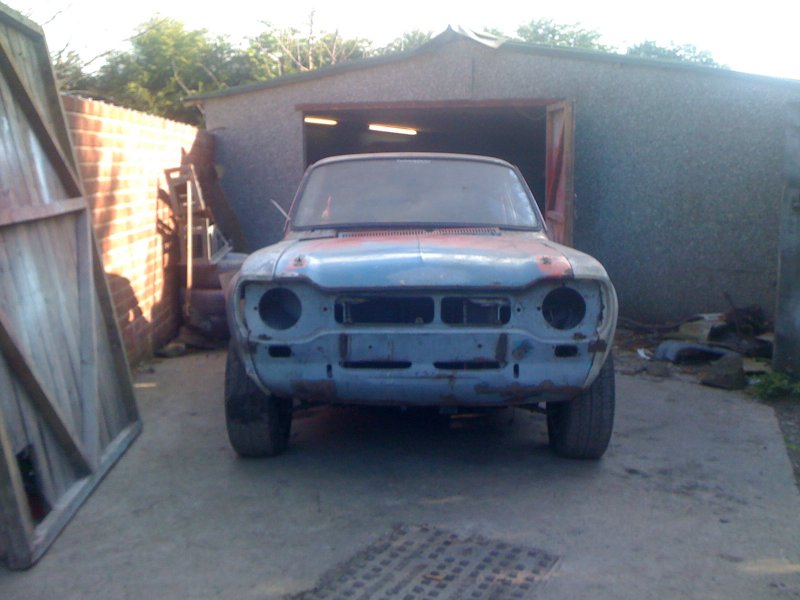
And one last final pic, of the day I bought it home
If anyone would like more information on any of my builds, I can be found on facebook https://www.facebook.com/alan.murdoch.98, or via email at, timetodoodle@hotmail.co.uk